CAUTION
Be sure to use a CD-RM10 (sold separately) for
wiring. If you use other cables, there is a case
where wiring position differs, images and sounds
may be disturbed.
OK
G
V
R
L
G
R
V
L
L : Left audio (White)
R : Right audio (Red)
V : Video (Yellow)
G : Ground
When connecting the
external unit featuring video
source
Blue
Pioneer external unit
(sold separately)
The hide-away unit
Yellow
(VIDEO IN)
To video output
Black
IP-BUS cable
(sold separately)
RCA cable
(sold separately)
To IP-BUS
output
! It is necessary to set “AV1 Input” in
“System” to “EXT” when connecting the ex-
ternal video component. (For details, refer
to the Operation Manual.)
When connecting the rear
display
The hide-away unit
Rear display with
RCA input jacks
To audio inputs
RCA cables
(sold separately)
o video input
White, Red
(AUDIO OUT)
Yellow
(VIDEO OUT)
When using a rear display
connected to rear video output
WARNING
NEVER install the rear display in a location
that enables the driver to watch the video
source while driving.
This navigation system’s rear video output is for
connection of a display to enable passengers in
the rear seats to watch the video source.
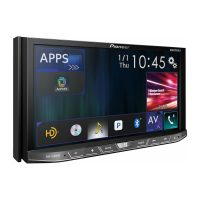
Connecting the System
En
20
Section
03
 Loading...