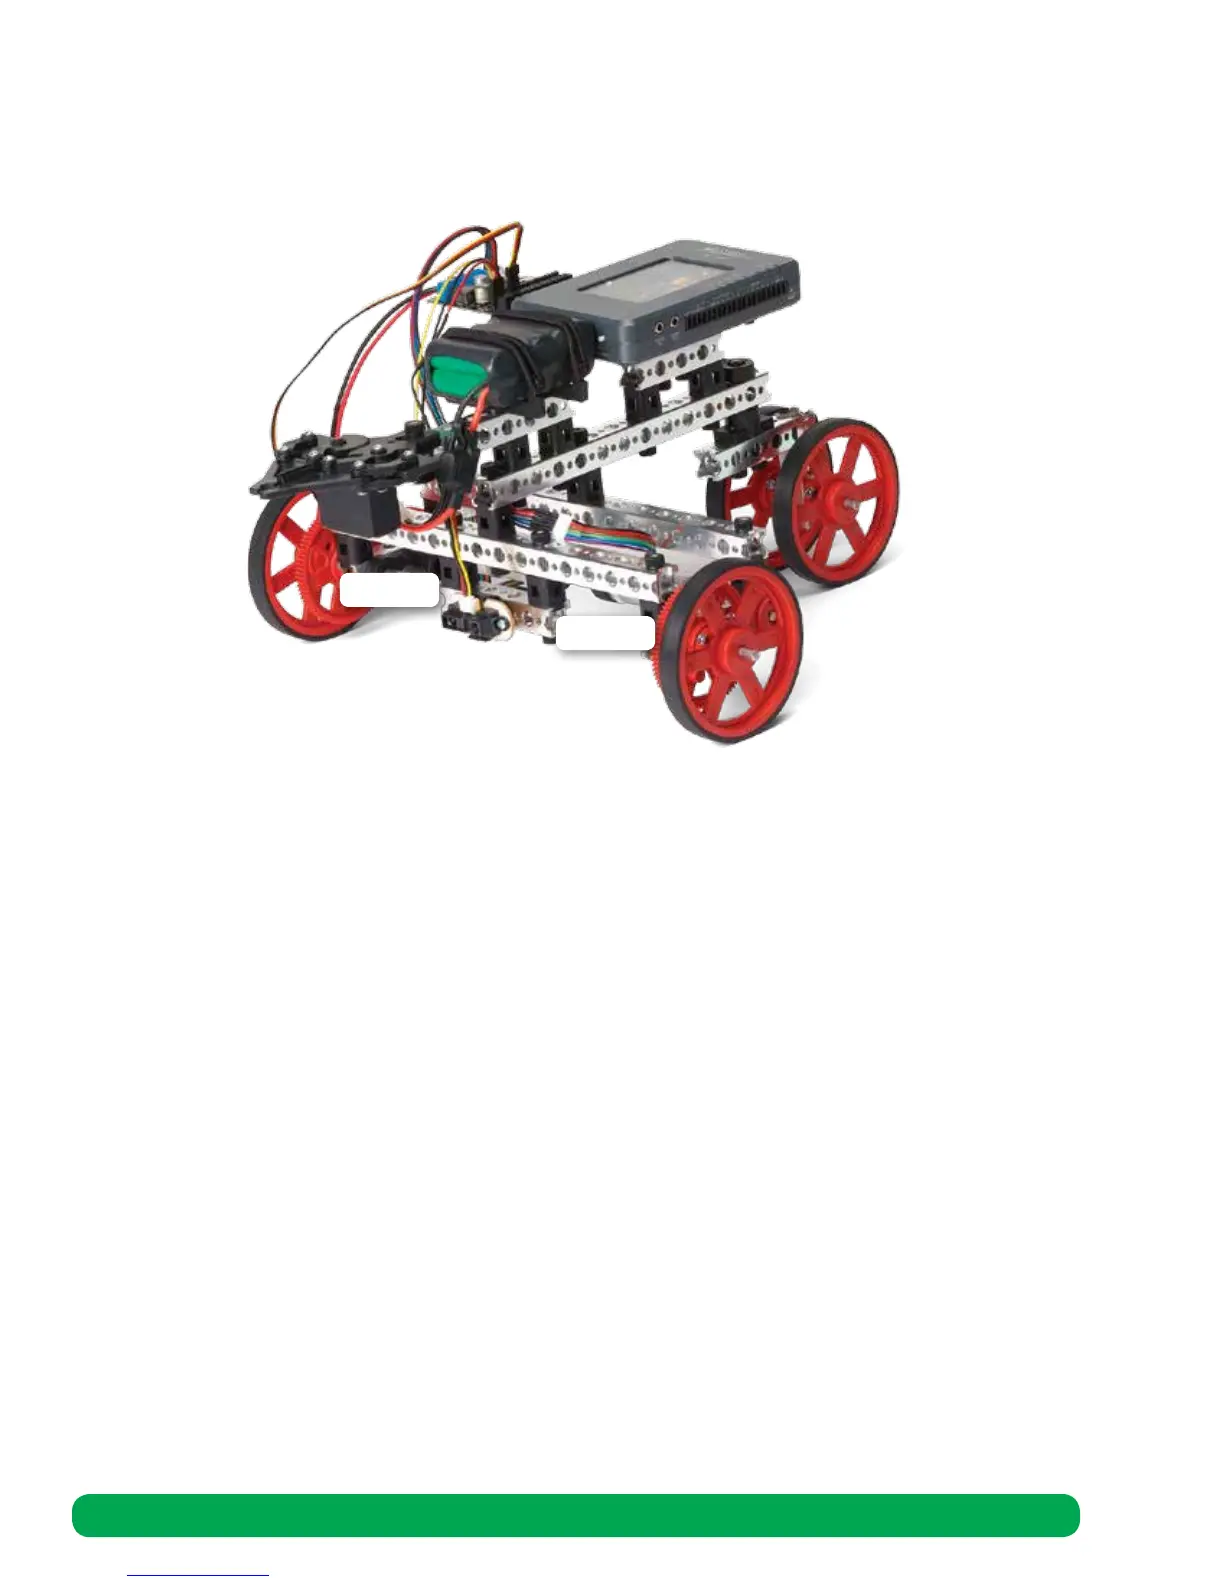
motor 1
motor 2
Step 7.1 Connect the motor board to myRIO MXP B
Step 7.2 Connect the Motor 1 and Motor 2 cables (note image below) to the motor board ports labeled“Motor 1” and
“Motor 2”
Step 7.3 Connect the IR Sensor cable to the motor board port labeled “IR Range Sensor.” Note that the cable should be
oriented so that the yellow cable is next to the label “Sig” and the black cable is next to the label “-”
Step 7.4 Connect the servo cable to the motor board port labeled “Servo 2.” Note that the cable should be oriented so that
the red wire is lined up with the “+” and the black wire is lined up with the “-”
Step 7.5 Use the battery cable to connect from the T1 port of the motor board (red cable to +, black cable to -) to the
battery cord
Step 7.6 Use the DC power cable to connect from the T2 port of the motor board (red cable to +, black cable to -) to the
myRIO power port
See the Setup/Hookup Tips and Getting Started with myRIO sections for more details and images of sensor, motor, and
battery connections.
78 Rover Vehicle Assembly
 Loading...