13
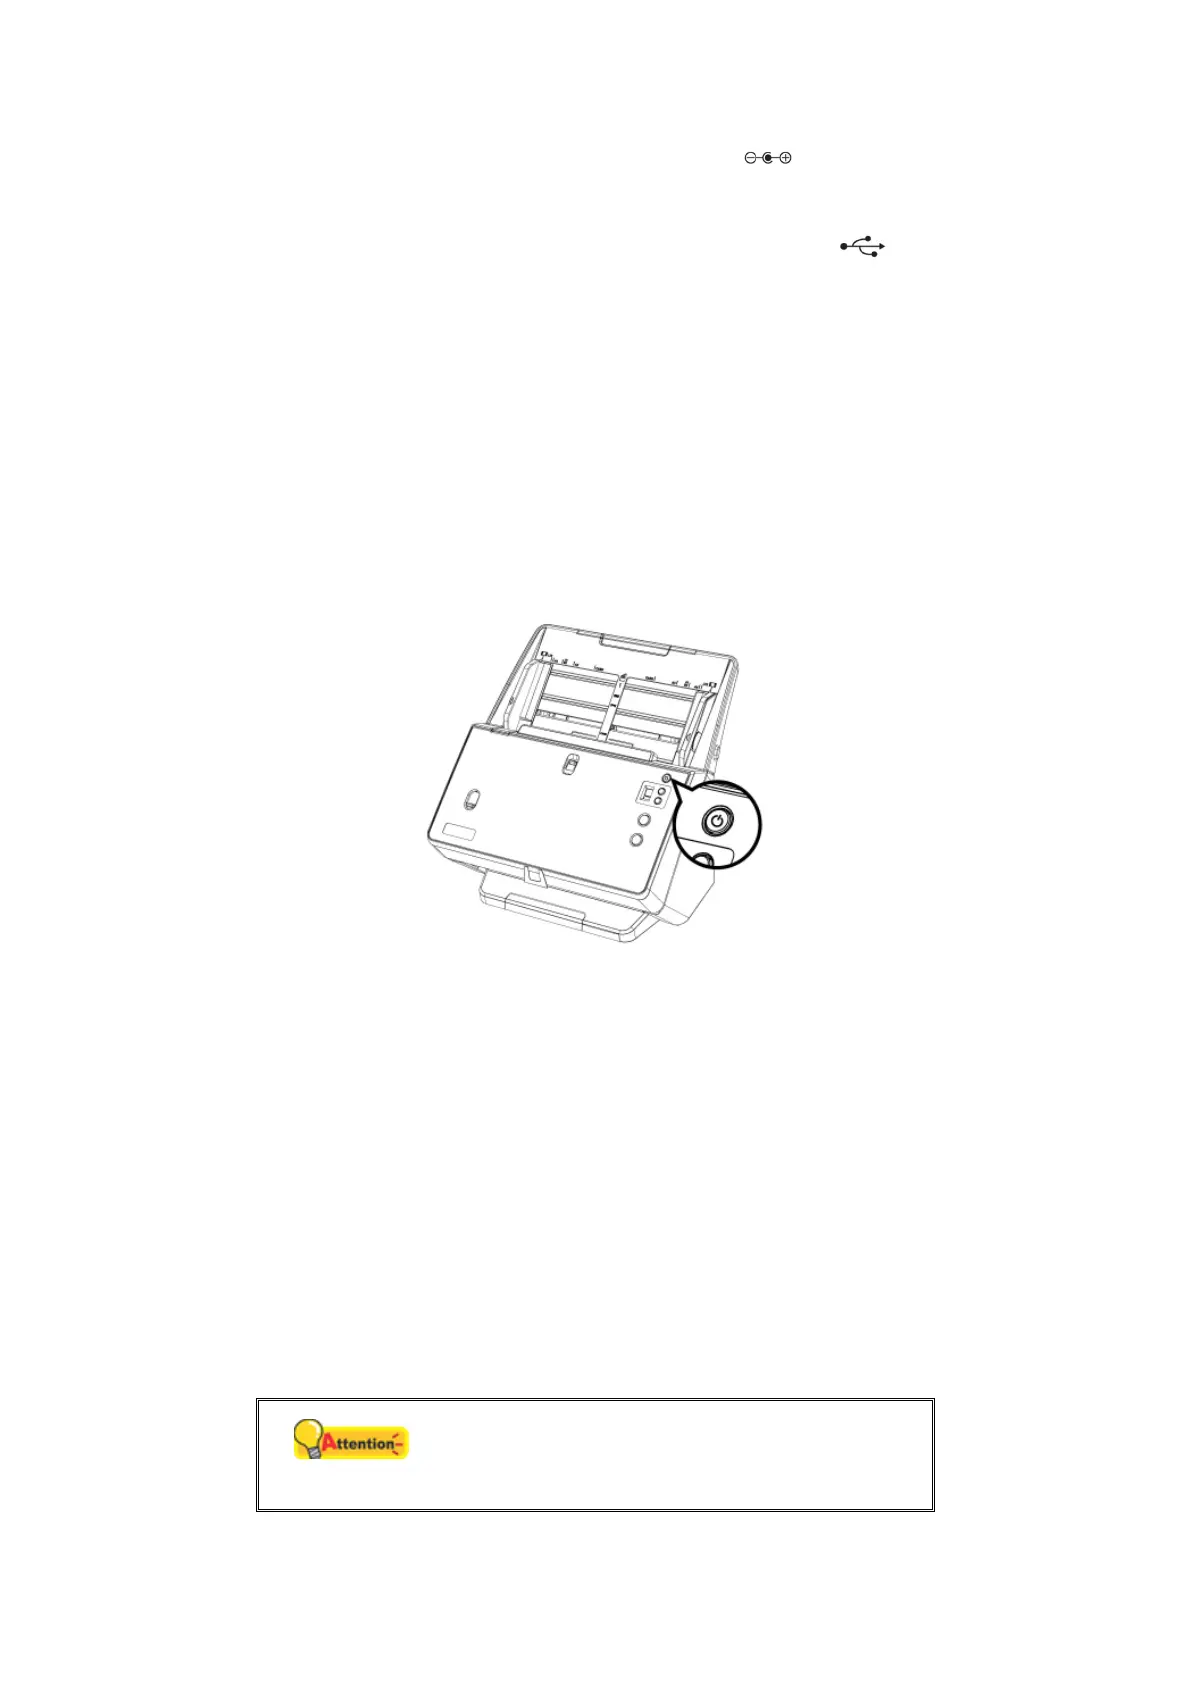
1. Plug the AC adapter into the scanner’s power receptor .
2. Plug the other end of the AC adapter into a standard AC power outlet.
3. Plug the square end of the included USB cable to the USB port
at the rear of
the scanner.
4. Plug the rectangular end of the USB cable to an available USB port on your
computer.
5. Plug the rectangular end of another USB cable to the USB hub at the rear of this
scanner.
6. Plug the square end of another USB cable to the USB port of another scanner.
S
S
t
t
e
e
p
p
3
3
.
.
I
I
n
n
s
s
t
t
a
a
l
l
l
l
i
i
n
n
g
g
t
t
h
h
e
e
S
S
o
o
f
f
t
t
w
w
a
a
r
r
e
e
1. Turn on the scanner power.
2. Install the driver:
a. Insert the Setup/Application DVD-ROM, included with your scanner, into your
DVD-ROM drive. Click on the pop-up notification, then click Run install.exe in
the pop-up window. If you miss the pop-up notification, please eject and re-
insert the Setup/Application DVD-ROM.
b. Click on the Yes button if the User Account Control dialog pops up.
3. Follow the on-screen instructions to install all software that your new scanner
requires. If the pop-up wizard window appears click Next, and click Install this
driver software anyway in the Windows Security window then click Finish in the
wizard window.
4. After the software is installed, close all open applications and click the Finish
button to restart your computer.
Attention
Save the Setup/Application DVD in case you
need to reinstall the driver and software in the
future.