18
7. Ensure the Manual Valves are CLOSED and connect the Coupling Block to the Heated
Gun Whip.
CAUTION! Excessive force closing or opening the Manual Valves may
result in damage to the Manual Valves and/or Coupling Block.
8. Connect the Transfer Pump/Heated Hose Assemblies air supply and air dryer systems
as required. Review the Installation Instructions for each to ensure proper set-up and
operation.
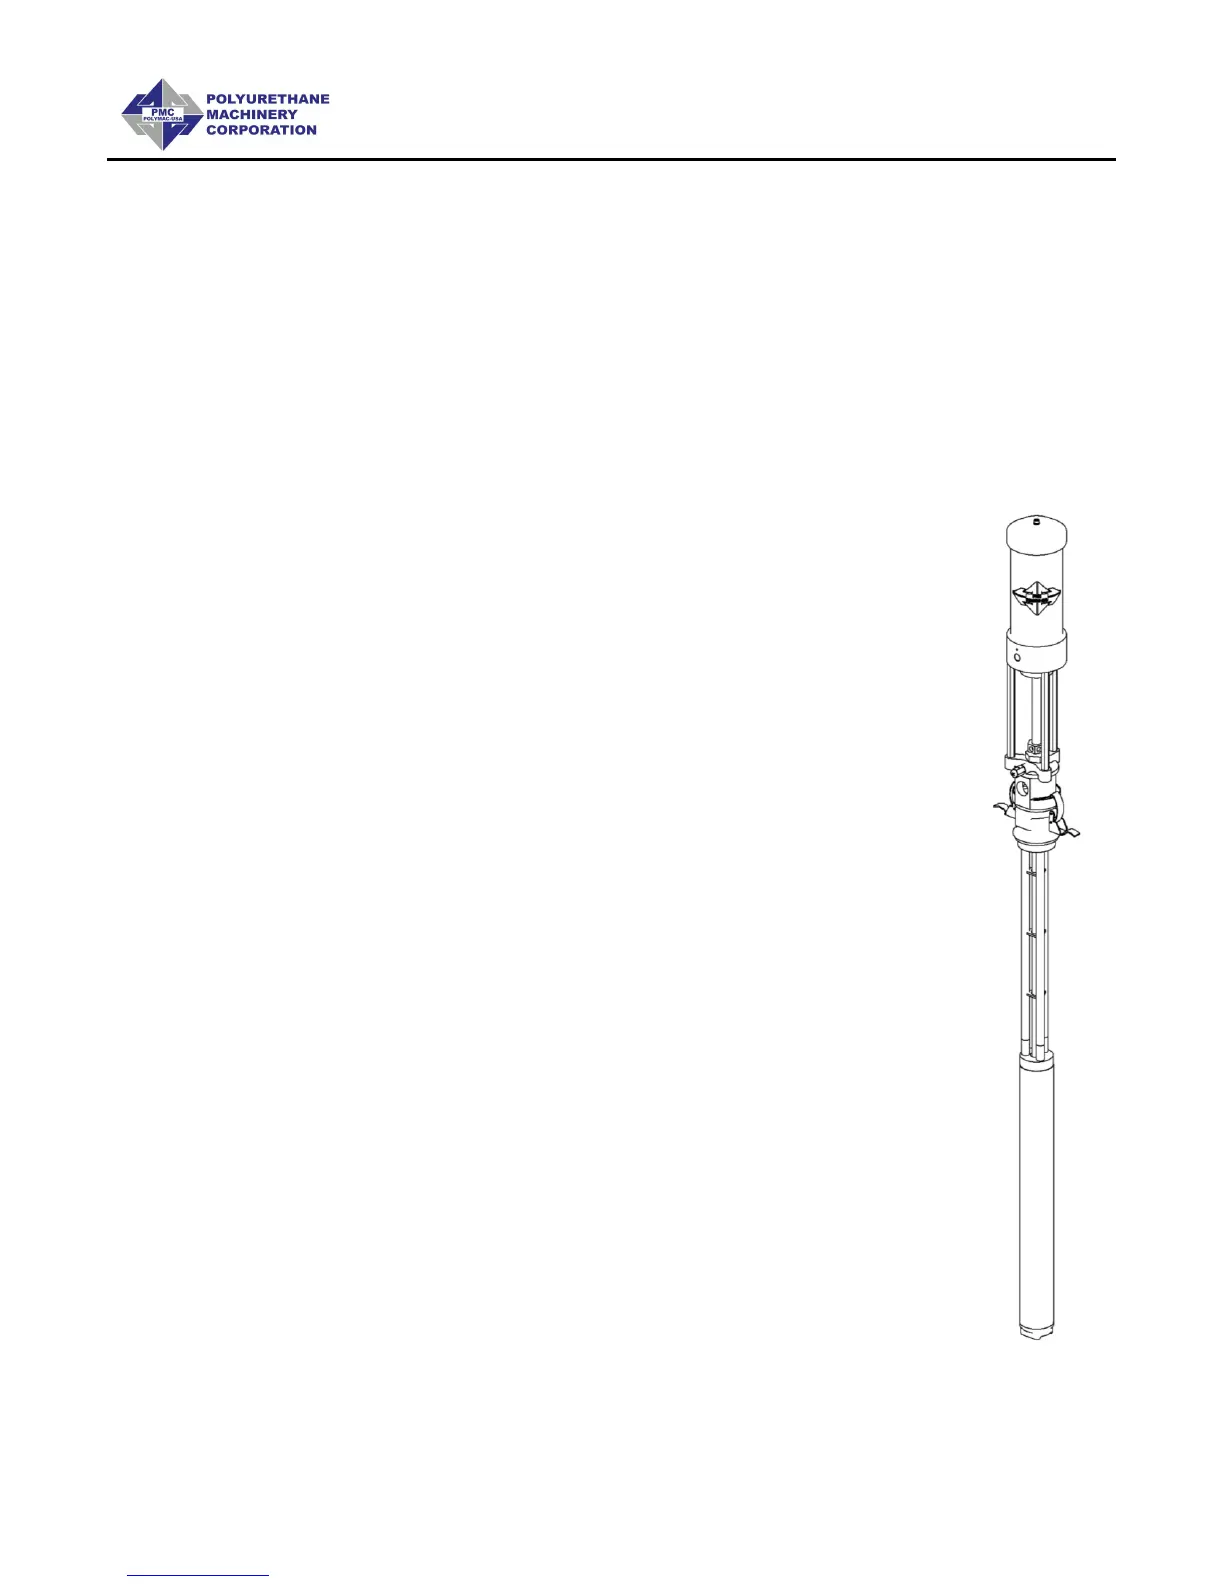
9. Install the Material Transfer Pumps as follows:
WARNING! If Transfer Pumps have been previously
used, pay special attention to connect each Pump to
“its” specific material. Inadvertently changing the
Transfer Pumps will cause a chemical reaction
rendering them useless.
NOTE! Placing tape of the same color as of the Material Delivery
Hoses (red for the Iso (A), blue for the Poly (R)) on each Transfer
Pump would be a good method for minimizing errors in
connection.
a. Make sure that the Inlet Valves on the Proportioner are closed.
b. Connect one end of the Polyol (R) Material Delivery Hose (¾” thread) to
the Proportioner Polyol (R) Inlet Valve and the other end to the Polyol
(R) Transfer Pump.
c. Connect one end of the Iso (A) Material Delivery Hose (½” thread) to the
Proportioner Iso (A) Inlet Valve and the other end to the Iso Transfer
Pump.
d. Connect the air hose to the Transfer Pumps after ensuring each Transfer
Pump Shut-Off Valve is CLOSED.
NOTE! To avoid errors in connection, the Coupling connections of
the Iso (A) and Poly (R) Material Delivery Hoses are different
sizes, making it difficult to swap connections.
10. Ground the Transfer Pump as recommend by the material supplier. The
movement of product inside the Hoses can cause static electricity and
produce electrical discharges.