14
K2 K3 | SERVICE MANUAL
INDEX
4. Troubleshooting:
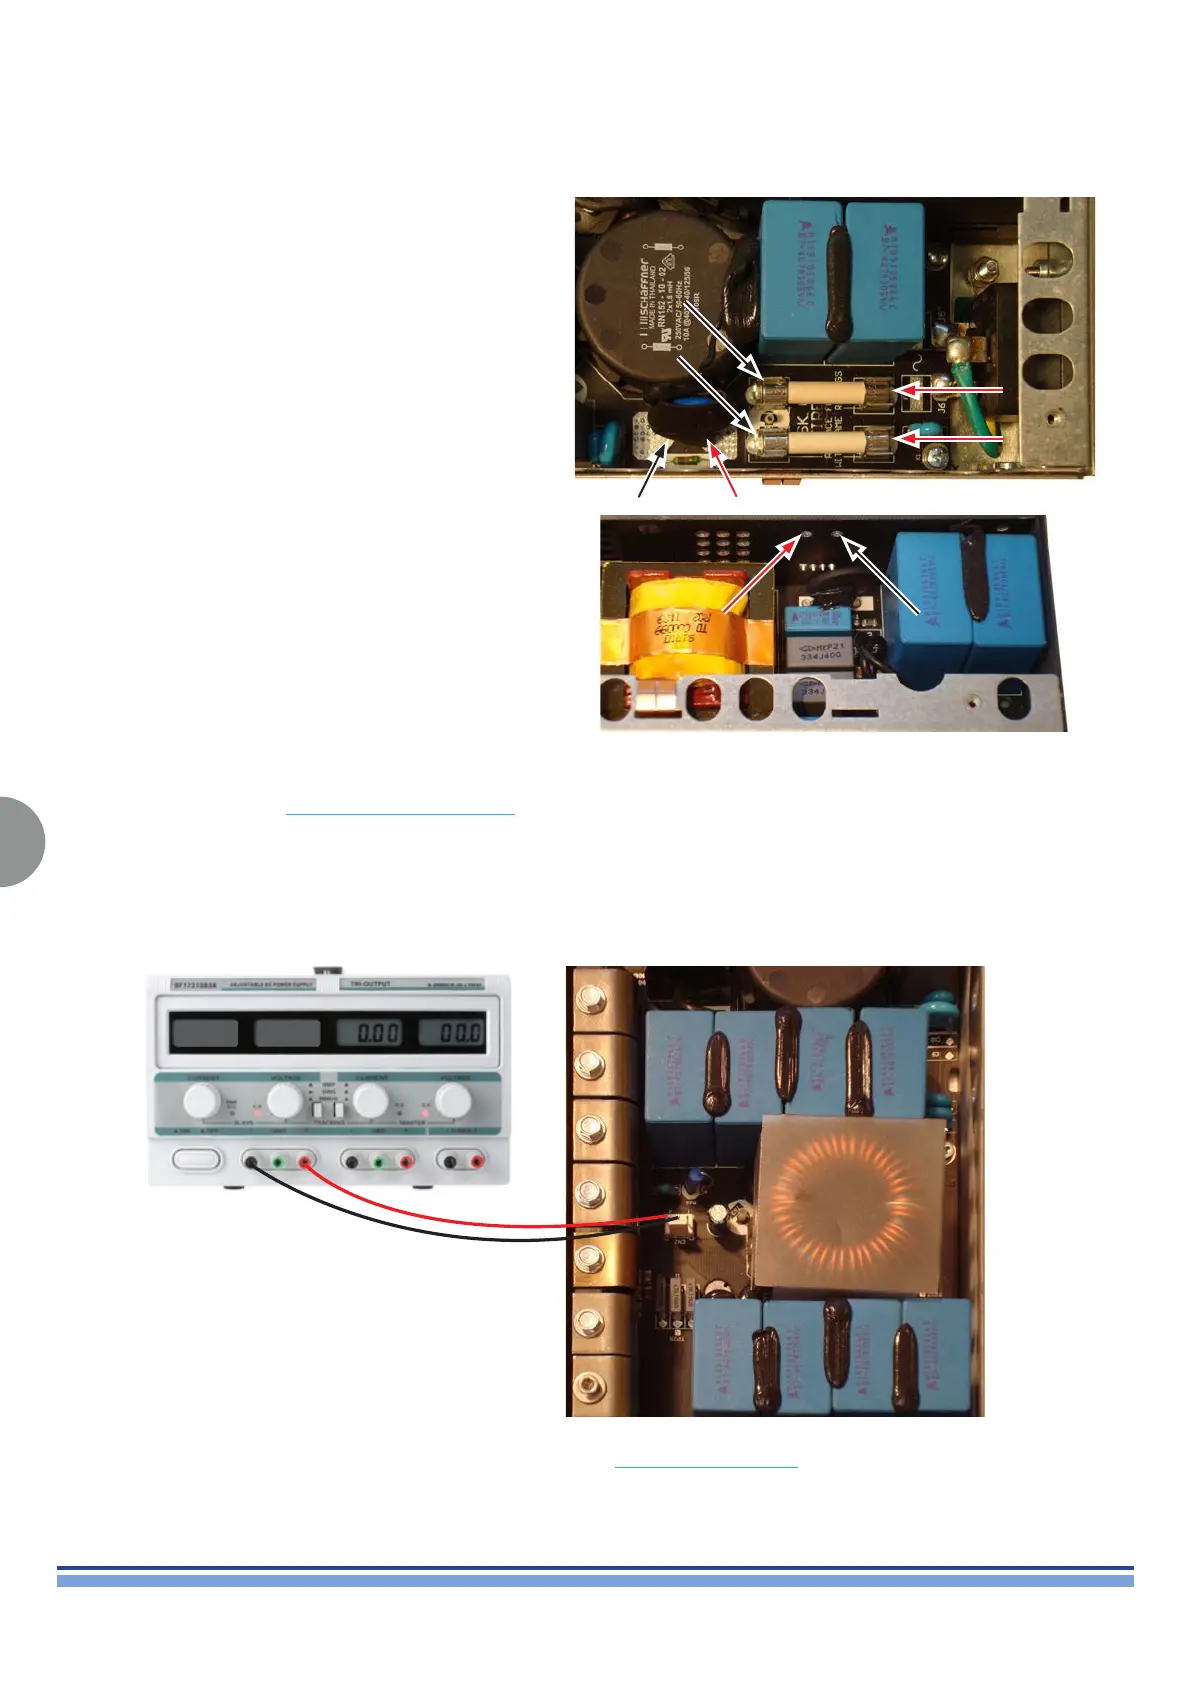
Proceed by connecting the PSU AUX VOLTAGE CABLE to the CN2 connector and an external power supply in order to check the
absorption of the PSU as portrayed in (Fig.8).
Supply 18 Vdc by slowly incrementing the Voltage from 0 Vdc.
Check for proper absorption, it should be 45mA ± 10%.
(Fig. 8)
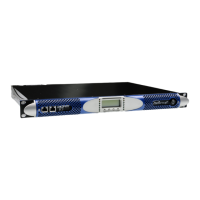
With the multimeter set to Ohm, check for continuity in
the fuses and the varistor highlighted in (Fig. 6)
(Fig. 6)
With the multimeter set to Ohm, check for short circuit
between TP1 and TP2 located on the KLASV11 board.
(Fig. 7)
(Fig. 7)
If the absorption is > 45mA and the fuses/varistors are in fault please remove the PSU board.
A blown fuse or varistor are indicors of a overvoltage
induced fault, please proceed with the following tests and
remove PSU board from the chassis.
Power Supply Board
18 V 45 mA