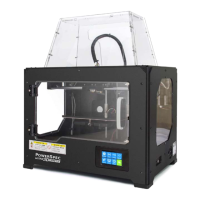
19
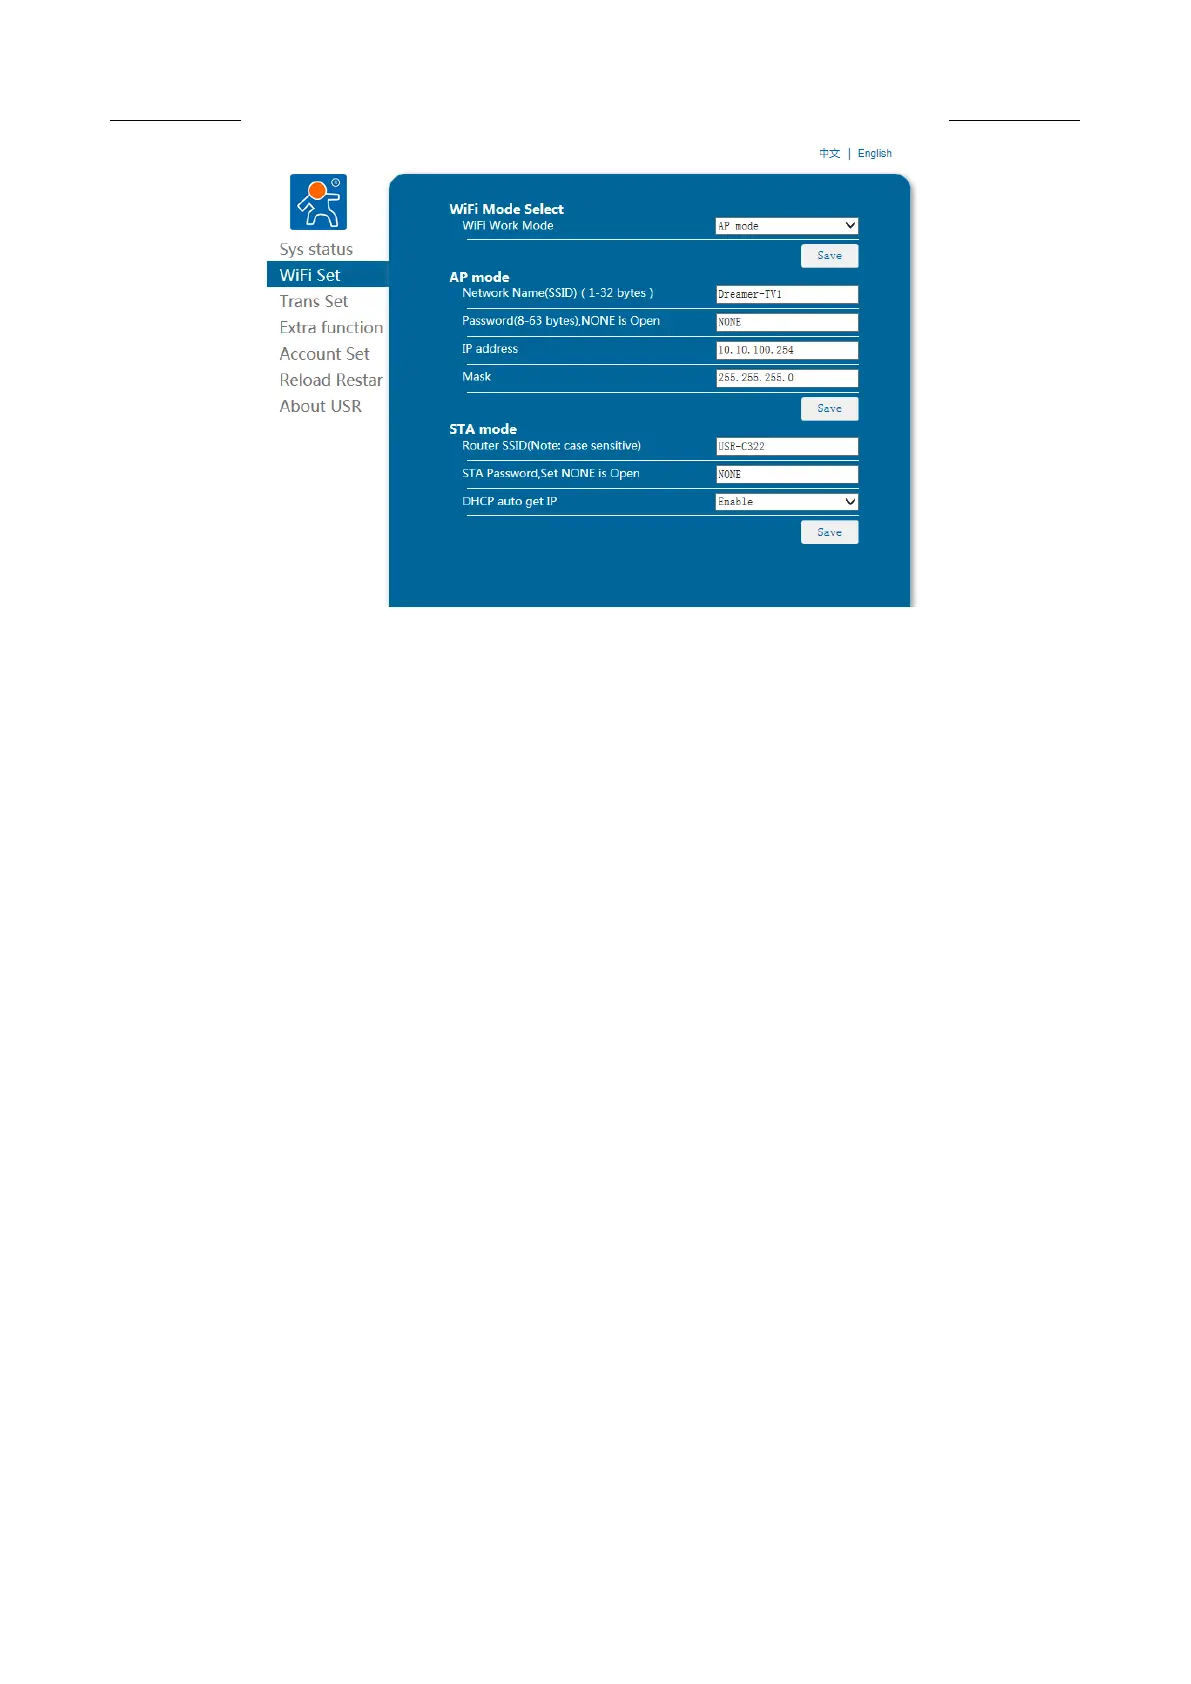
AP Mode Setup: In the setup section of AP Parameters, you should change the SSID, password, IP and subnet
mask. To setup WIFI mode as AP mode, click Save and reboot and AP mode should be set successfully.
STA Mode Setup: In the setup section of STA Parameters, you can change the SSID, Internet Password, and
DHCP Mode. To setup WIFI mode as STA mode, click Save and reboot and STA mode should be successfully.
(Note: If, under the STA Mode, there are incorrect parameter settings or an area beyond the valid range,
the WIFI will fail to connect, correct by switching to the AP Mode by using Reset on WIFI interface.)
1. Reboot the printer WIFI to re-establish a connection, then connect the printer to the Internet in AP mode on
the computer, make sure the Printer and the computer access the same WIFI, then open the PowerPrint and
click on Menu—Print—Connect successfully. Choose WIFI as the link mode, input the IP address of the user’
Internet (The IP address shown on the screen of the 3D printer) to the IP port below, and then click Connect.
2. The printer has connected with PowerPrint. The status bar in the lower right corner should show the
temperatures of the nozzle and printing platform.
3. A printing selection dialog will be displayed after clicking Printing icon. You should ensure that you
choose “ABS/PLA” in the material options. You can click the More icon then select Options to implement
advanced options. Check on Printing after Layering and click OK.
4. G-code files could be saved in any location. After saving, the model starts to be cut into slices and will be
uploaded to the Printer. Then the printer will turn on pre-heat mode and start to print when the preheat
finishes.
2.9.1.2 Disconnect from the printer
Click Print -> Disconnect menu on top of the software interface, the computer will disconnect from
the 3D printer.
2.9.2 Control Panel
After connection between software and 3D printer is established, click Tool s->Control Panel menu to open
the control window. The following operations are available in the control panel to control the printer.