25
7 Initial Print
First, make sure that you’ve completed all the steps in the Un-boxing and Hardware Setup section.
1. Your dual extruder heads should be bolted in place.
2. Your filament guide tubes are connected.
3. Your filament is mounted on the spool holders.
Once all these have been completed, you can plug in your power supply. If everything is ready, then turn on the
power switch on the back of your Printer.
Every printer will be leveled before being shipped, but the build platform could move during delivery, so it is
important to level the platform before you begin to print.
The 3D printer utilizes a three-point leveling system for its build plate. At the bottom of the build plate, there is
one spring-loaded screw in the front and two in the back. Tightening the screws will create a bigger gap between
the build plate and the nozzle while loosening them will create lesser gap.
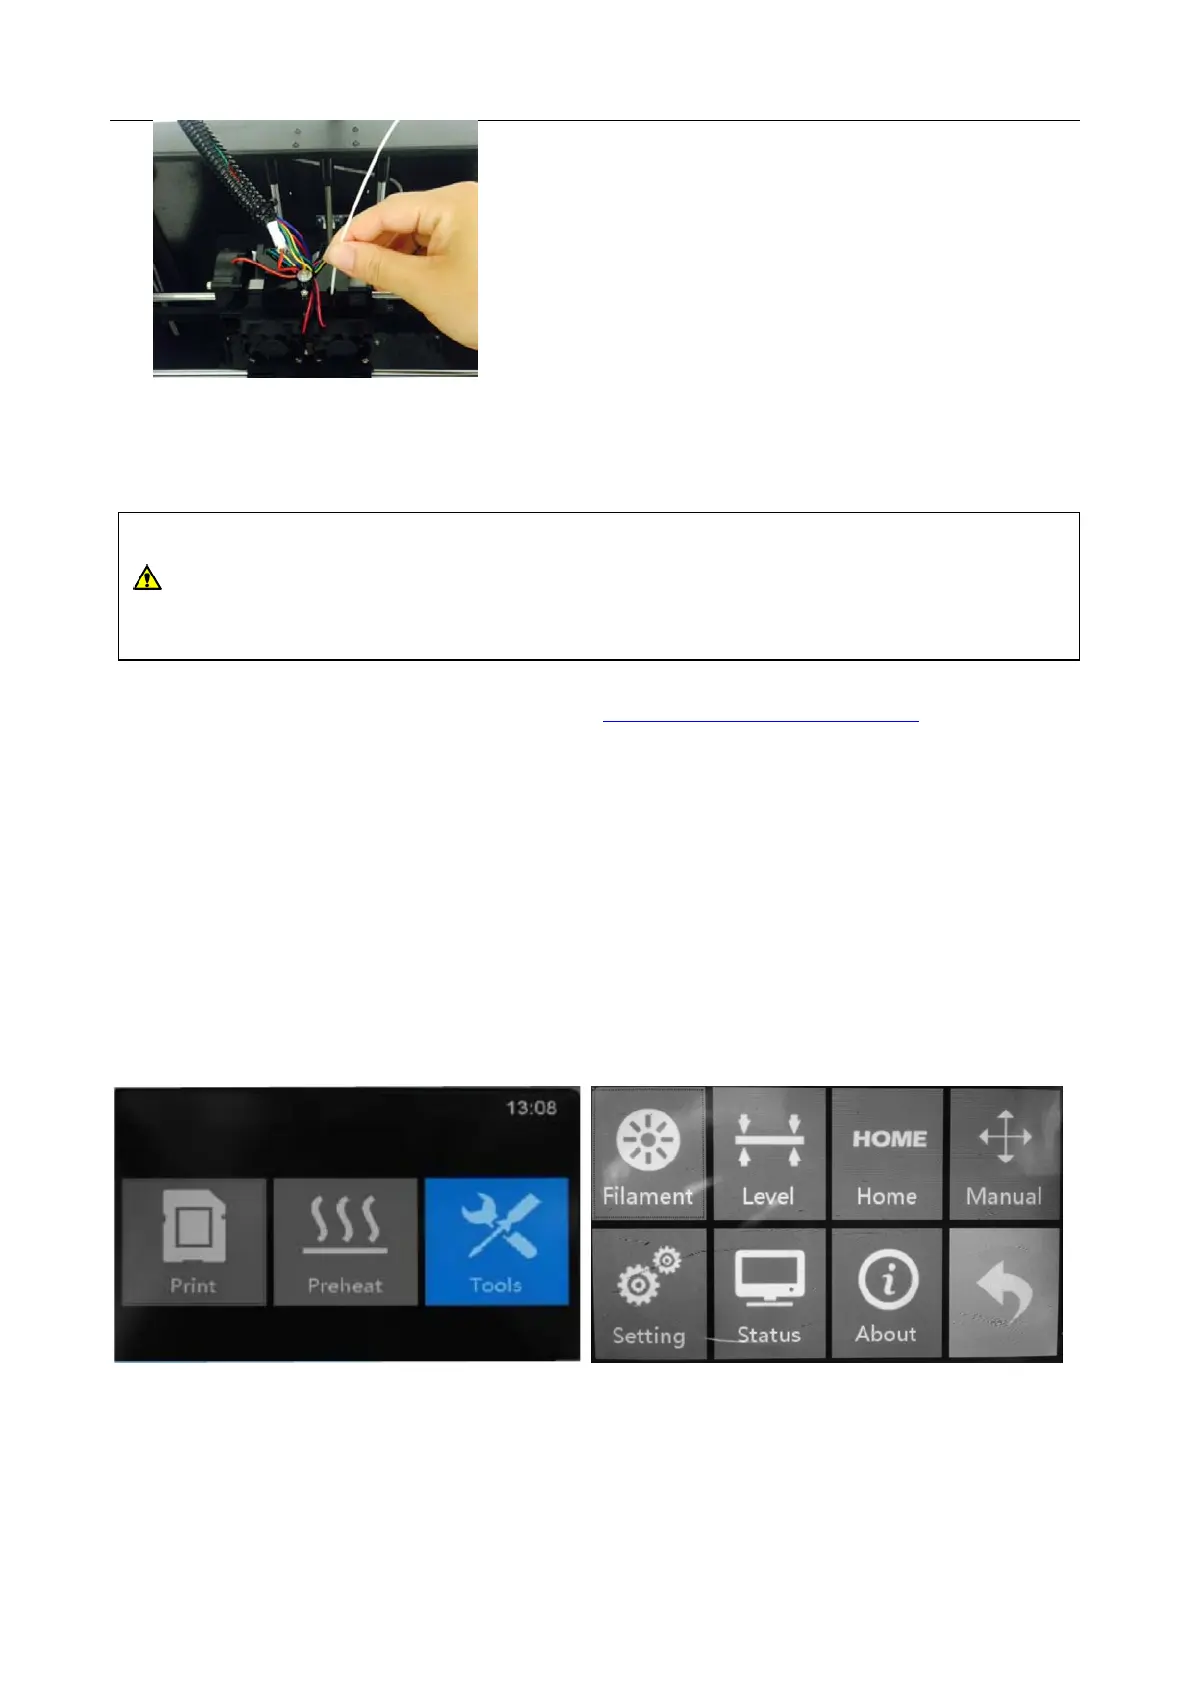
From the main menu, select [Tools] and [Level]. The extruder and the build plate will begin to move to the
starting position.
Cut a piece of paper and put it between the plate and nozzle. Once the extruder and build plate stops moving, slide
the piece of paper continuously back and forth between the nozzle and the build plate. And simultaneously adjust
the screw just enough so that the paper causes a slight friction.
CAUTION
The printer build plate has been leveled perfectly before leaving factory. However, it may move during
shipping so please verify the build plate is level before starting a print. See instructions below.