28
4. Powerprint will begin slicing the 3D model.
5. After the object is done slicing, take the SD card from the computer. Insert it into the SD card slot on the 3D
printer.
6. Turn on the 3D printer. Make sure the build plate is leveled and that filament is loaded in the left extruder.
7. Press [ Print ] and then press the middle SD Card icon.
8. A list of file(s) will show up, press the file that you would like to print, then press [ Yes ].
9. The printer will now enter the preheating phase and will start printing once it finishes preheating
Printing from Wi-Fi
1. Turn on 3D printer. Make sure the build plate is leveled and that filament is loaded in the left extruder.
2. Turn on Wi-Fi on the 3D printer. To do this, press [ Tools ], [ Setting ], [ WIFI ], and [ WIFI ON].
A connection called“PS_3D_Ultra_Printer” can be found on the list of available networks. Connect to this
network.
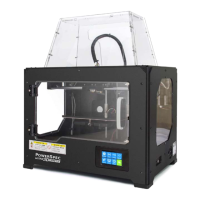
3. After connecting the printer with the computer, you should access to “10. 10. 100. 254” through IE browser,
then login in the website with the account and password (Account: admin Password: admin). You will find the
following wireless settings panel below.
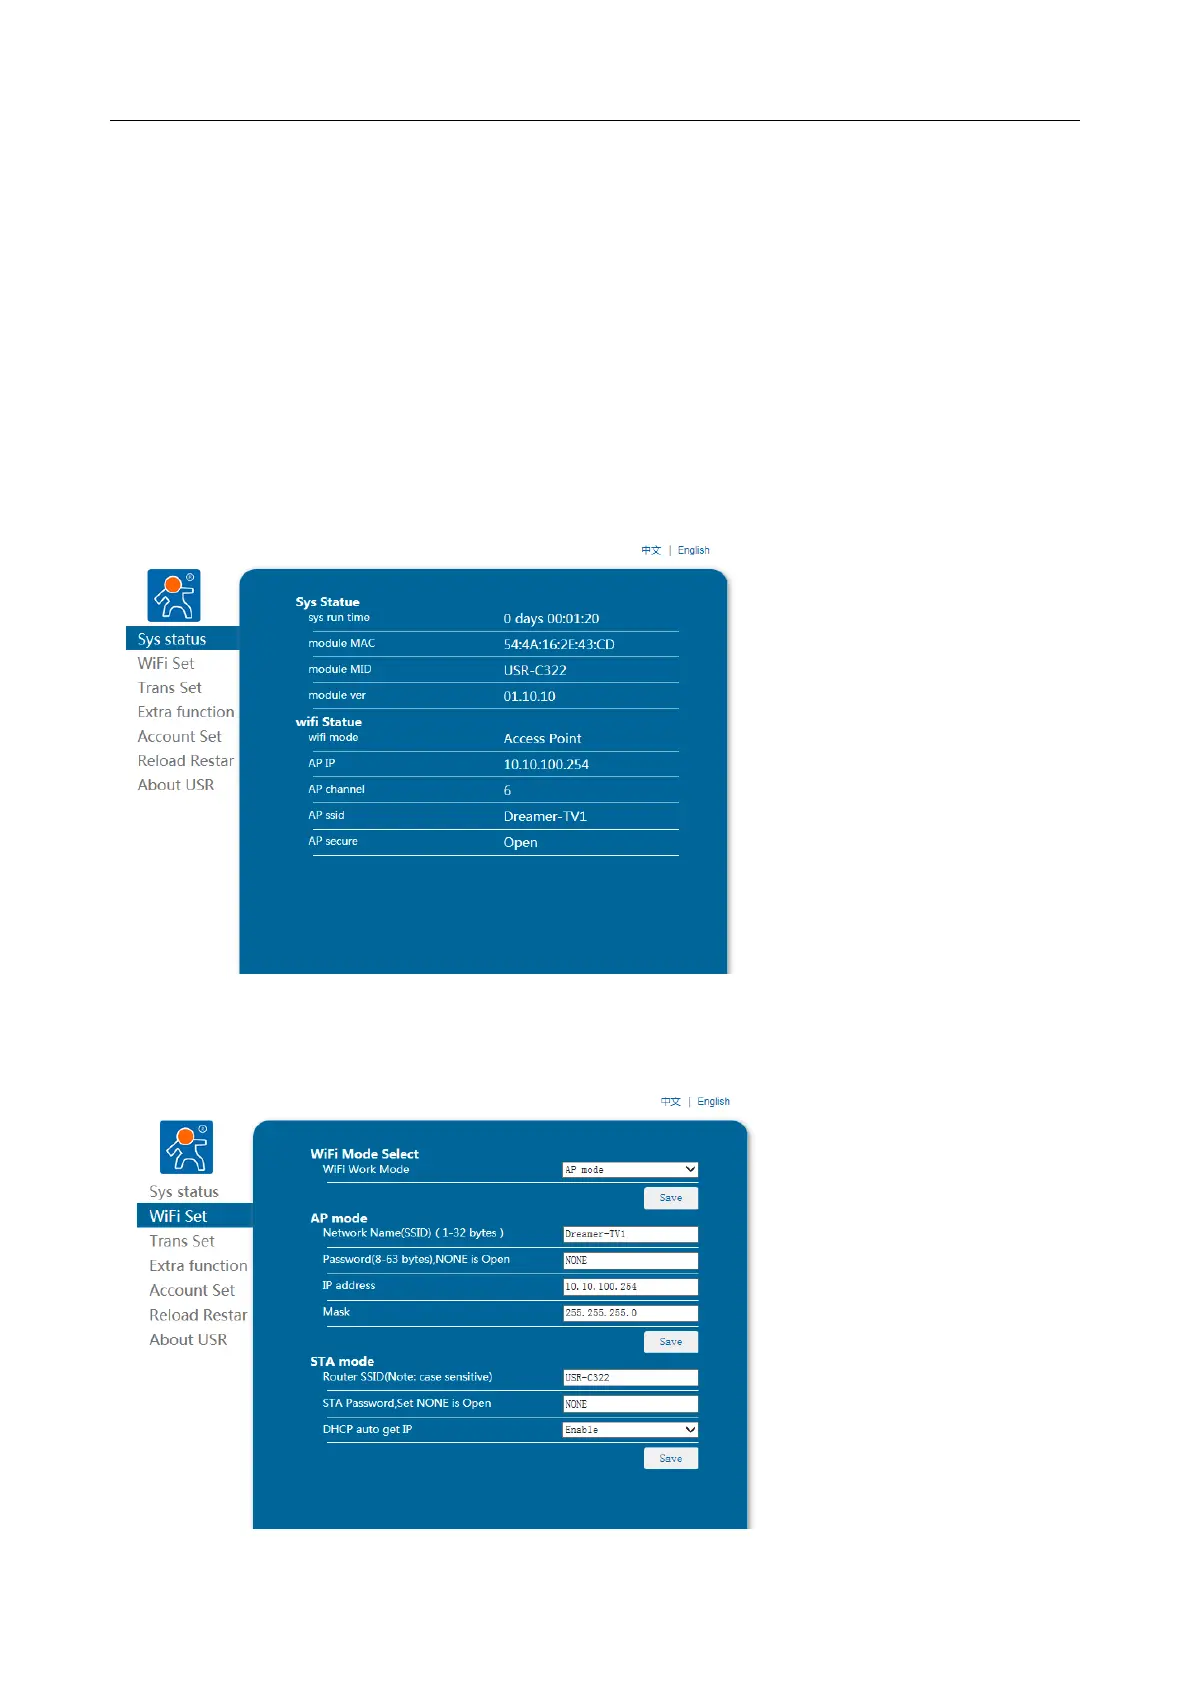
4. Click on the WIFI Set, you can check and set the WIFI Operating Mode, as shown in the picture below:
AP Mode Setting: In the setup section of AP Parameters, you should change the SSID, password, IP and subnet
mask. Then set up WIFI mode as AP mode, click on Save and reboot and will be set successfully.