POWERVAR Security Plus UPS
44
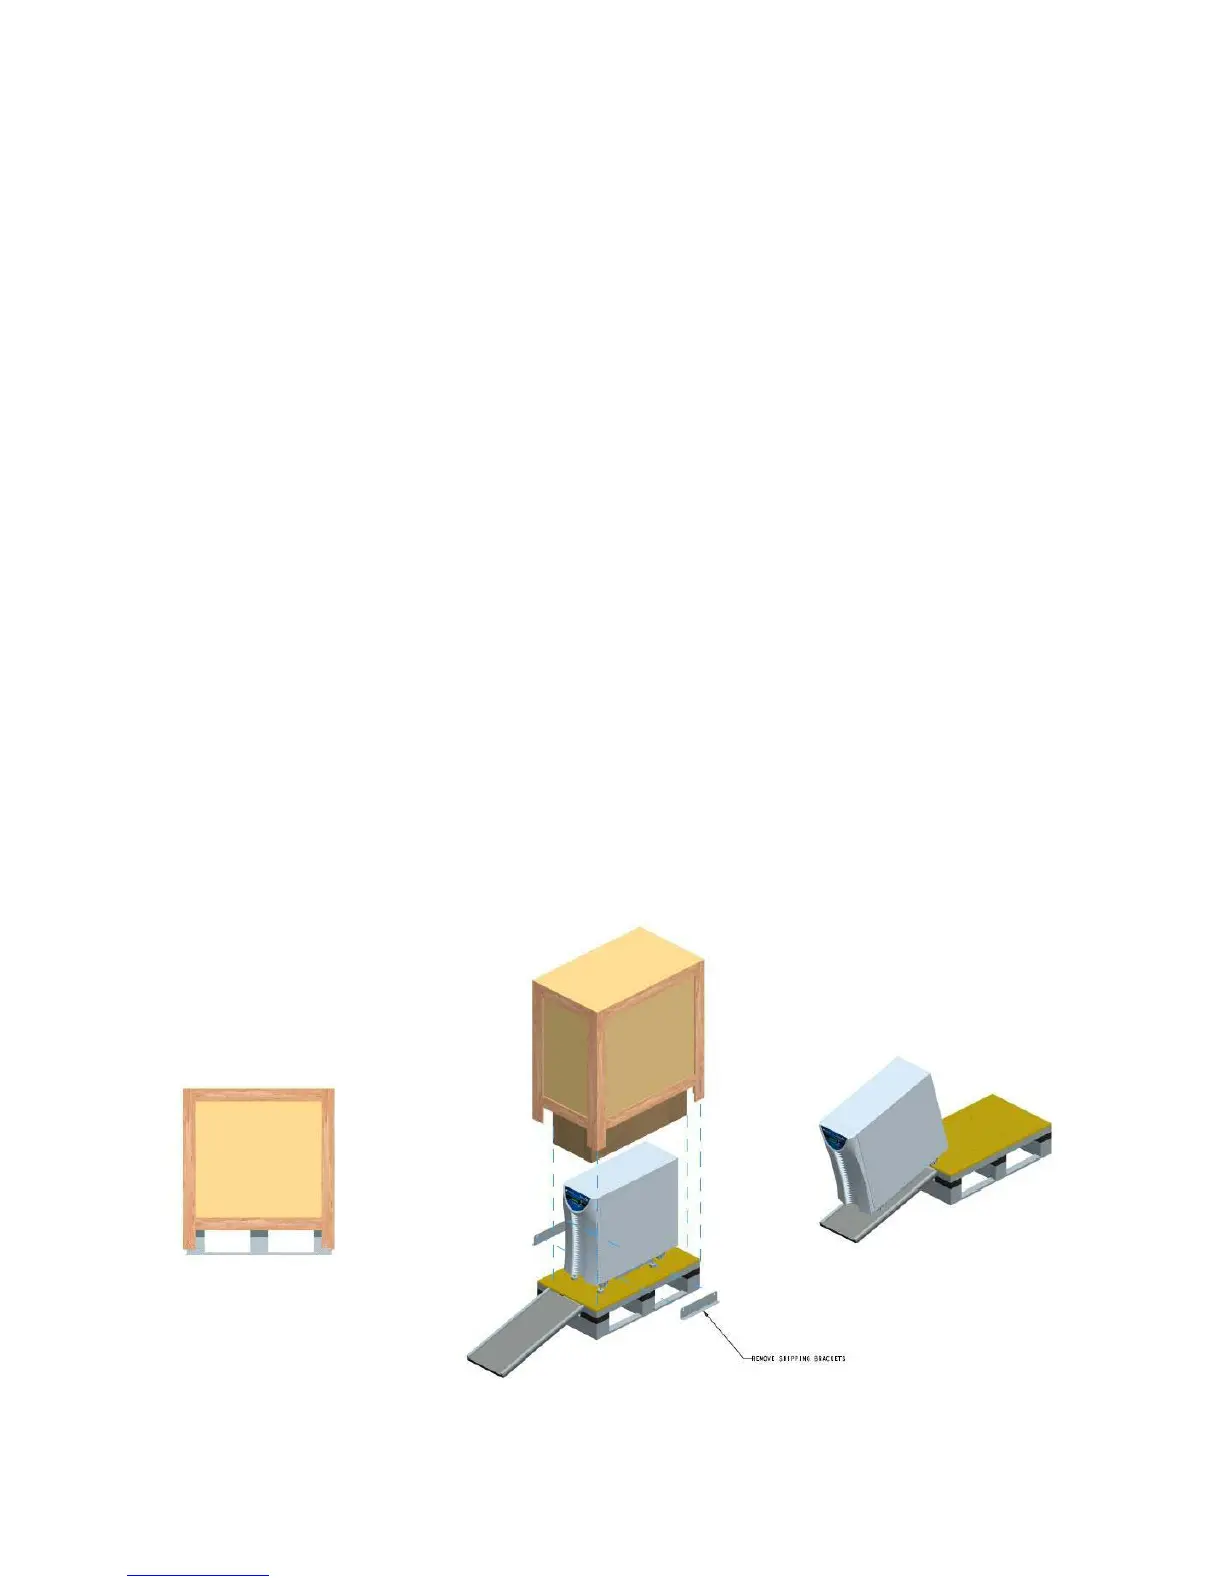
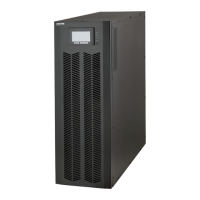
Security Plus Unpacking Instructions
For 2-6kVA Models
The UPS is packed in a heavy duty inner cardboard carton inside a larger plywood shipping container. Both carton and
container are securely attached to a heavy duty shipping pallet. The packing materials may be retained for use in
shipping the UPS to another location. Should you find it necessary to do so, please observe the correct orientation of the
UPS when packing. The side faces of the carton are printed with appropriate packing notices as well as the equipment
model number.
Unpacking the UPS requires simple tools such as a screwdriver and an adjustable wrench. To remove the UPS from the
shipping container and packing materials, follow these simple steps while referring to Figures 3-2 below.
1) The unit has nylon banding on each side of the plywood shipping container which holds the plywood shipping
container to the shipping pallet. Remove these nylon bands carefully by cutting them.
2) With help from an assistant, raise the plywood shipping container straight up from the pallet until it is clear of the inner
cardboard carton.
3) Remove any foam packing/cushioning material and save for re-use.
4) The plywood assembly on top of the cardboard carton is a ramp for rolling the UPS off the shipping pallet. Remove
the plywood ramp and set it to one side.
5) Remove the inner cardboard shipping carton and protective plastic cover from the UPS.
6) The UPS is attached to the shipping pallet with two shipping brackets – one on each side of the UPS. Using an
adjustable wrench or socket set, remove the two bolts that attach the bracket to the UPS. Remove the two bolts that
attach the bracket to the shipping pallet. Repeat for the other side of the UPS.
7) The UPS has four leveling feet. Be sure to check that the levelers are up against the bottom of the UPM to ensure the
UPS rests completely on its four casters.
8) Attach the ramp as shown in Figure 3-2. CAUTION: The lip of the ramp MUST lock into position under top
surface of pallet for SAFETY. With the help from an assistant, carefully roll the UPS off the pallet and down the
ramp to the floor of your facility. The UPS may now be easily moved on its casters to the installation location.
Figure 3-2