4-- 2
Powerware 9315 (500 kVA--750 kVA) T1 and T3 Installation Addendum
164201244--001 REV. A 011500
3. Set the pallet on a firm, level surface, allowing enough clearance on each side
for fork lift truck access.
4. If outer packaging is secured with steel bands, cut and remove the bands from
around each cabinet.
5. Remove the protective covering from the cabinets.
6. After removing the protective covering, inspect the contents for any evidence
of physical damage. If damage has occurred, contact the Powerware, Inc.
Customer Service Department immediately to determine the extent of the
damage and its impact upon further installation.
NOTE: While awaiting installation, protect the unpacked transformer from moisture,
dust, and other harmful contaminants. Failure to store and protect the
transformer properly may invalidate the warranty.
4.2 Transformer T1 Installation
WARNING:
Installation should be performed only by qualified personnel.
To install Transformer T1, perform the procedures in the following paragraphs.
Refer to Chapter 1 Getting Started for tools and equipment required to install
transformer.
4.2.1 Hardware Removal for Access to T1 Mounting Location
To gain access for T1 installation, perform the following procedure:
NOTE: Retain all removed assemblies and hardware, and store in a safe place to
prevent damage. Assemblies and hardware will be reinstalled upon
completion of the installation procedure.
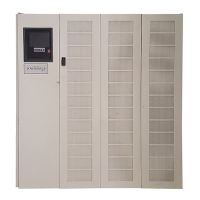
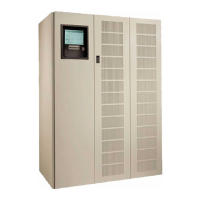
1. Move the Output/Inverter Cabinet to the work area determined using the
guidelines presented Chapter 1 Getting Started.
2. Open cabinet doors.
3. Remove top door hinges and remove doors.
4. Remove four rear panels from cabinet as follows (see figure 4---2):
a. Remove panel 1 by loosening four screws at bottom of panel and
removing ten screws from top and sides. Remove panel.
b. Remove panel 2 by loosening four screws at bottom of panel and
removing ten screws from top and sides. Remove panel.
c. Remove panel 3 by loosening four screws at bottom of panel and
removing six screws from sides. Remove panel.
d. Remove panel 4 by loosening four screws at bottom of panel and
removing six screws from sides. Remove panel.
5. Remove vertical center channel by removing two top and two bottom scews
( s e e f i gu r e 4 --- 3 ) .