page 13
7. Attach the
right side
upright support to the base assembly. Diagram 6. Align
the right side upright support with the base assembly mounting locations while
your assistant keeps tension on the cable. Refer to Diagram 6, #1. To secure the
upright support to the base assembly, take the following steps:
a. Place a washer (D) onto each of two ¾-inch screws (C). Thread the screws
through the front panel and into the upright support. Do not fully tighten the
screws. Leave room for final adjustments.
b. Place a washer (D) and barrel spacer (B) on each of two 2-inch screws (A).
Insert the screws through the upright support and thread them into the base
mounts. See Diagram 6, #3. Do not securely tighten the screws until after
the unit has been fully assembled.
8. Attach the
left side
upright support to the base assembly. Diagram 6. Align
the upright support with the base assembly mounting bracket and secure it by
following steps 7a. and 7b.
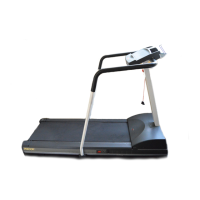
9. Position the display console onto the upright supports. Diagram 7. Make
sure that the cable is routed through the top of the upright support. Have an
assistant hold onto the cable (see inset).
CAUTION: Do not crimp or pinch the cable!
Crimped or pinched cables are not covered
by the Precor limited warranty.
Diagram 6
Attach the upright
supports.
2
1
3
Front panel
Right side upright
support
Attach the right
side support first.
Right side upright
support
Display cable
Diagram 7
Install the display
console.
Display console
Display console
mounting brackets
Upright support
CAUTION: Avoid pinching the cable with
the bolts and spacers.
Left side upright
support