5858
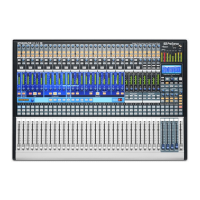
PreSonus StudioLive
™
24.4.2
Quick Start:
Level
Setting
Overview Hookup Controls Connecting
to a
Computer
Tutorials Technical
Information
Trouble-
shooting
and Warranty
Software: Universal Control,
SL Remote, Capture,
and Studio One Artist
5 Scenes, Presets, System Menu, and MIDI Control
Scenes, Presets, System Menu,
and MIDI Control
5.4 System Menu
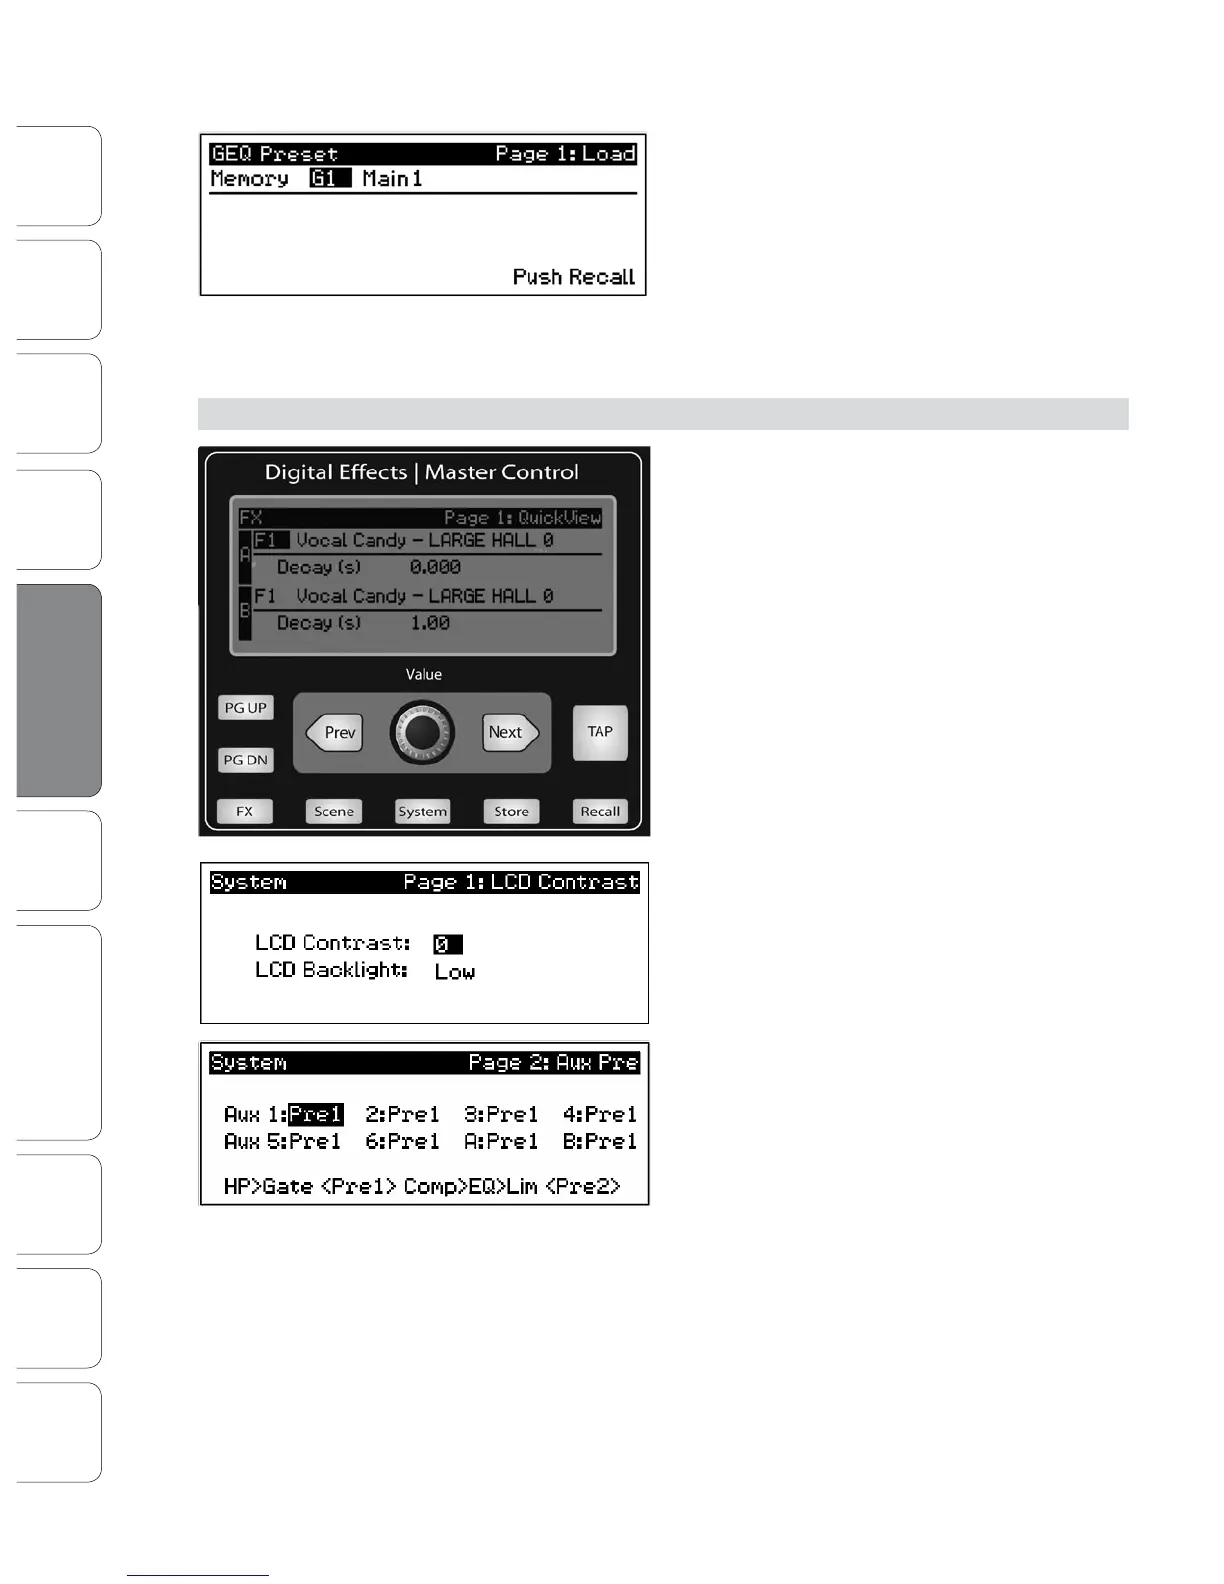
To load a preset to any channel on the StudioLive, rst
press the GEQ button and Page down to the desired
GEQ. From the Fat Channel, press the Load button. You
will notice that LCD now displays the GEQ Load menu.
Use the Value encoder to locate the preset you would
like to use.
Once you have made your selection, press the Recall button. If at any time you
would like to cancel this operation, simply press the Load button again.
5.4 System Menu
In most digital-console manuals, the phrase “System
menu” inspires a sense of dread. However, with the
StudioLive, you have nothing to fear. The System
menu on the StudioLive serves just a few simple
functions, most of which have very little to do with
mixing a show.
Like the Scene and FX Menus, your StudioLive
remembers on which page of the System Menu you
were when you navigated way. To quickly jump to
Page 1, simply press the System button.
LCD Contrast and LCD Backlight.
Press the System button to access the System
menu. The rst page allows you to adjust the LCD
Contrast and LCD Backlight for optimal viewing
in your working environment. These settings
are retained when the unit is powered down.
Aux Pre Position.
Press the Page Down button to access the Aux
Pre Position page. By default, all 10 Aux buses
are set to Pre 1. This places the send of all 24
channels to each aux bus before the fader,
limiter, EQ, and compressor and after the phase-
reverse switch, high-pass lter, and noise gate.
The 2 internal eects buses are set to Pre 2, which routes each of the 24 channels
after all Fat Channel dynamics and EQ but pre-fader. From this menu, you can
choose between these two Pre positions for each Aux mix. If you have two Aux
buses stereo linked, you only need to set the Pre position on the Link Master.
Remember, the Link Master is the aux that was selected when the link was created.
To nd out which Aux is the Link Master, simply select either of the Aux buses in
the pair. The Link Master‘s ID will be shown in the Select Channel LED readout.