18 CHAPTER 3
Working with the Software
Select a product type and label stock from
the lists on the right side of the wizard. The
preview image should match your actual
label stock. (Note: Deluxe Edition users can
change the stock later with the Change
Label Stock command under the Edit
menu.) Click the Next button when you’re
satisfied with your choice.
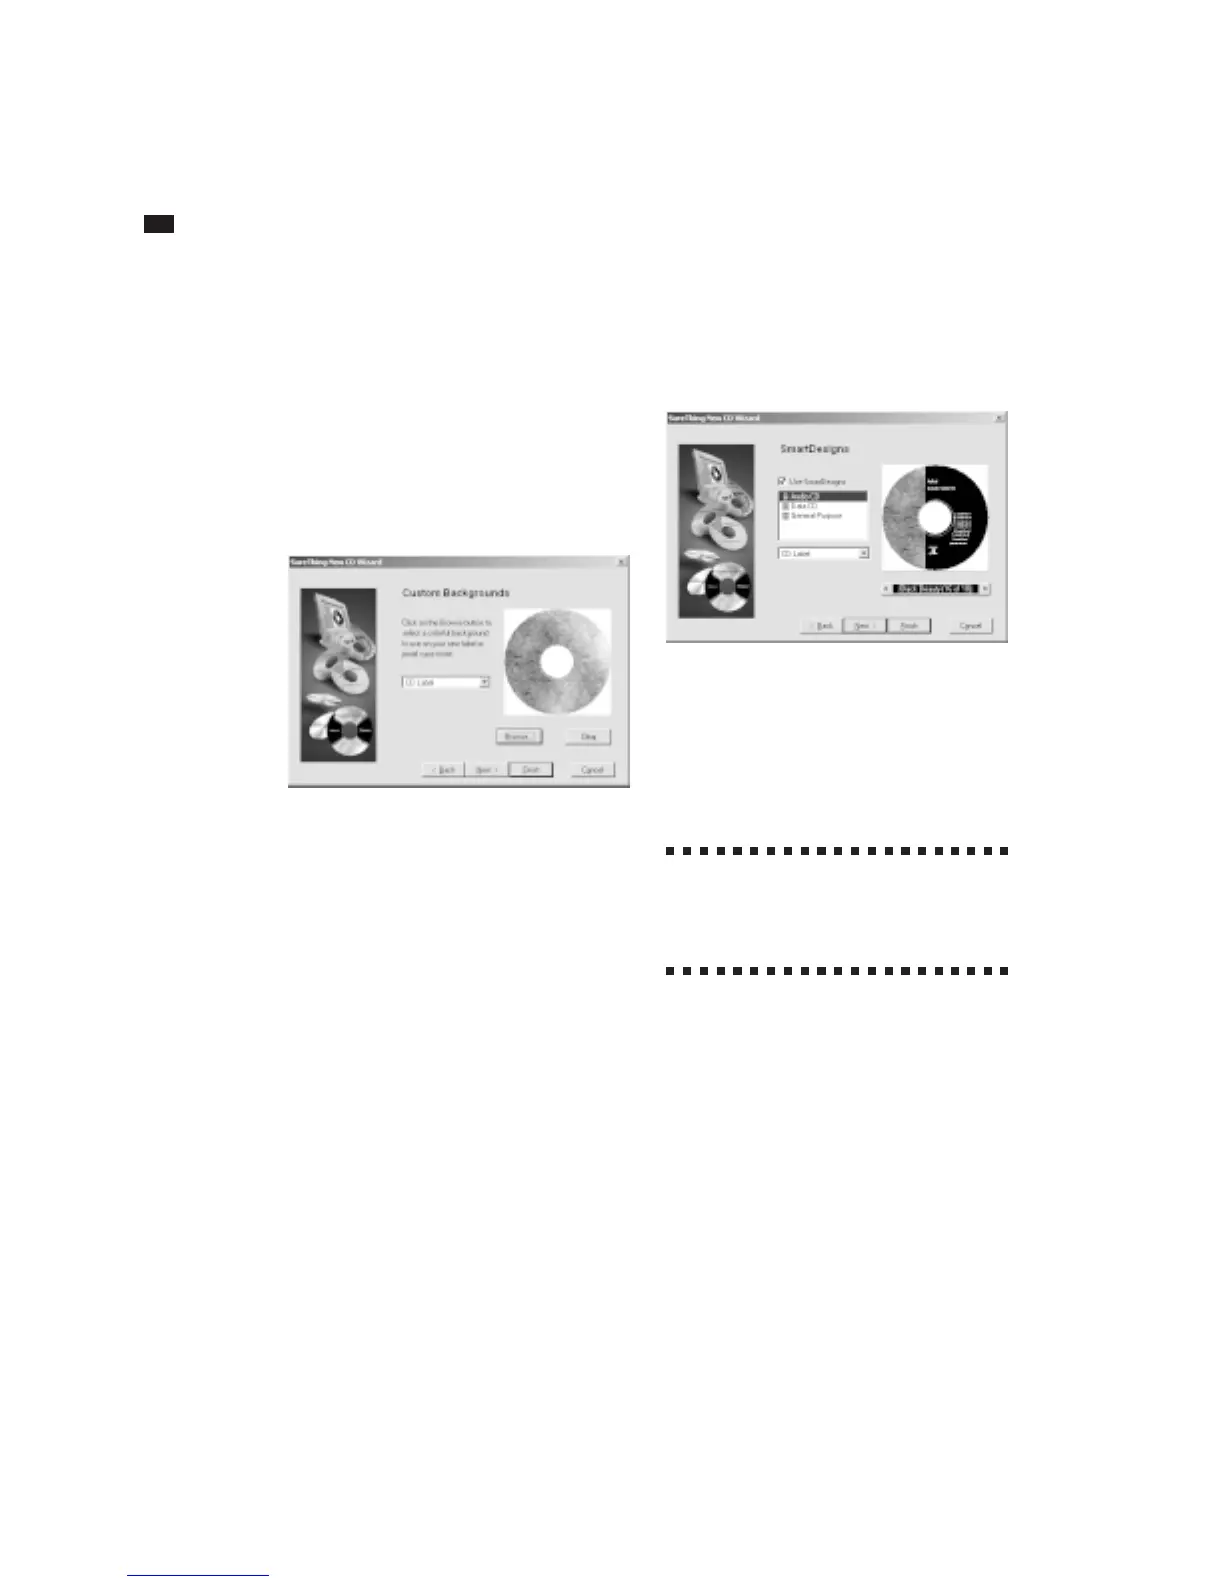
Select a background for your label
You have the option to select a back-
ground image for your label. To see a list of
available backgrounds specially designed
for SureThing, click the Browse button and
select an image. A preview of it will appear
in the wizard. If you change your mind,
click the Clear button to use no back-
ground, or click the Browse button again
and select a different background. You can
select backgrounds for your CD label or
jewel case spine by clicking the drop-down
list before you browse the backgrounds.
Click the Next button when you’re satisfied
with your choices.
The next step of the wizard presents you
with the option of using SmartDesign
templates, or designing a blank label from
scratch. We recommend you choose Use
SmartDesigns.
Select an initial SmartDesign
There are three categories of Smart-
Designs: Audio CD, Data CD and General
Purpose. These categories determine the
type of information, such as playlist track
titles, that will be part of your design.
;
If you select the General Purpose
option, you can later switch to
either Audio CD or Data CD if you choose
to apply a playlist to your design.
This step lets you change the SmartDesign
options for your label. You can change
many of these options after you’ve created
a label, so don’t worry about being locked
into a particular SmartDesign or back-
ground.
Click the Finish button to complete the
wizard and start editing your label. Or...
Click the Next button to add playlist
information to your design if you are
creating an Audio CD or Data CD design.