29
5.2.3 Control panel installation D1C W
A 4 mm wide flange acting as the stop for the control panel together with an all-round groove for a seal is
provided on the perimeter of the device. When mounted in a control panel, the entire front section
protrudes by approx. 35 mm from the control panel. The device is mounted from the outside in a prepared
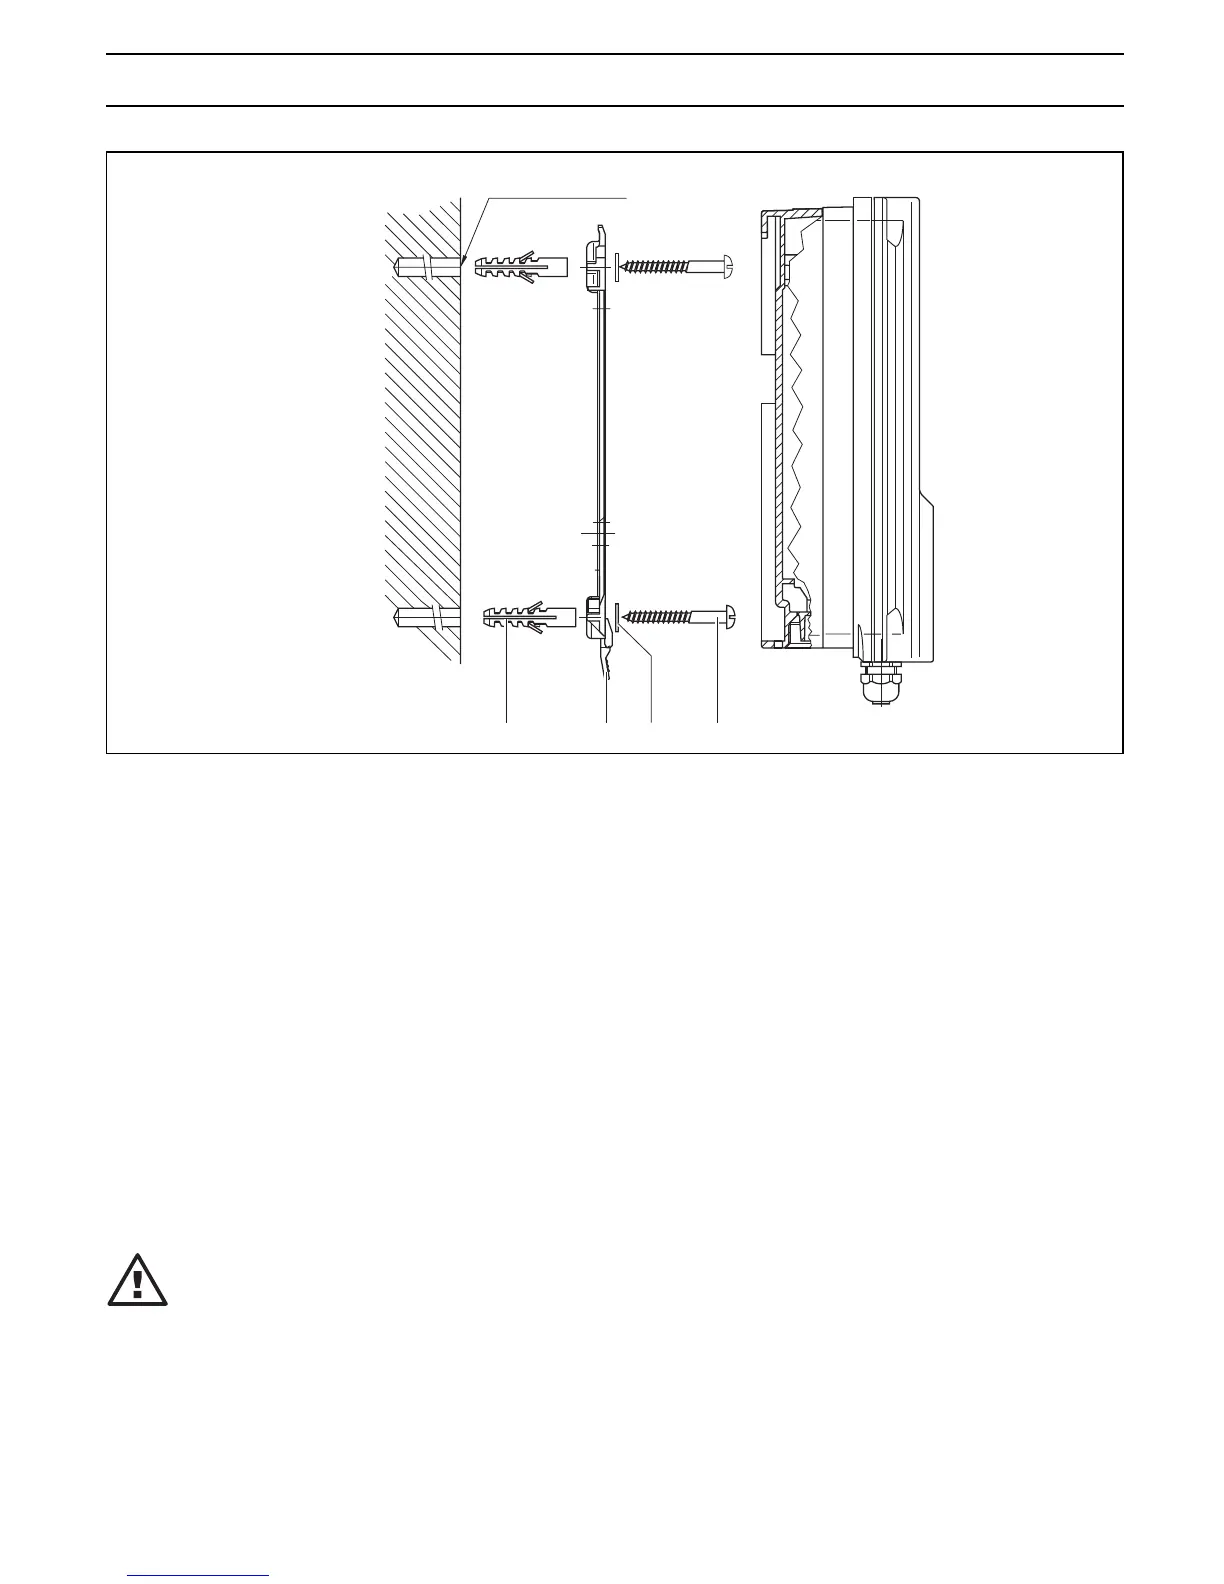
aperture in the control panel. The device can be secured to the control panel from the inside with the
securing material provided.
Securing material for control panel installation:
• Item (1) 1x cellular rubber seal d3
• Item (2) 6x retaining bracket, galvanised steel
• Item (3) 6x PT self-tapping screw, galvanised
Procedure
Using the cut-out template provided, first mark the exact position of the device on the control panel. Where
possible, it should be positioned at eye-level. Ensure sufficient space is left at the top to allow for the “park
position”. Mark and drill the corners. Hole diameter 12 - 13 mm.
IMPORTANT
Dimensional deviations may occur as the result of photocopying the cut-out template.
Now make the aperture as specified in the drawing with the aid of a punch or compass saw. The control
panel should be 2 - 3 mm thick. Before fitting the device in the aperture, evenly press the seal into the
groove on the outside of the housing. With the aid of a second person if necessary, the controller can then
be firmly secured with the retaining brackets and screws to the control panel.
3421
D1C1(W) 003 D
Ø 8 x 50 deep drilled hole
Mounting / Installation