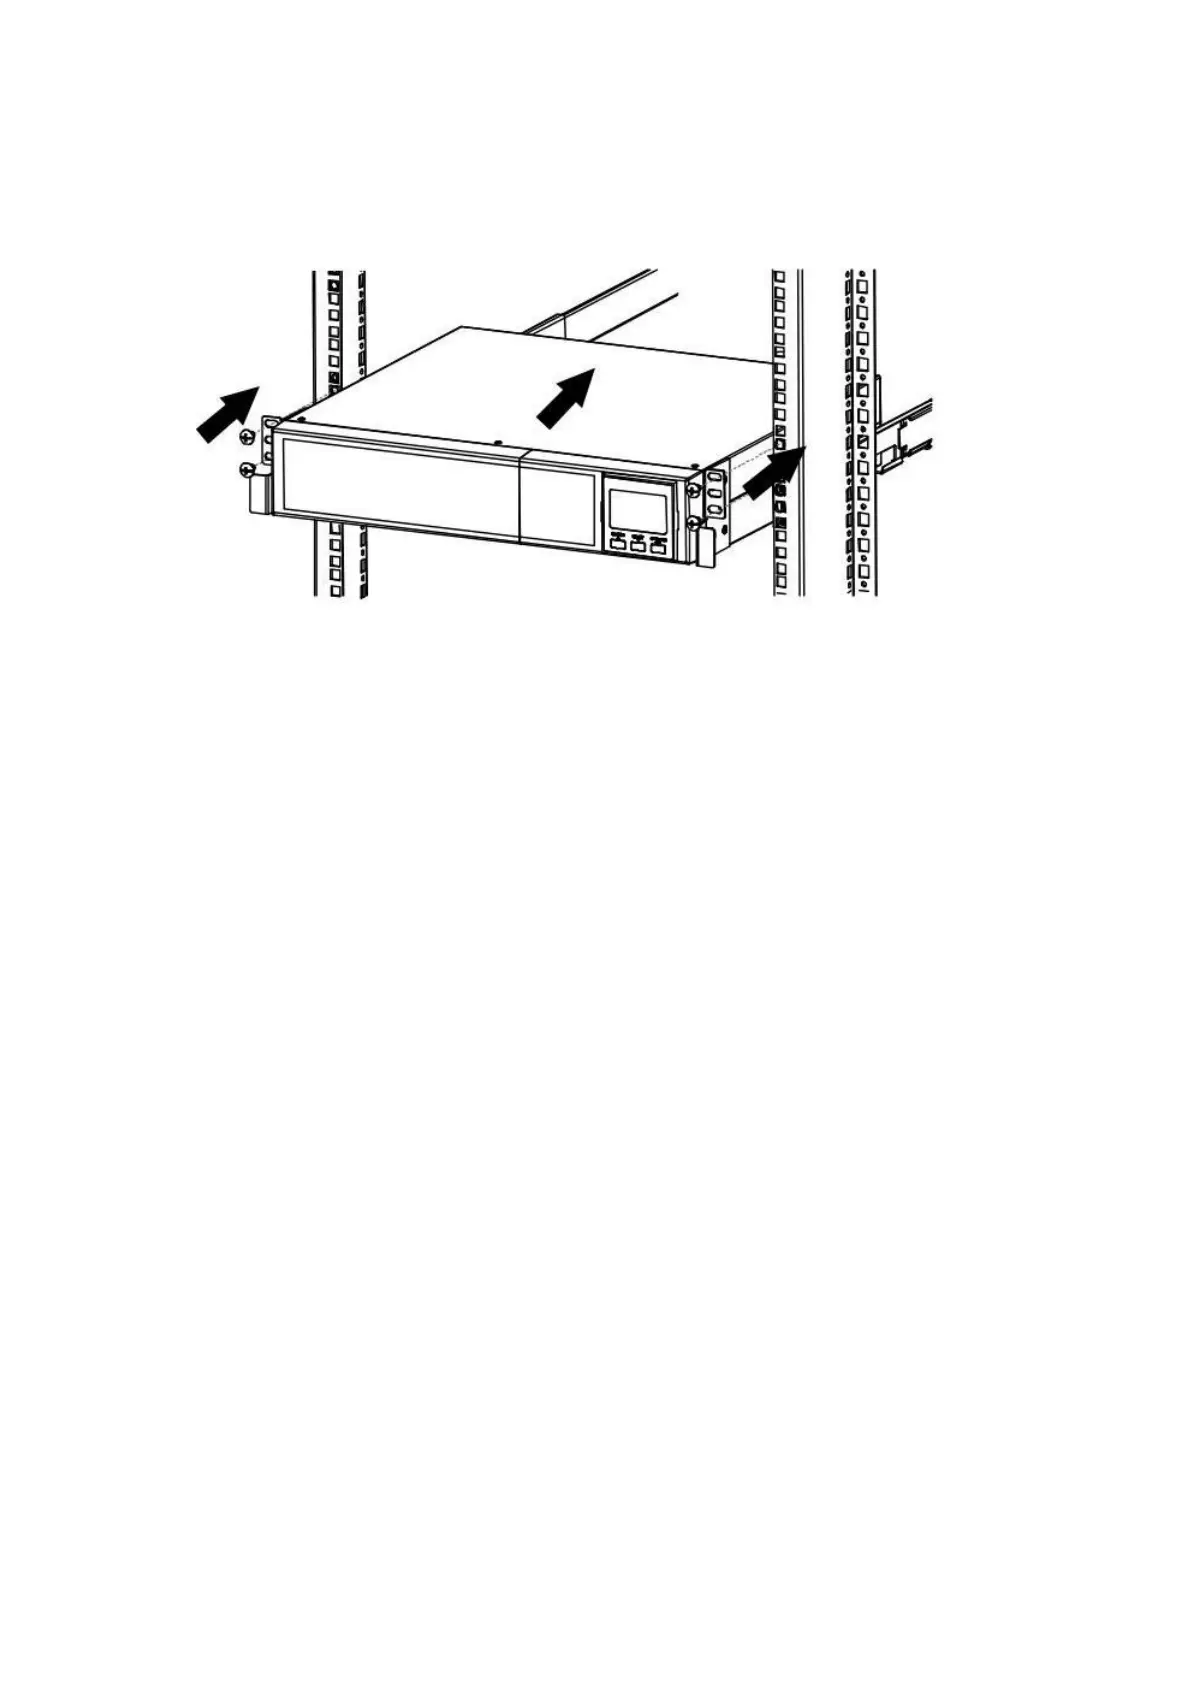
3.3 Rack Mount UPS Installation
This UPS can be mounted in the 19”rack chassis. Please follow below steps to position this UPS.
3.4 Setup the UPS
Before installing the UPS, please read below to select proper location to install UPS.
UPS should be placed on the flat and clean surface. Place it in an area away from vibration, dust,
humidity, high temperature, flammable liquids, gases, corrosive and conductive contaminants.
Install the UPS indoors in a clean environment, where it is away from window and door. Maintain
minimum clearance of 100mm in the bottom of the UPS to avoid dust and high temperature.
Maintain an ambient temperature range of 0ºC to 40ºC for UPS optimal operation. For every 5ºC
above 40ºC, the UPS will derate 10% of nominal capacity at full load.
It’s required to maintain maximum altitude of 1000m to keep UPS normal operation at full load UPS.
If it’s used in high altitude area, please reduce connected load.
It’s equipped with fan for cooling. Therefore, place the UPS in a well-ventilated area. It’s required
to maintain minimum clearance of 100mmin the front of the UPS and 300mm in the back and two
sides of the UPS for heat dissipation and easy-maintenance.
When connecting external battery bank or packs, please be sure to connect polarity correctly.
Connect positive pole of battery bank or pack to positive pole of external battery connector in UPS
and negative pole of battery bank or pack to negative pole of external battery connector in UPS.
Polarity misconnection will cause UPS internal fault. It’s recommended to add one breaker between
positive pole of battery pack and positive pole of external battery connector in UPS to prevent
damage to battery bank or packs from internal fault.