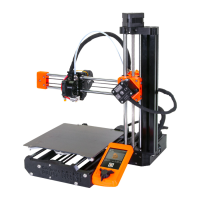
Building your MINI+
6 Original Prusa MINI+ semi-assembled
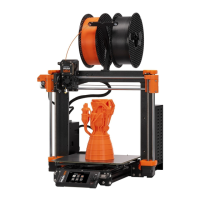
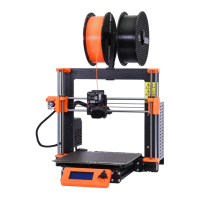
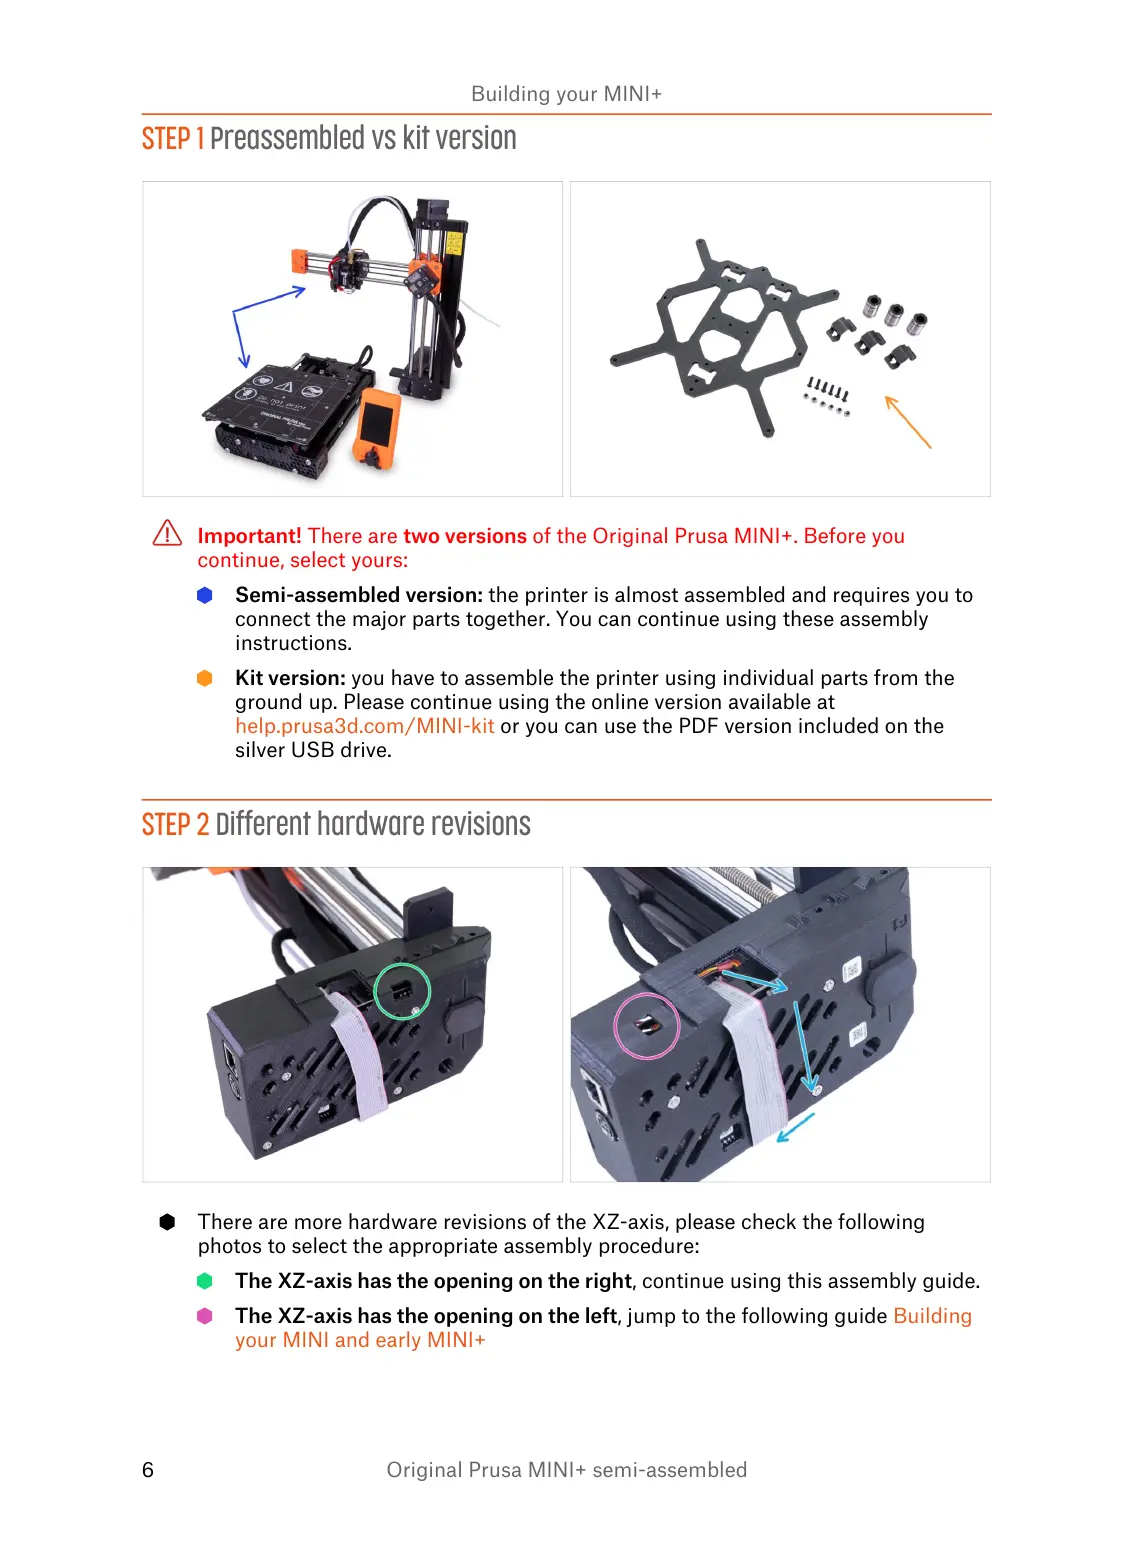
STEP 1 Preassembled vs kit version
Important! There are two versions of the Original Prusa MINI+. Before you
continue, select yours:
Semi-assembled version: the printer is almost assembled and requires you to
connect the major parts together. You can continue using these assembly
instructions.
Kit version: you have to assemble the printer using individual parts from the
ground up. Please continue using the online version available at
help.prusa3d.com/MINI-kit or you can use the PDF version included on the
silver USB drive.
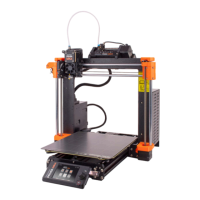
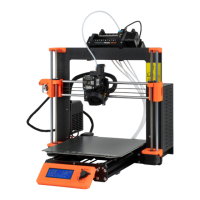
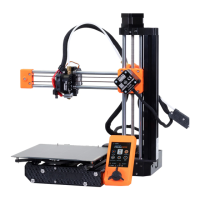
STEP 2 Different hardware revisions
There are more hardware revisions of the XZ-axis, please check the following
photos to select the appropriate assembly procedure:
The XZ-axis has the opening on the right, continue using this assembly guide.
The XZ-axis has the opening on the left, jump to the following guide Building
your MINI and early MINI+