R
December 1, 2011
Page19
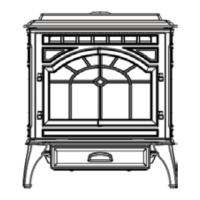
Santa Fe NZ Pellet Stove
7068-114B
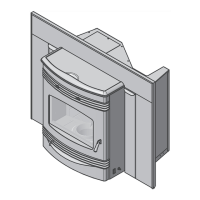
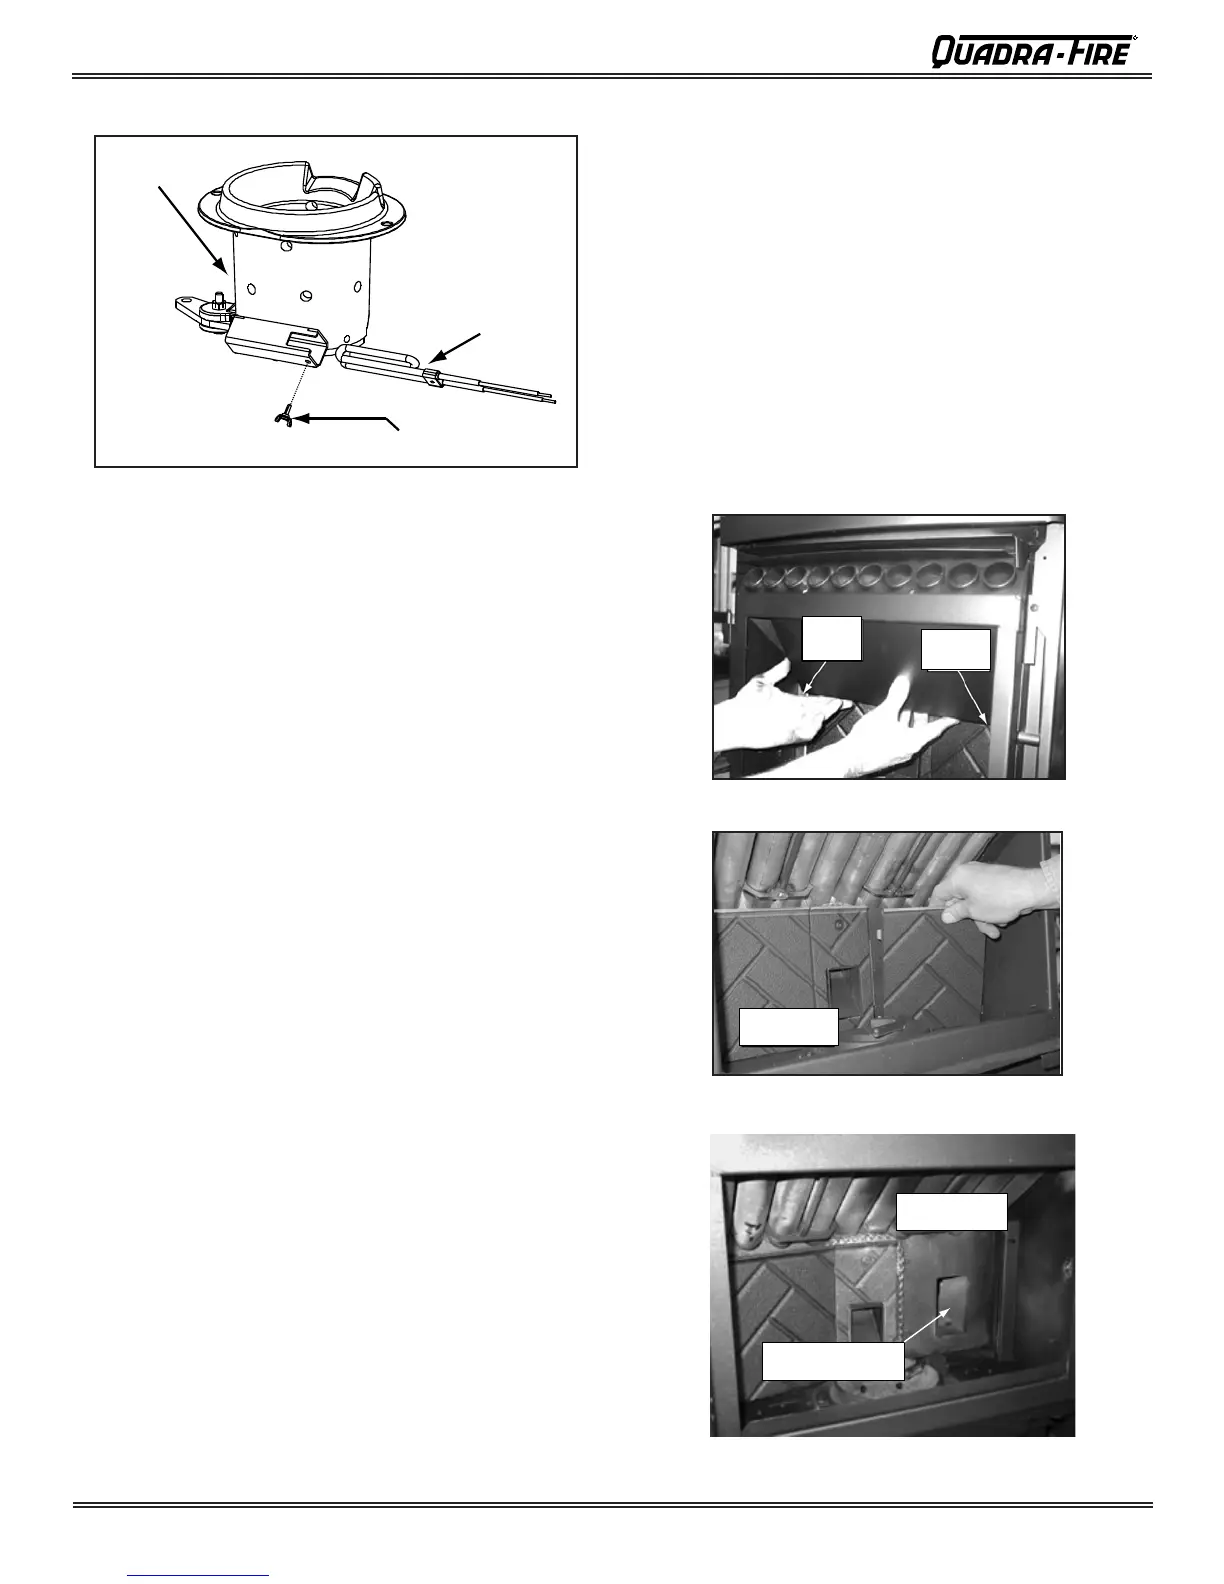
D. Igniter Replacement
Thumb Screw
Igniter
Firepot
Figure 19.1
1. Shutdowntheappliancebyturningdownthethermostat
andlettheappliancecompletelycooldown. Afterthe
appliancehascooleddown,unplugitandremovethe
ashdrawer.
2. Thewireleadstotheigniterareconnectedtothewire
harnesswith1/4inchmale/femalespadeconnectors.
Disconnect the spade connections and remove the
igniter from the chamber. Loosen thumb screw and
slideigniterout.
3. Installnewigniterintothechamberandtightenthumb
screw.Re-connectthewirestothe2leadswiththe
spadeconnectors.
4. Double check that the igniter wires areclear of any
movement, i.e. ash drawer, firepot cleaning rod,
cleaningslideplates,etc.
5. Re-installtheashdrawerandsidepanelandre-connect
thepower.
E. Bafe & Brick Set Removal
1. FollowpropershutdownproceduresinSection10.
2. The top bafe has a hook on the bottom left side that
restsonthetoplipofthecastbrick.Thereisatabon
the bottom right side that hooks into the side bracket.
Removethetopbafebyrstpullingthebafe forward
untilbackedgedropsdown.Thenslidebafebackuntil
thefrontedgeclearstheshelfthatithadbeenrestingon.
Figure 19.2.
3
. Thetopbafe must be removed beforeyoucanremove
the right and left brick. Remove the right brick by hold-
ingtoplipofbrickandliftingup,thenpushoutsideedge
back.Slidebricktotherightuntilitisushwiththerebox.
Rotate the inside edge of the brick forward and remove
brick.Repeatforleftbrick.Figure 19.3.
Hook on
left side
Tab on
right side
Vacuum
Exhaust Area
Right Brick
Removed
Figure 19.2
Figure 19.3
Figure 19.4