Page24
December 1, 2011
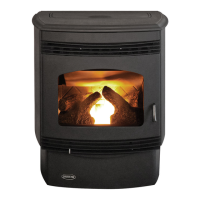
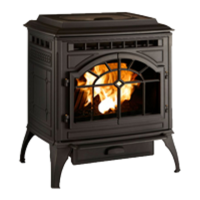
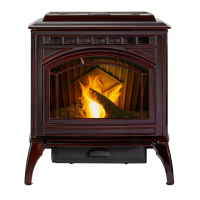
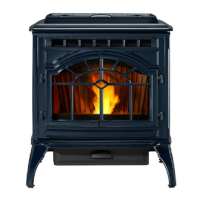
Santa Fe NZ Pellet Stove
R
7068-114B
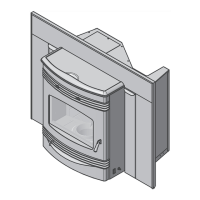
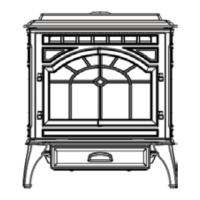
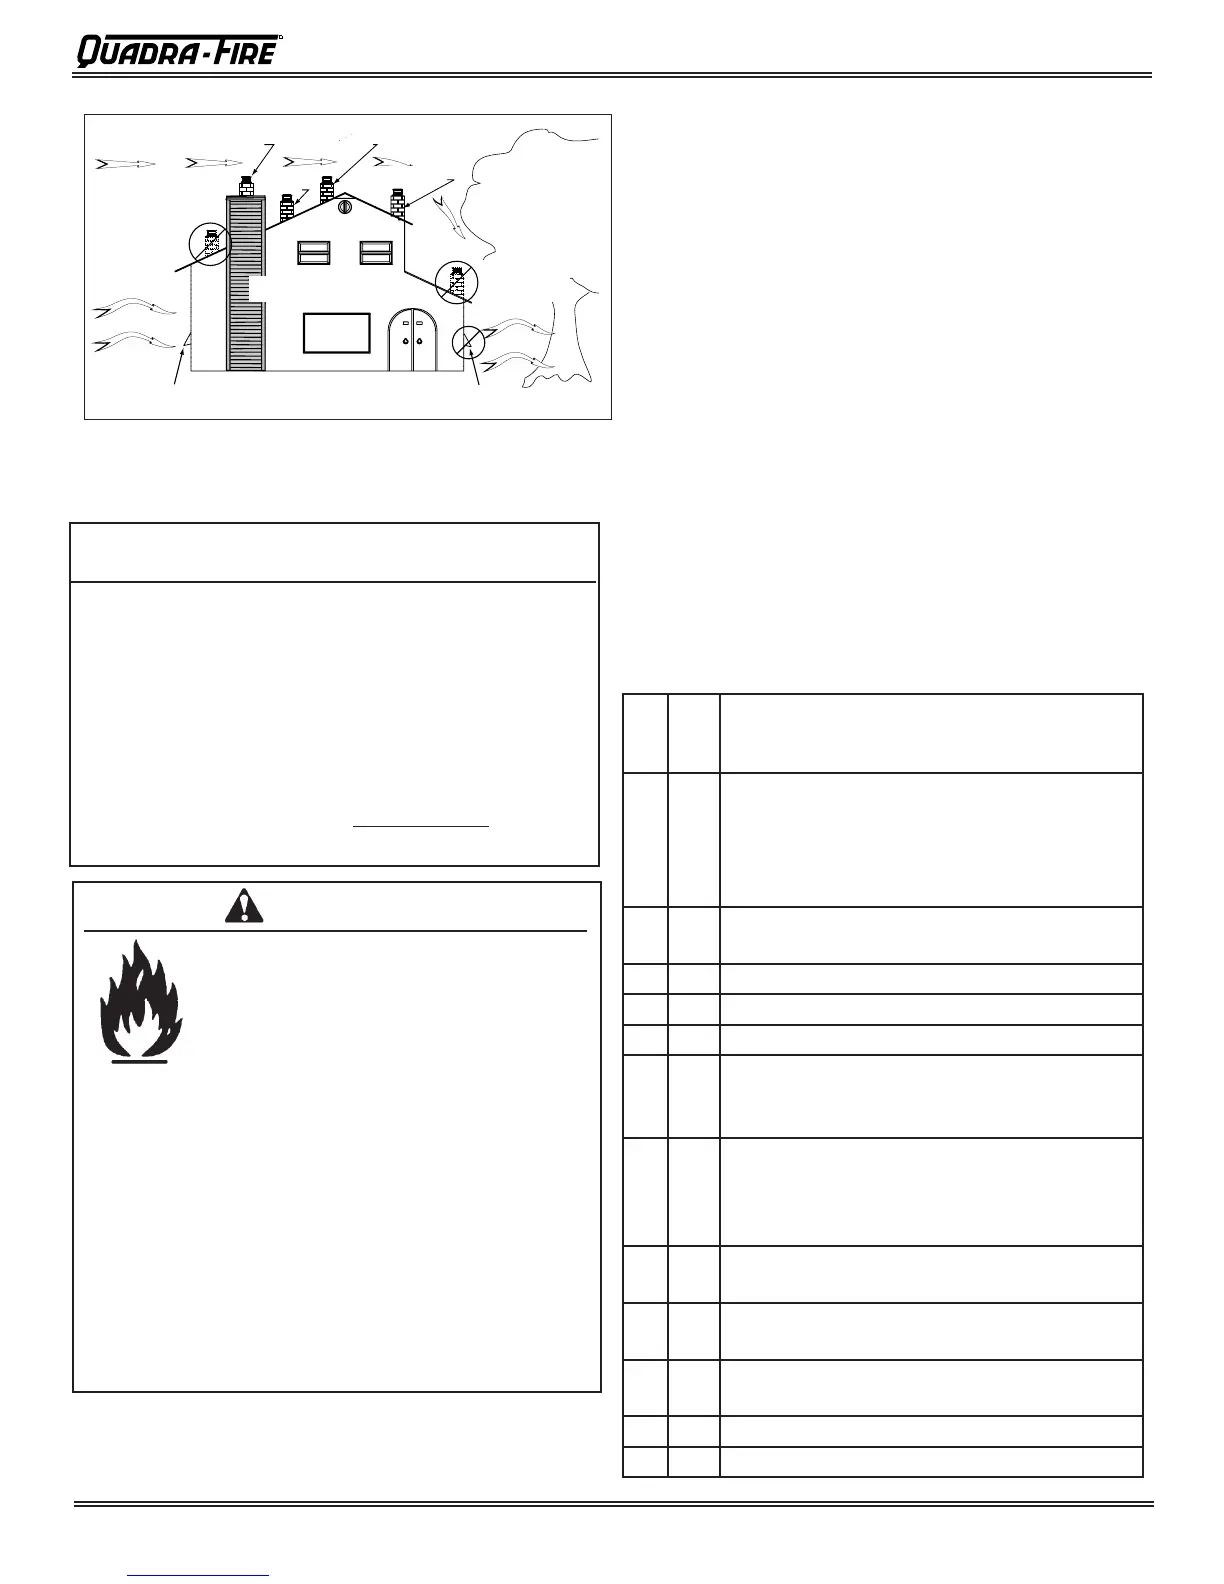
Figureforinformationpurposesonly
Marginal Location:
• Below peak
Location NOT recommended:
• Not the highest point of the roof
• Wind loading possible
Multi-level Roofs
Windward
Leeward
Recommended:
Outside Air Intake
on windward side
NOT recommended:
Outside Air Intake
on leeward side
Recommended Location:
• Above peak
Recommended:
• Insulated exterior chase
in cooler climates
Recommended Location:
• Above peak
• Inside heated space
Location NOT recommended:
• Too close to tree
• Below adjacent structure
• Lower roof line
• Avoid outside wall
Marginal Location:
• Wind loading possible
Figure 24.1
F. Tools And Supplies Needed
1. Placetheapplianceinalocationnearthe
nalinstallationareaandfollowtheproce-
duresbelow:
2. Opentheapplianceandremovealltheparts
and articles packed inside the Component
Pack.Inspectallthepartsandglassforship-
pingdamage.Contactyourdealerifanyirregu-
laritiesarenoticed.
3. All safety warnings have been read and fol-
lowed.
4.
ThisOwner’sManualhasbeenread.
5. Floorprotectionrequirementshavebeenmet.
6. Ventingisproperlyinstalled.
7. Theproperclearancesfromtheapplianceand
chimney to combustible materials have been
met.
8.
Themasonrychimneyisinspectedbyaprofes-
sionalandis clean, or thefactorybuilt metal
chimneyisinstalledaccordingtothemanufac-
turer’sinstructionsandclearances.
9. The chimney meets the required minimum
height.
10.
All labels have been removed from the glass
door.
11. Plated surfaces have been wiped clean, if
applicable.
12.
Thermostatorremotehasbeeninstalled.
13. Apoweroutletisavailablenearby.
7/16inchSocketWrench
(or10mm6ptor11mm6
ptsocket)
FramingSquare
ElectricDrill&Bits
Self-TappingScrews
OutsideAirRequired
ClassLorPLPelletVent
Mayalsoneed:
VentSupportStraps
ReciprocatingSaw
Hammer
PhillipsScrewdriver
TapeMeasure
PlumbLine
Level
FramingMaterial
Hi-tempCaulkingMaterial
Gloves
SafetyGlasses
Tools and building supplies normally required for instal-
lation.
H. Pre-Burn Check List
G. Inspect Appliance and Components
• Opentheapplianceandremoveallthepartsandarticles
packedinsidetheComponentPack.Inspectalltheparts
andglassforshippingdamage.
• Reporttoyourdealeranypartsdamagedinshipment.
•
Alllabelshavebeenremovedfromtheglassdoor.
•
Platedsurfaceshavebeenwipedcleanwithasoftcloth,
ifapplicable.
• Read all the instructions before starting the installation.
Follow these instructions carefully during the
installation to ensure maximum safety and benet.
• Follow pipe manufacturer instructions for installation
and air clearance requirments.
WARNING
Hearth&HomeTechnologiesdisclaims
anyresponsibilityfor,andthewarrantywill
bevoidedby,thefollowingactions:
•Installationanduseofanydamagedappliance.
• Modicationoftheappliance.
• InstallationotherthanasinstructedbyHearth&
HomeTechnologies.
• Installationand/oruseofanycomponentpartnot
approvedbyHearth&HomeTechnologies.
• Operatingappliancewithoutfullyassemblingall
components.
• Operatingappliancewithoutlegsattached(if
suppliedwithunit).
• DoNOTOverreoranysuchactionthatmaycause
arehazard.
FireRisk.