R
December 1, 2011
Page23
Santa Fe NZ Pellet Stove
7068-114B
D. Thermostat Location
1. Alowvoltagethermostatcanbeinstalledtooperate
thispelletre.Youmayusetheoptionalwallmount
thermostatkit(“Figure23.1”)orpurchaseaprogram-
mablethermostat,timerorremotecontrol.Theoptional
wallmountthermostatisequippedwithanadjustable
heatanticipator.Thecurrentratingis.05amps.The
anticipatorneedstobeadjustedtothelowestsetting
available.
2. Whenmountingathermostatonawall,besuretofol-
lowyourthermostatinstallationinstructionscarefully.
Warning!RiskofAsphyxiation!Negativepressurecancause
spillageofcombustionfumesandsoot.
Negativepressureresultsfromtheimbalanceofair
availablefortheappliancetooperateproperly.Itcanbe
strongestinlowerlevelsofthehouse.
Causesinclude:
• Exhaustfans(kitchen,bath,etc.)
• Rangehoods
• Combustion air requirements for furnaces, water
heatersandothercombustionappliances
• Heattransferkits
• Clothesdryers
• Locationofreturn-airventstofurnaceorairconditioning
• ImbalancesoftheHVACairhandlingsystem
• Upperlevelairleakssuchas:
• Recessedlighting
• Attichatch
• Ductleaks
Tominimizetheeffectsofnegativeairpressure:
• Installtheoutsideairkitwiththeintakefacingprevailing
windsduringtheheatingseason
• Ensure adequate outdoor air for all combustion
appliancesandexhaustequipment
• Ensure furnace and air conditioning return vents are
notlocatedintheimmediatevicinityoftheappliance
• Avoidinstallingtheapplianceneardoors,walkwaysor
smallisolatedspaces
• Recessedlightingshouldbea“sealedcan”design
• Attichatchesweatherstrippedorsealed
• Attic mounted duct work and air handler joints and
seams taped or sealed structures, uneven roof lines
andotherobstructions.
• Minimizetheuseofchimneyoffsets.
• Consider the appliance location relative to oor and
ceilingandatticjoists.
• Take into consideration the termination requirements
onpage .
C. Negative Pressure
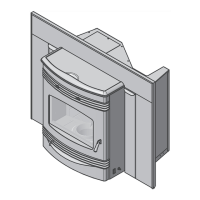
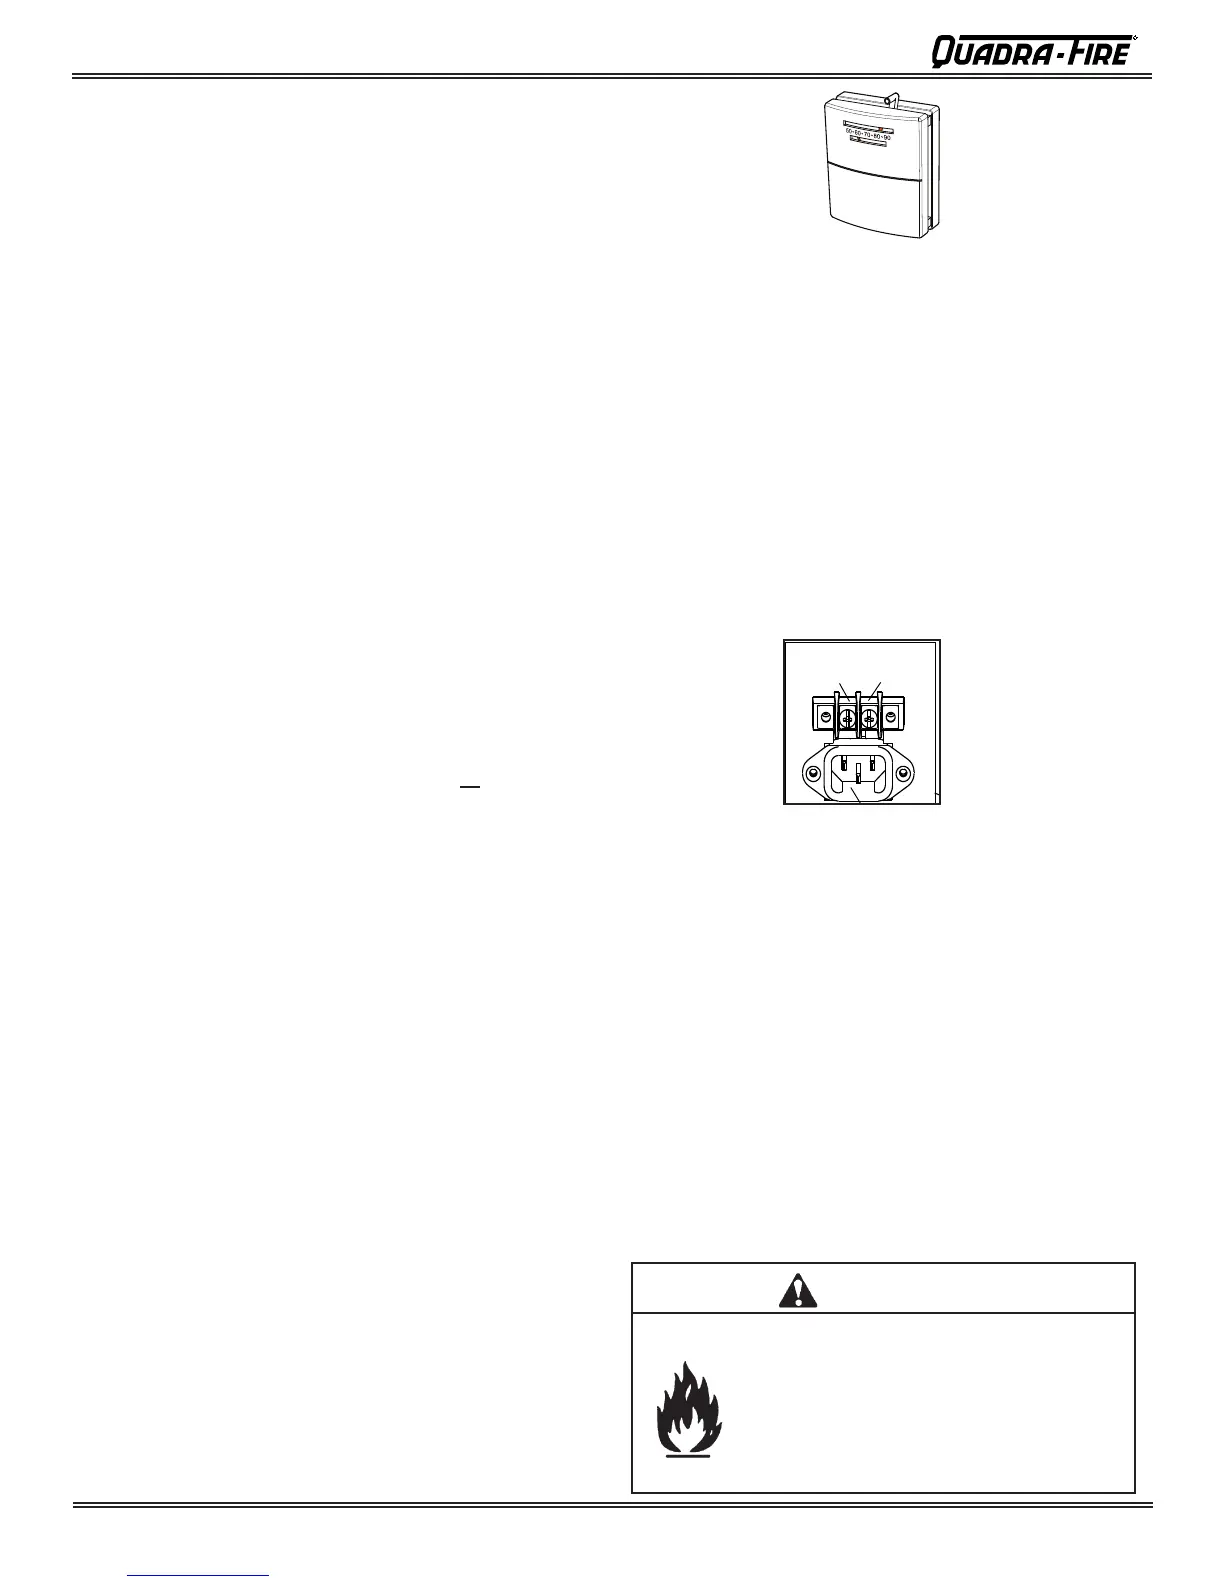
Figure 23.1
NOTE: Thermostat must be mounted level for accurate
readings.Thethermostatshouldbemountedonaninside
wall,notdirectlyinlinewiththeappliance’sconvectionair
andawayfromdrafts.
NOTE:Thermostats are not recommended forold drafty
poorlyinsultedhouseastheremaystartandstopoften
increasingcleaningschedules,increasepowerconsumption
andpotentiallyreducingcomponentlife
3. Thereisa4screwterminalblocklocatedonthe
backlowerleftcornerofthestovedirectlyabovethepower
cordinlet.The centre 2 screws are for the thermostat
wires.Closingtheterminalswillactivatethere.
E. Locating Your Appliance & Flue
Locationoftheapplianceanduewillaffectperformance.
• Itis recommended that you install through the warm
airspaceenclosedbythebuildingenvelope.Thishelps
to produce more draft, especially during lighting and
die-downofthere.
• Penetratethehighestpartoftheroof.Thisminimizes
theaffectsofwindloading.
• Locate termination cap away from trees, adjacent
structures,unevenrooflinesandotherobstructions.
• Minimizetheuseofchimneyoffsets.
• Considertheappliancelocationrelativetooorandceiling
andatticjoists.
• Takeintoconsiderationtheterminationrequirementson
page
Inspectapplianceandcomponentsfor
damage.Damagedpartsmayimpairsafe
operation.
WARNING
• DoNOTinstalldamagedcomponents.
• DoNOTinstallincompletecomponents.
• DoNOTinstallsubstitutecomponents.
Reportdamagedpartstodealer.
TERMINAL BLOCK
CENTER 2 SCREWS FOR
THERMOSTAT WIRES
POWER OUTLET
Figure 23.2