9
Setup
w Caution:
• Youmustuseanadapterthatsupplies6voltsanddeliversatleast
300mA.Itscentertipmustbesettonegative,anditsbarrelplugmust
correctly fit the scanner’s PWRjack.Usinganadapterthatdoesnot
meet these specifications could damage the scanner or the adapter.
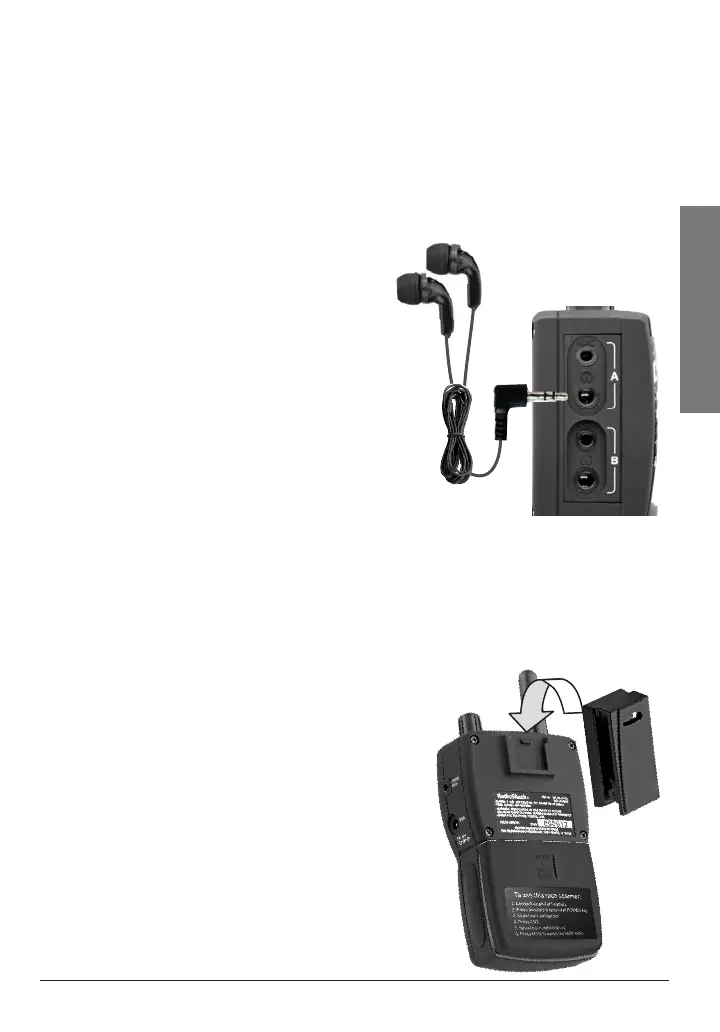
Connecting Headset/Earphones
Yourscannerdoesnothaveaninternal
speaker,sotolistentoyourscanneror
toreceivecellphonecalls(seepage
17formoreinformation)youmustuse
amicrophoneheadsetorearphones.
Youcanalsoaddasecondmicrophone
headsetorearphonestotalktoafriend
moreeasilyduringnoisyraces.
Option 1:Connecttheincluded
earphonesoranyothers
witha
1
/8in.(3.5mm)jackto
eithersetofsjacksonthe
leftsideofthescanner.
Option 2:ConnectamicrophoneheadsettotheAsetofs/MIC
jackstousewithacellphone,andtotheAorBjacksto
talktoanotherperson.
Attaching the Belt Clip
1. Aligntheclipwiththeslotontheback
ofthescanner.
2. Slidetheclipdownuntilitclicksinto
place.
3. Pullthetopnotchslightly,andpushup
toremove.
 Loading...