© 2014 Radiodetection Ltd 6
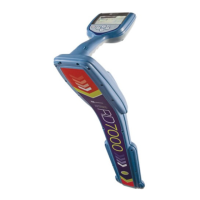
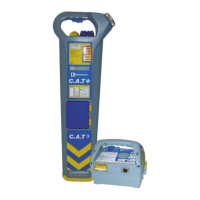
2.2 Tx1, TX5 and Tx-10
transmitters
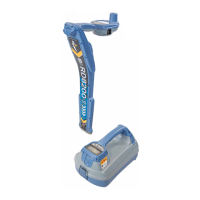
2.2.1 Transmitter features
1 Keypad
2 LCD
3 Removable accessory tray
4 D-cell battery holder
5 Rechargeable battery pack (Optional)
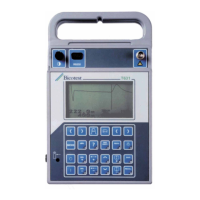
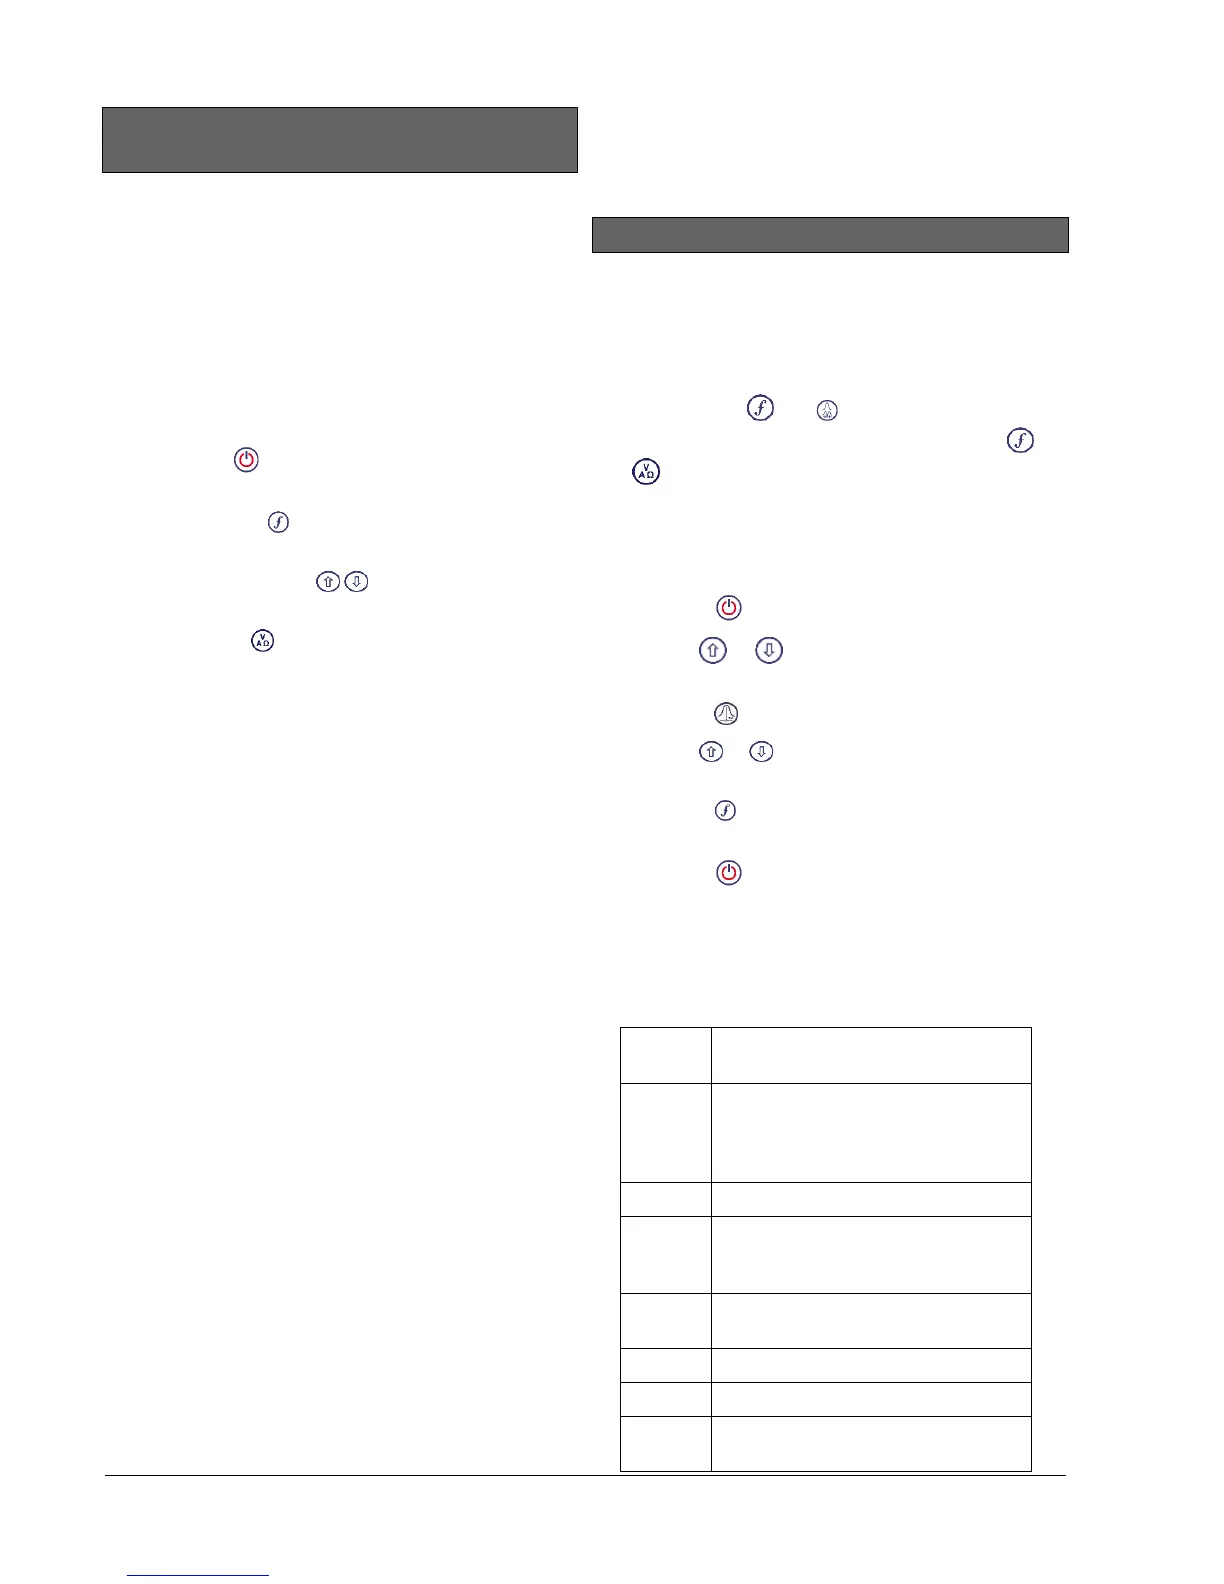
2.2.2 Transmitter keypad
6 Power key : Switches the unit on and off. Opens
the transmitter menu
7 Frequency key : Selects frequency. Menu
navigation key
8 Up and down arrows : Adjusts the output
signal. Scrolls through the menu options
9 Measure key : Opens a sub menu. Used to take
voltage and impedance measurements.
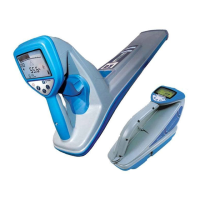
2.2.3 Transmitter screen icons
10 Battery icon: Indicates the battery level
11 Alphanumeric description of selected operation
mode
12 Standby icon: Appears when the transmitter is in
Standby Mode
13 Output level: Displays transmitter output power
14 Accessory or Measurement indicators: Indicates if
an accessory is connected or if measure mode is
active
15 DC icon: Appears when the transmitter is powered
from a DC source
16 Induction indicator: Appears when the transmitter is
in Induction Mode
17 A-Frame (Tx-5(B) or Tx-10(B) only): Indicates when
the transmitter is in Fault-Find Mode
18 CD Mode indicator (Tx-10(B) only): Indicates that
the transmitter is in Current Direction Mode. For use
with RD8000 locators
19 Voltage warning indicator: Indicates that the
transmitter is outputting potentially hazardous
voltage levels
20 Volume icon: Displays the volume level
21 Pairing icon (Tx-5B or Tx-10B only. For use with
compatible RD8000 locators
22 Bluetooth icon (Bluetooth Tx models): Indicates
status of Bluetooth connection. A flashing icon
means pairing is in progress. For use with
compatible RD8000 locators
2.3 Using the menu
The RD7000+ locator and transmitter menus allow you
to select or change system options. Once entered, the
menu is navigated using the arrow keys. Navigation is
consistent on both the transmitter and the locator. In the
menu the options will appear in the bottom left-hand
corner of the display. Note that when browsing the
locator menu, the and keys act as left and right
arrows. When browsing the transmitter menu the
and keys act as left and right arrows. The right
arrow enters a submenu and the left arrow selects the
option and returns to the previous menu.
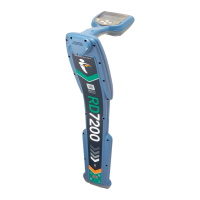
2.3.1 Navigating the locator menu
1 Press the key to enter the menu
2 Use the or keys to scroll through the menu
options
3 Press the key to enter the option's submenu
4 Use the or arrows to scroll through the
submenu options
5 Press the key to make a selection and return to
the previous menu
6 Press the key to return to the main operation
screen
2.3.2 Locator menu options
Below is an annotated list of menu options available in
the RD7000+ locator.