select UP (up), or DOWN (down) for the position of the switch to trigger the timing function. If the start switch is TH
(throttle trigger), you can set the throttle rate to 0%-100%, and the timing function will be triggered when the throttle
trigger is pushed to the set rate.
STOP: It is used to stop the timing function. The setting method is the same as the above "START" setting. When the
number of laps set is greater than 1, the number of laps will automatically increase by 1 lap each time it stops.
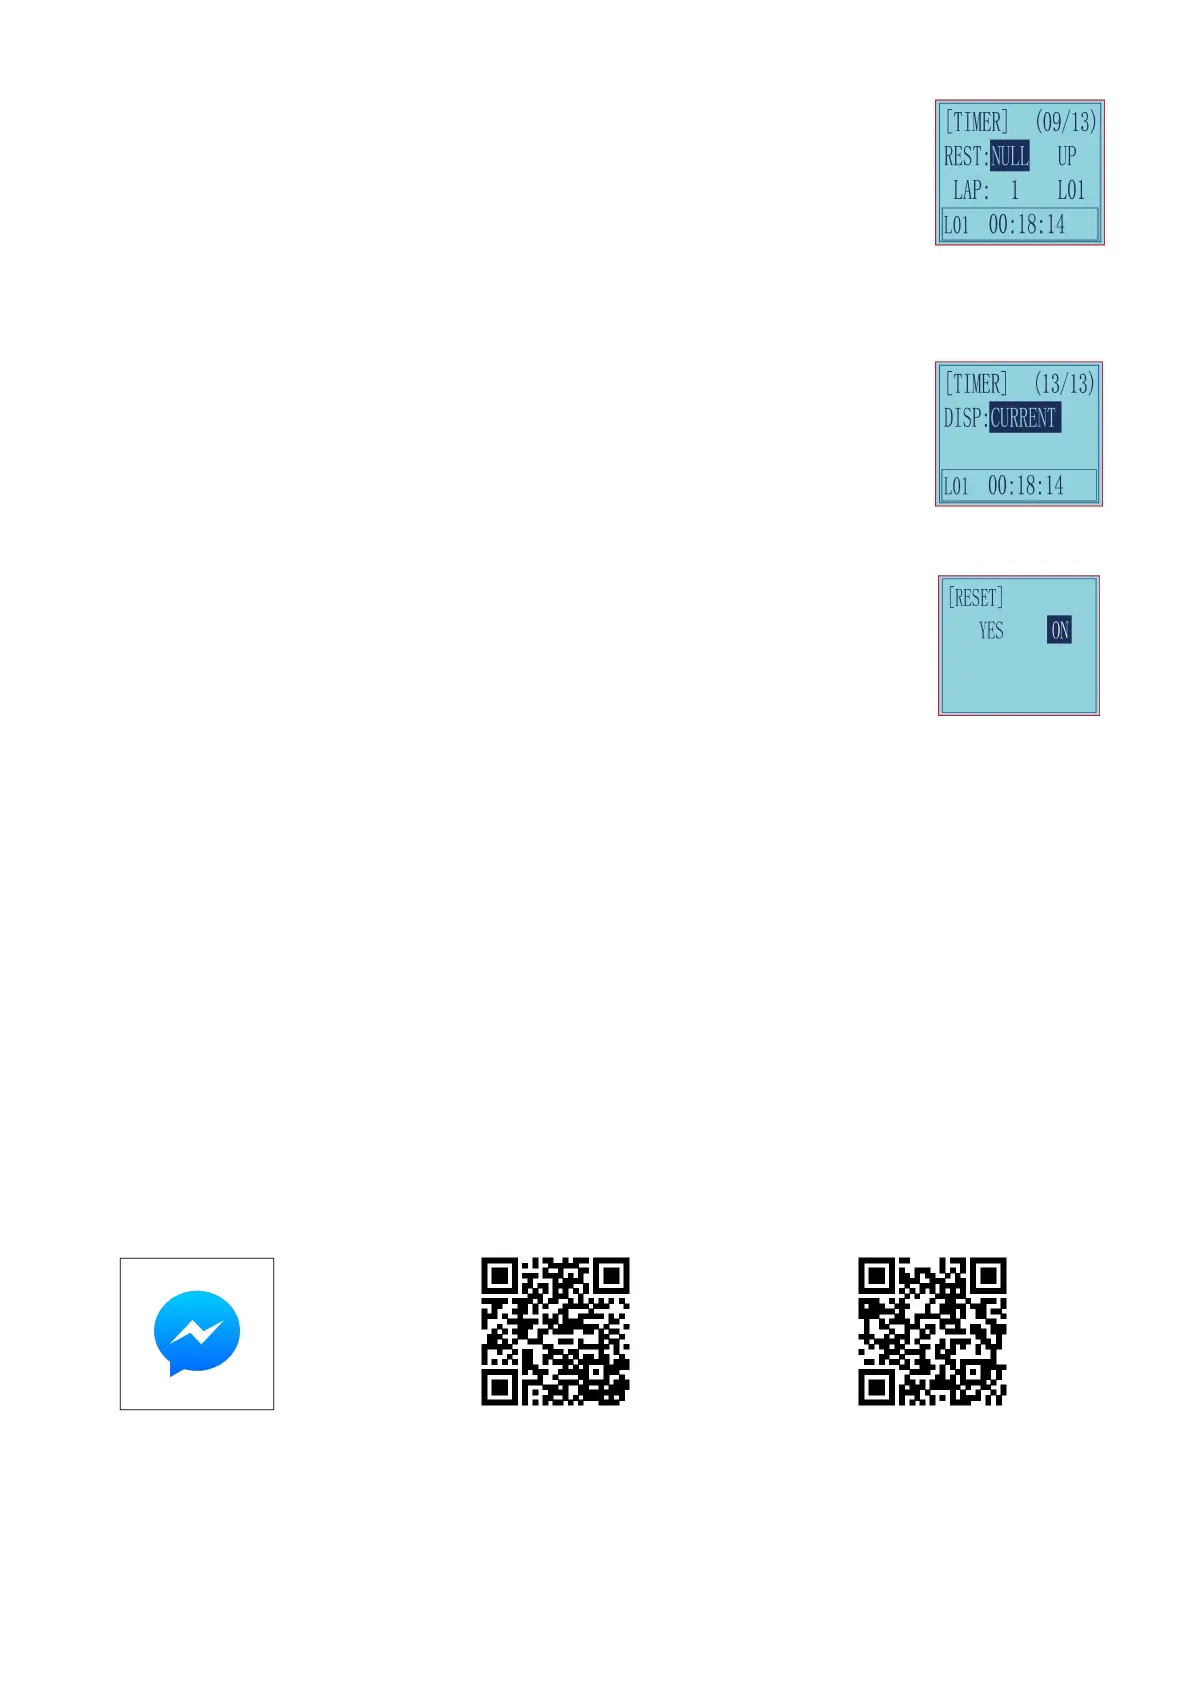
RESET: By toggling the switch set here, all the previously generated timing values will be cleared.Alarm values and
laps are retained. The switch setting method is the same as the above "START" setting.
Note:
1. When triggering the timing function, please do not put the switch in the stop or reset position, otherwise the timing function cannot be activated.
2. When the switch is not enough, there are 2 ways to reset all timings: a. By setting the "alarm" value, all timings can be reset. b. All timings can
be reset by setting the "mode" value.
LAP: used to set the number of laps required for timing, 1-30 lap numbers can be set;
Display laps: used to display the lap corresponding to the current timing.
L01-L30 can be selected. For example, when it is L02, the timing below correspond to Lap 2. When the number of laps
set is greater than 1, the number of laps will automatically increase by 1 lap each time it stops.
Check the timing of each lap: move the cursor to: L01-L30, press the "Enter" button, the cursor starts to blink, and then
press the "Dec(-)" or "Inc(+)" buttons at the bottom of the screen to select the laps to check the timing time. The
corresponding timing lap and timing will be displayed in the box below.
Display: CURRENT, the ON or OFF status of the timing function is only displayed in the function menu of "Timer".
HOME PAGE, the ON or OFF status of the timer function is displayed both in the "Home Page" and "Timer" menu at the same time.
2.24 Factory Reset “RESET”
RESET- Data reset function: All the data for any model memory can be reset to original factory defaults. Often this
function is done to get a “fresh start” and clear the memory before inputting new model settings.
Note: Resetting the current model memory will permanently erase ALL programming information for that model. The
data cannot be recovered. Do not reset the model unless you are certain you want to clear-out that memory and start
from scratch.
III. Tutorials
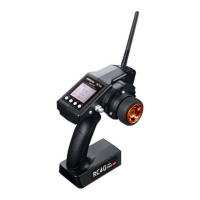
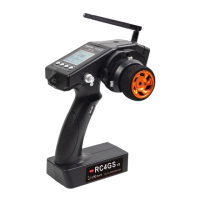
Please search Radiolink_official on YouTube to access RadioLink official channel and check all the below video tutorials of RC4GS V3. View
the playlist of RC4GS V3 or search key words on our channel for the function you want.
3.1 Firmware Update of RC4GS V3
3.2 Throttle and Steering Calibration
3.3 Connect RC4GS V3 to Simulator
3.4 THSPD Throttle Delay Function on RC4GS V3
3.5 TIMER Function on RC4GS V3
3.6 Dual Rate Function on RC4GS V3
3.7 EPA Function on RC4GS V3
3.8 Set Different ALARM for 30 Different Models on RC4GS V3
3.9 ID Seed Function on RC4GS V3
3.10 Cruise Control Function on RC4GS V3
3.11 Connect RC4GS V3 to TBS Crossfire
3.12 LK-A/LK-D Button Setup on RC4GS V3
Technical Support Here
Contact RadioLink RL RC4GS V3 User Manual RC4GS V3 Tutorials
via Facebook Messenger
If the above communication cannot solve your problem, you can also send emails to our technical support: after_service@radioLink.com.cn
This content is subject to change. Download the latest version from https://www .radiolink.com/rc4gsv3_manual
Thank you again for choosing RadioLink product.
 Loading...