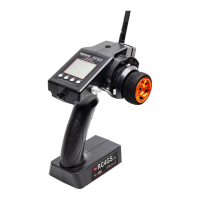
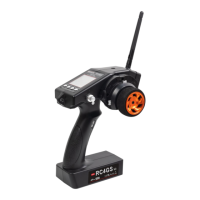
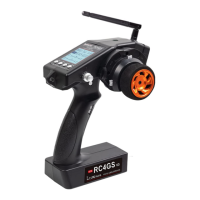
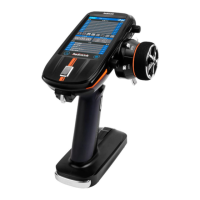
When the above alarm interface appears, press Enter button, the TX, RX, EX, or RS will appears respectively on the home page for reminding
the alarm of the transmitter, receiver, vehicle battery, and RSSI (See Pictures below). When the alarm sounds or the warning words of TX, RX, EX,
or RSSI appears on the screen, please stop driving immediately and take the vehicle back, check the cause of the alarm, and deal with it
properly.
TX: Radio Low Power RX: Receiver Low Power EX: Vehicle Low Power RS: RSSI Low Alarm
Note:
1.RC4GS V3 can set different low voltage alarm values for each model, but the transmitter low voltage alarm is the same for all models.
2
.
Due to the different voltage ranges available for lithium battery, nickel metal hydride and nickel cadmium, please set the corresponding
voltage value according to the type of battery you use.
3.Model battery voltage telemetry function and model battery low voltage alarm are only valid when using the R8FG/R7FG/R8F receiver.
2.20 Gyro Sensitivity “GYRO”
This function is available to set gyro sensitivity and VR mixing ON or OFF.
When MIX set OFF, gyro is disabled while when MIX set ON, you can adjust gyro sensitivity STD or VR. STD is
adjusted on screen and VR is default CH3.
In normal mode (STD), range of sensitivity is 0%-100%.
0% means the minimum gyro sensitivity, or even no gyro function; 100% means the maximum sensitivity. If the gyro
sensitivity is too high, it may cause the body to vibrate, please adjust the sensitivity according to the vehicle model.
2.21 Fail Safe”F/S”
This function can set the output value of each channel when the receiver loses control. It is set by servo, throttle, CH3,
CH4, and CH5.
RANGE:
CH1 to CH5: -100~+100
Initial value: 0
2.22 ID SEED
When the transmitter and multiple receivers that have been successfully paired are powered on at the same time, one
of the receivers can be selected to be controlled through the ID SEED function, while the other receivers are in a
standby state and cannot be controlled.
The transmitter and receiver have the following two control methods:
1. When ID SEED function is turned off, RC4GS V3 can control multiple devices at the same time.
2. When ID SEED function is turned on, RC4GS V3 can select a receiver from multiple receivers and control this
model, while other receivers are on standby.
Setting method:
Turn on the mode, set the corresponding ID SEED number according to the number of your car/boat and complete the binding and other settings.
After setting the ID SEED number, the number (such as ID01) will appear on the main interface of the transmitter.
For example: Bind RC4GS V3 with a truck and a car and turn all them on. First, use RC4GS V3 to control the car to run to the bucket of the truck,
and then switch the receiver ID on the truck to drag the car back to the destination.
2.23 Timer Setting “TIMER”
TIMER function is mainly used for game timing and daily training.
Mode: Timer mode, you can choose "UP TIMER" or "DOWN TIMER".
UP TIMER: After triggering the timing function, the timing number will count upwards.
DOWN TIMER: After triggering the timing function, the timing numbers will count down.
ALRM(Alarm): The timer starts. When it reaches the set time, the transmitter starts to alarm. In the countdown 20S, it
starts to alarm every 1S. In the countdown 10S, it starts to alarm twice every 1S. When the alarm time is reached, the
transmitter will give a alarm. If the switch is not toggled now, the timing will continue. The default alarm time is 8
minutes. The alarm time can be set according to actual needs
START: Select a switch or button used to trigger the timing function. You can choose SWA, SWD, TH (throttle trigger),
and the lock mode of the two switch buttons.
NULL means that the timing function is not enabled. If the switch is set to SWA, SWD or their lock modes, you can
 Loading...
