Raise3D Pro3 HS Series Printer User Manual Remove the Printed Model
45
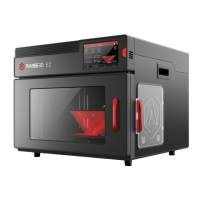
Bend the printing surface repeatedly along
the longer span of the model until the
model is detached from the printing
surface.
Note: Do not directly touch the edge of the
printing surface to avoid injury. Do not over-
bend the printing surface to avoid
damaging the plate or causing the plate to
bounce off from hands. It is better to bend
the plate along the prints’ longer span.
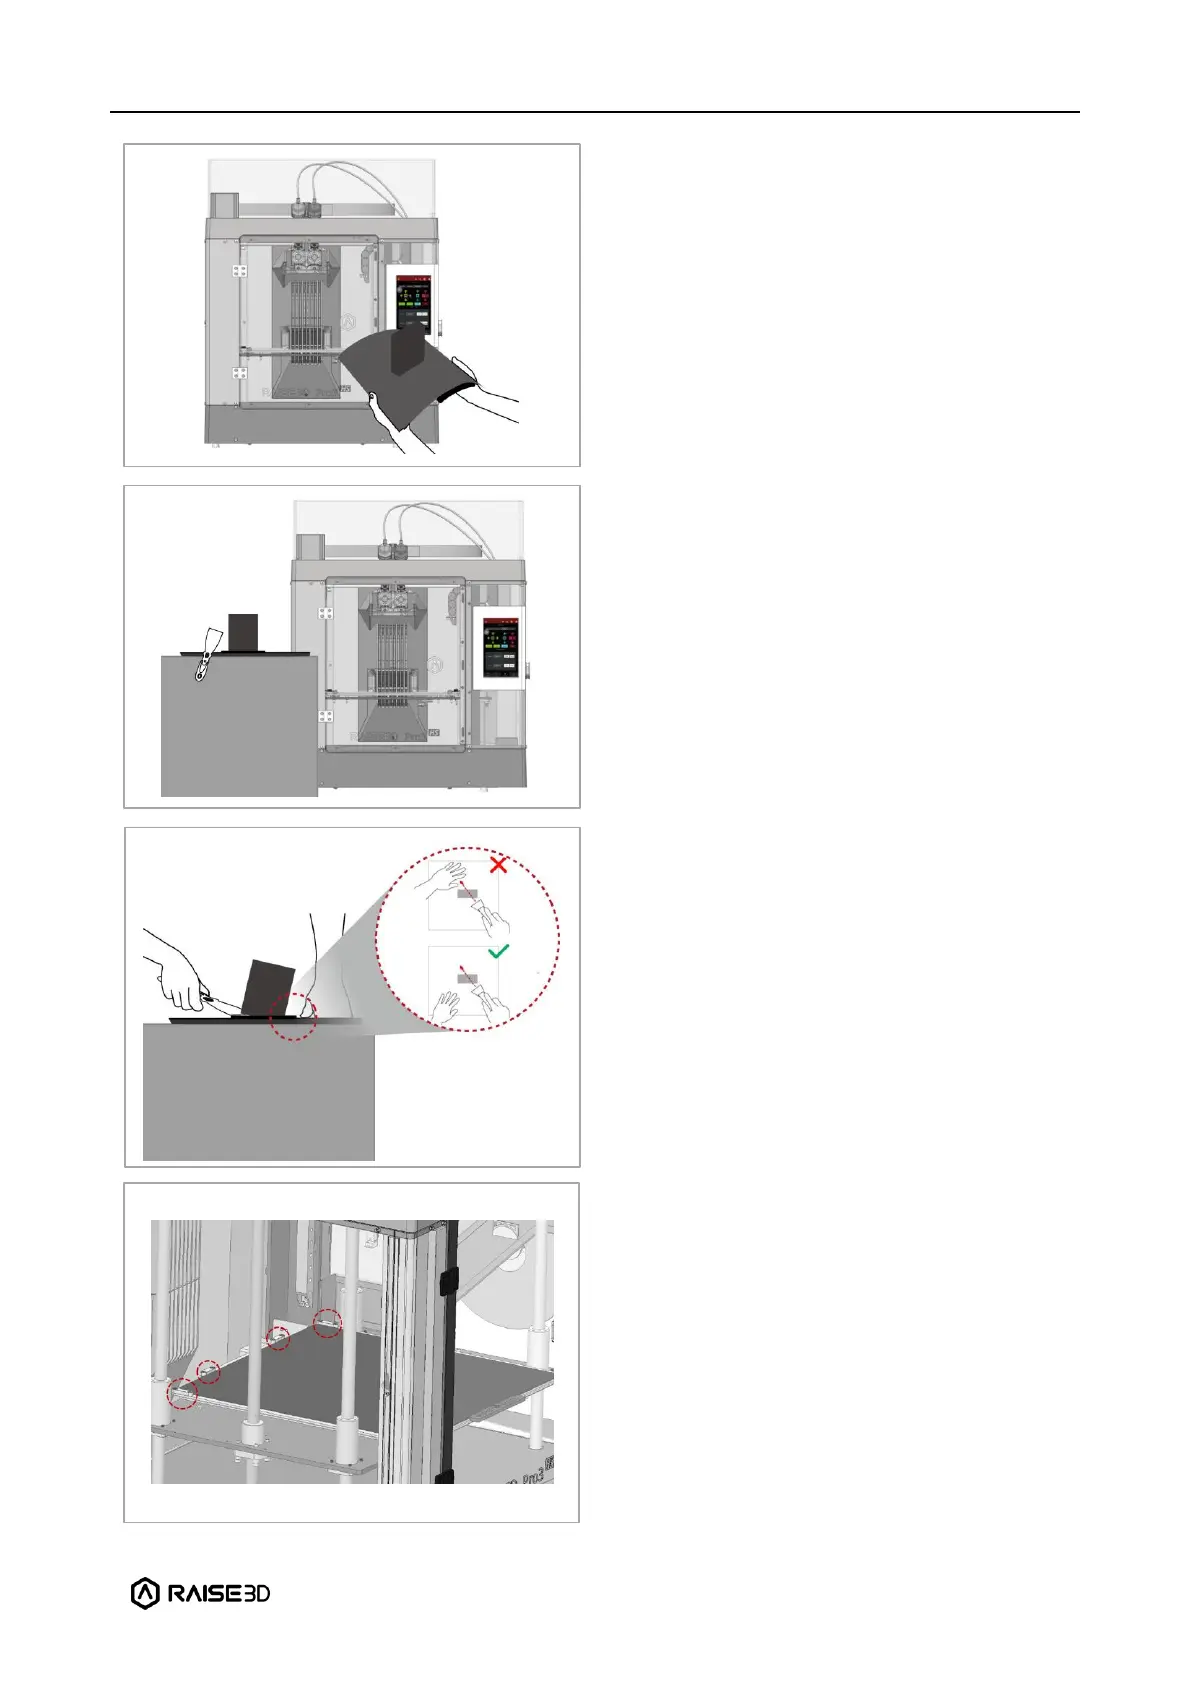
If the model is not entirely loose or if you
feel the model is hard to remove after
bending the printing surface several times,
use the spatula from the attached accessory
box to remove it.
Use one hand to hold the printing surface
and use the other hand to scrape off the
model with the spatula.
Note: We recommend placing the spatula
above the plate and inserting it into the gap
between the model and the plate. If the
model is printed with the Raft, it is better to
scrape the prints along the infill direction of
the Raft. Do not put your hands in front of
the spatula to prevent injury.
After the model is removed, the printing
surface needs to be reinstalled onto the
build plate. Gently put the printing surface
to its original position by holding the red
protective handle. Place the printing surface
against the four side strips (as shown in the
red circles), and then attach the entire
printing surface to the build plate.
 Loading...