M
Michael MurilloSep 2, 2025
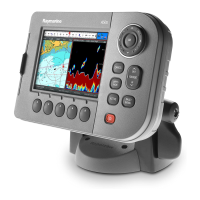
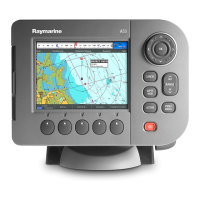
How to correct an incorrect bearing on a Raymarine Monitor radar screen?
- AAshley HarrisSep 2, 2025
If the bearing of a target on the radar screen is incorrect on your Raymarine monitor, check and adjust the radar bearing alignment.