88
12 - INSTALLATION - Gas supply
12.7 - Convert a
heater model 399,
500, 750 or 1000
from Natural Gas
to Propane gas or
viceversa
Appliances model 399, 500, 750 or
1000 are multiburner appliances. This
means that the gas conversion must
be performed on each burner present
inside the unit.
WARNING!!!
The gas
conversion shall be performed
by a qualifi ed service agency
in accordance with this
instructions and all applicable
codes and requirements of the
authority having jurisdiction.
The information in these
instructions must be followed
to minimize the risk of fi re
or explosion or to prevent
property damage, personal
injury or death. The qualifi ed
service agency is responsible
for the proper conversion of
the heater. The installation is
not proper and complete until
the operation of the converted
appliance is checked as
specifi ed in this instructions.
WARNING!!!
The
conversion shall be carried
out in accordance with
the requirements of the
provincial authorities having
jurisdition and in accordance
with the requirements of the
CAN-B149.1 and CAN1-B149.2
installation code.
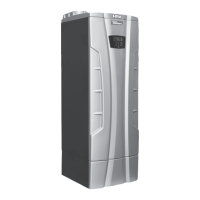
Figure 12-8 Label for LP
gas heater
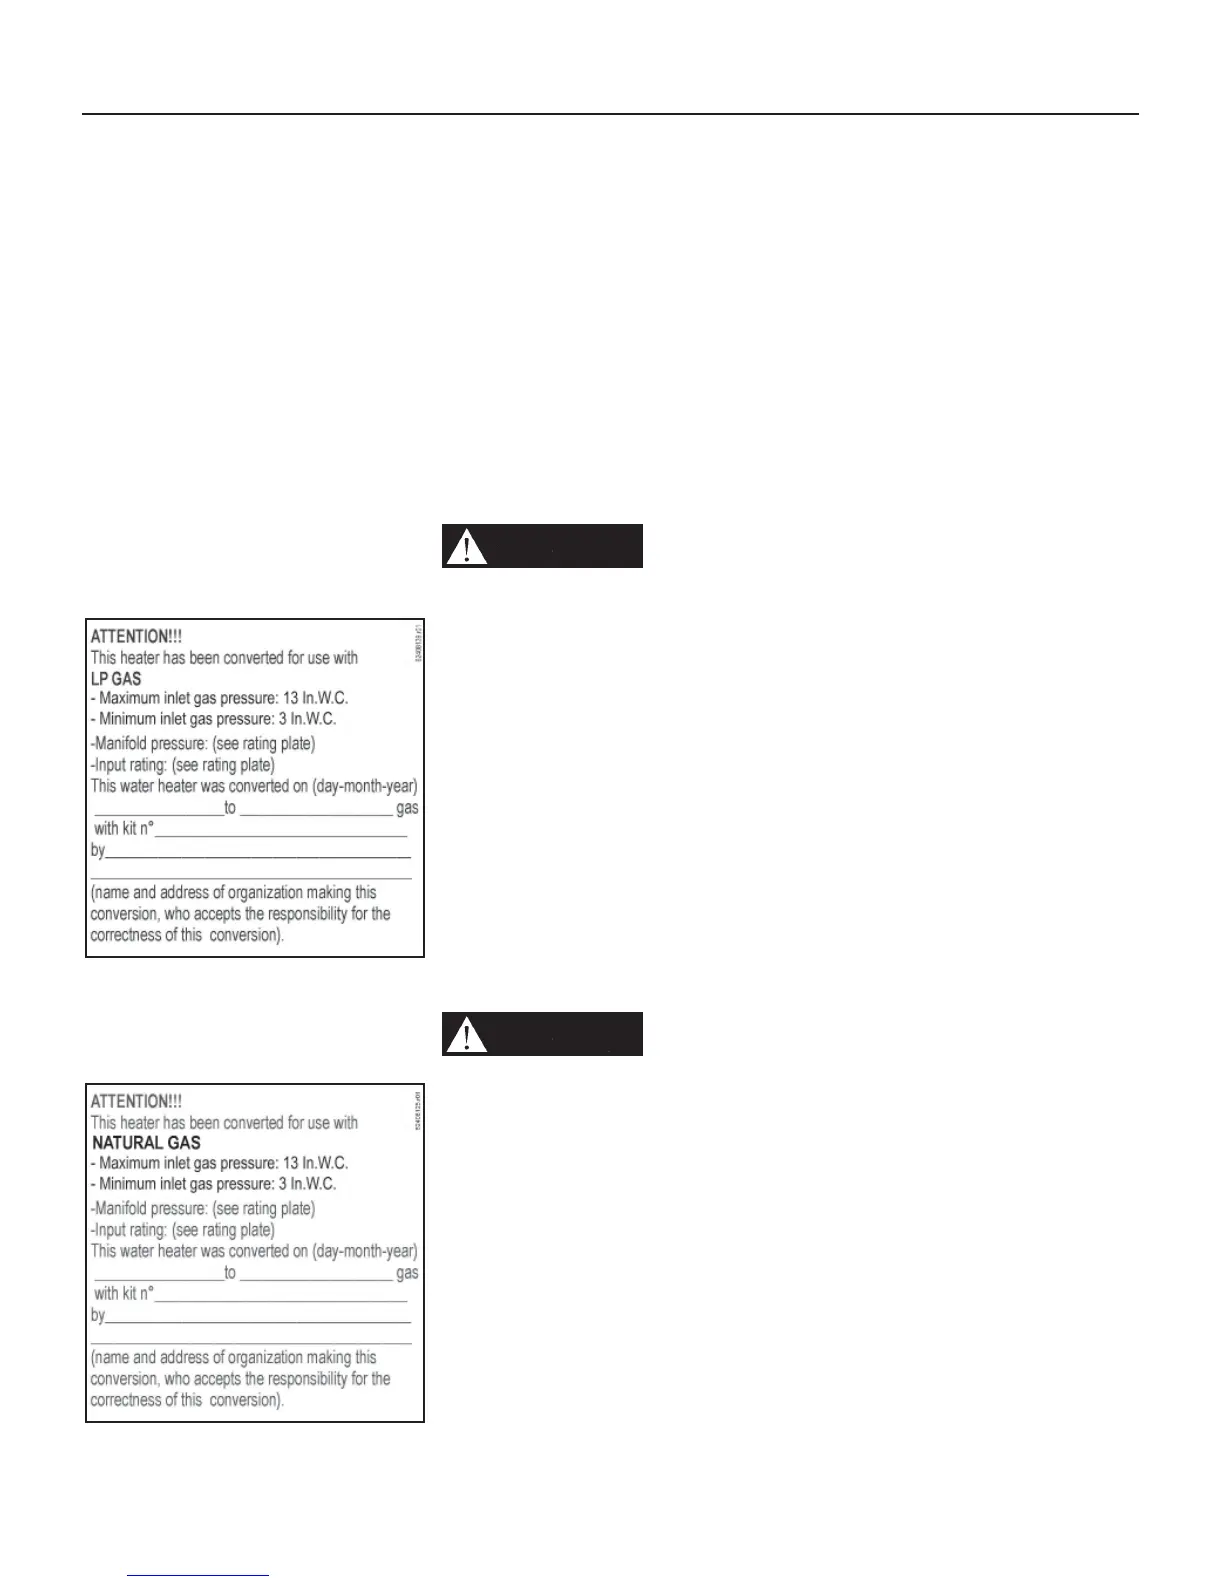
Figure 12-9 Label for
Natural gas heater
Contents:
The conversion kit (supplied with the
heater) is composed of the following
elements, which are necessary for the
gas change:
- a label rating stating the new gas
setting;
- an instruction sheet;
- an orifi ce per each burner present
on the unit;
Installing:
in order to make the gas change
please follow the instructions below:
1. operate to convert the “Burner 1
(Master)”. See Figures 3-6 and 3-9
to identify “Burner1 (Master)”;
2. operating on “Burner 1 (Master)”
follow exactly Section 12.6 from
point 1. to 22..
After converting “Burner 1 (Master)”
you have to operate on “Burner 2”
(See Figure 3-6 and 3-9) and:
3. turn off the main power to the
appliance;
4. disconnect plug “B” from connector
“A” (See Figure 12-10);
5. connect plug “B” to connector “C”
(see Figure 12-10);
6. follow exactly Section 12.6 from
point 1. to 22.;
After converting “Burner 2” you have
to operate on “Burner 3”, if present
(See Figure 3-6 and 3-9), and:
7. turn off the main power to the
appliance;
8. disconnect plug “B” from connector
“C” (See Figure 12-10);
9. connect plug “B” to connector “D”
(see Figure 12-10);
10. follow exactly Section 12.6 from
point 1. to 22.;
After converting “Burner 3” you have
to operate on “Burner 4”, if present,
(See Figure 3-6 and 3-9) and:
11. turn off the main power to the
appliance;
12. disconnect plug “B” from
connector “D” (See Figure 12-10);
13. connect plug “B” to connector “E”
(see Figure 12-10);
14. follow exactly Section 12.6 from
point 1. to 22.;
 Loading...