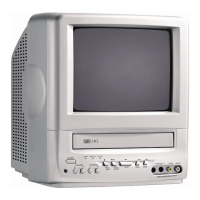
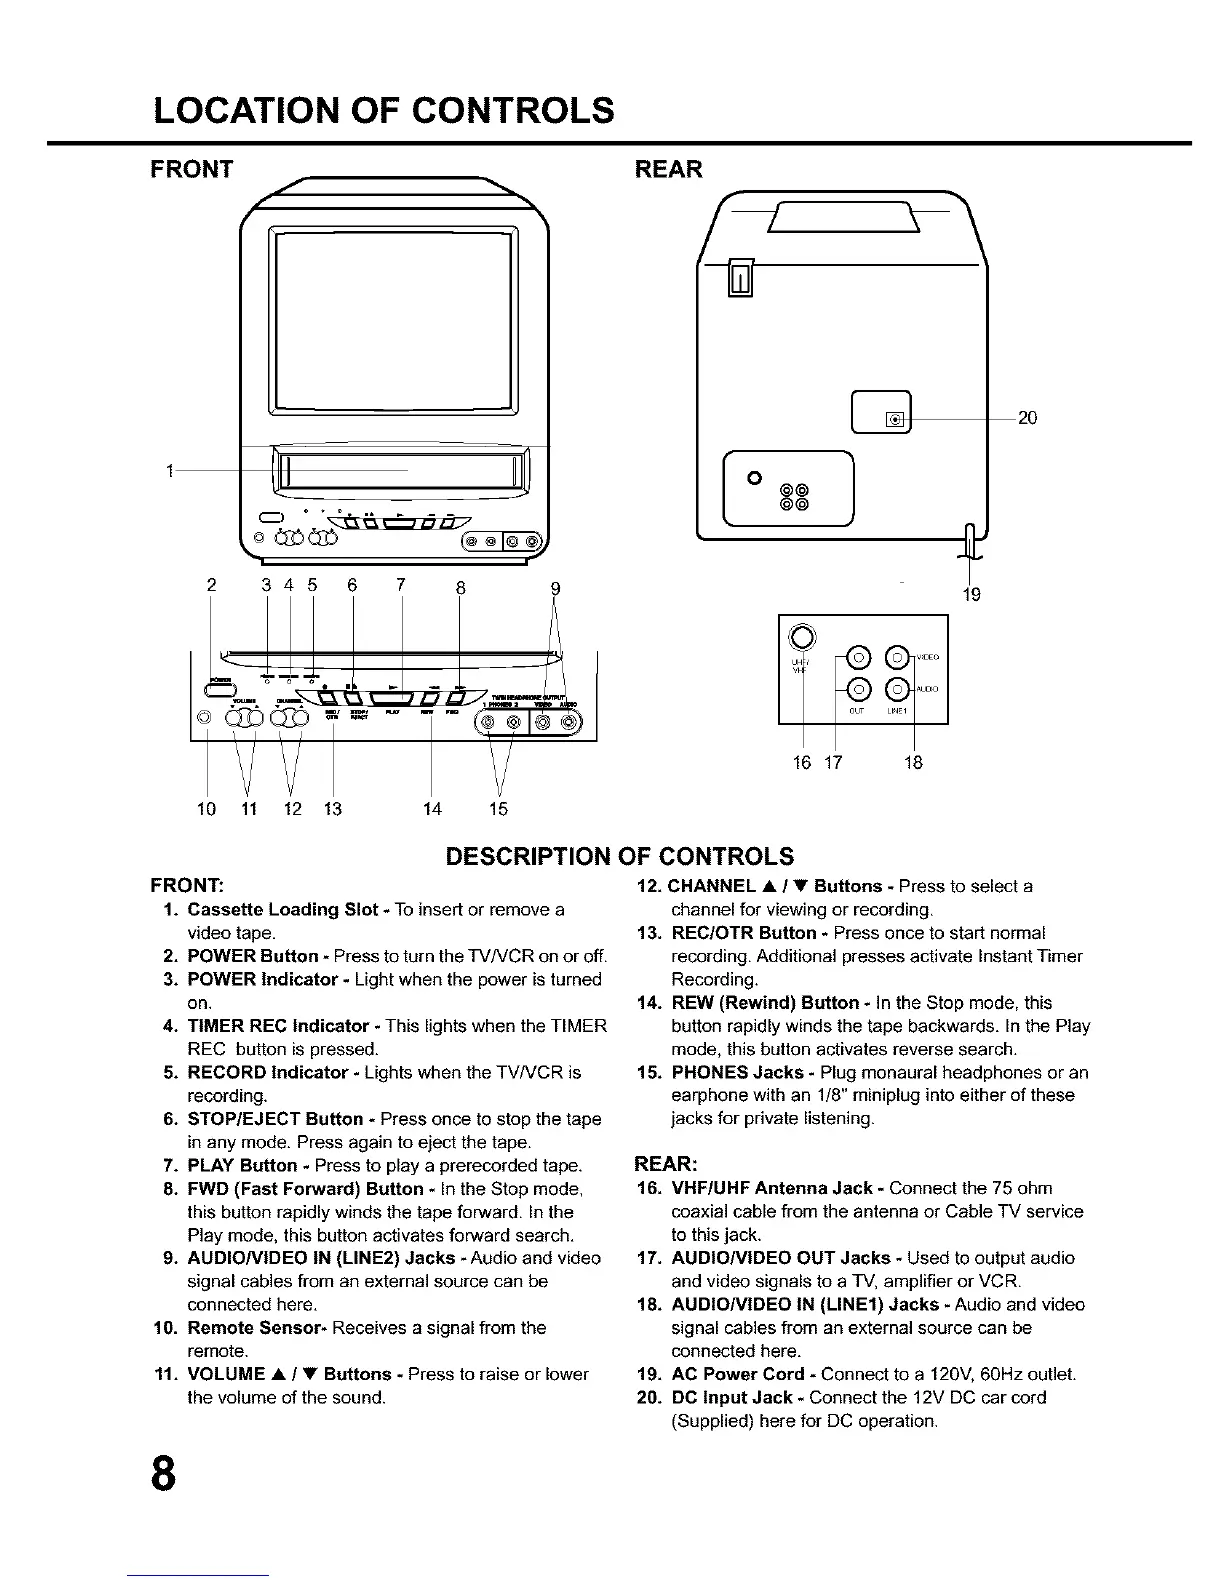
LOCATION OF CONTROLS
FRONT
t _ _,
j
2 345 6 7 8
10 11 12 13 14 15
REAR
I 0 @@ 1@©
19
ALD_O
16 17 18
20
DESCRIPTION OF CONTROLS
FRONT:
1. Cassette Loading Slot - To insert or remove a
video tape.
2. POWER Button * Press to turn the TVNCR on or off.
3. POWER Indicator - Light when the power is turned
on.
4. TIMER REC Indicator - This lights when the TIMER
REC button is pressed.
5. RECORD Indicator - Lights when the TVNCR is
recording.
6. STOP/EJECT Button =Press once to stop the tape
in any mode. Press again to eject the tape.
7. PLAY Button - Press to play a prerecorded tape.
8. FWD (Fast Forward) Button - In the Stop mode,
this button rapidly winds the tape forward. In the
Play mode, this button activates forward search.
9. AUDIONIDEO IN (LINE2) Jacks -Audio and video
signal cables from an external source can be
connected here.
10. Remote Sensor- Receives a signal from the
remote.
11. VOLUME • / • Buttons - Press to raise or lower
the volume of the sound.
12. CHANNEL • / • Buttons -Press to select a
channel for viewing or recording.
13. REC/OTR Button - Press once to start normal
recording. Additional presses activate Instant Timer
Recording.
14. REW (Rewind) Button - In the Stop mode, this
button rapidly winds the tape backwards. In the Play
mode, this button activates reverse search.
15. PHONES Jacks - Plug monaural headphones or an
earphone with an 1/8" miniplug into either of these
jacks for private listening.
REAR:
16. VHF/UHF Antenna Jack - Connect the 75 ohm
coaxial cable from the antenna or Cable TV service
to this jack.
17. AUDIONIDEO OUT Jacks - Used to output audio
and video signals to a TV, amplifier or VCR.
18. AUDIONIDEO IN (LINE1) Jacks -Audio and video
signal cables from an external source can be
connected here.
19. AC Power Cord * Connect to a 120V, 60Hz outlet.
20. DC Input Jack - Connect the 12V DC car cord
(Supplied) here for DC operation.
8