Variomat 1 — 06.07.2016 – Rev. B English —
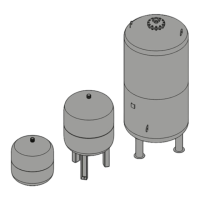
Align the primary tank.
– The distance of the primary tank to the control unit
must match the length of the connection set.
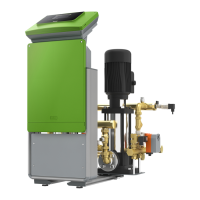
Connect the connection set (2) and (3) with the screw
fittings and gaskets to the connections at the lower tank
flange of the primary tank.
– Ensure that you connect the connection set for the
overflow collector to the connection (2) below the
label (1).
– Interchanging the connections may cause the
pump to run dry.
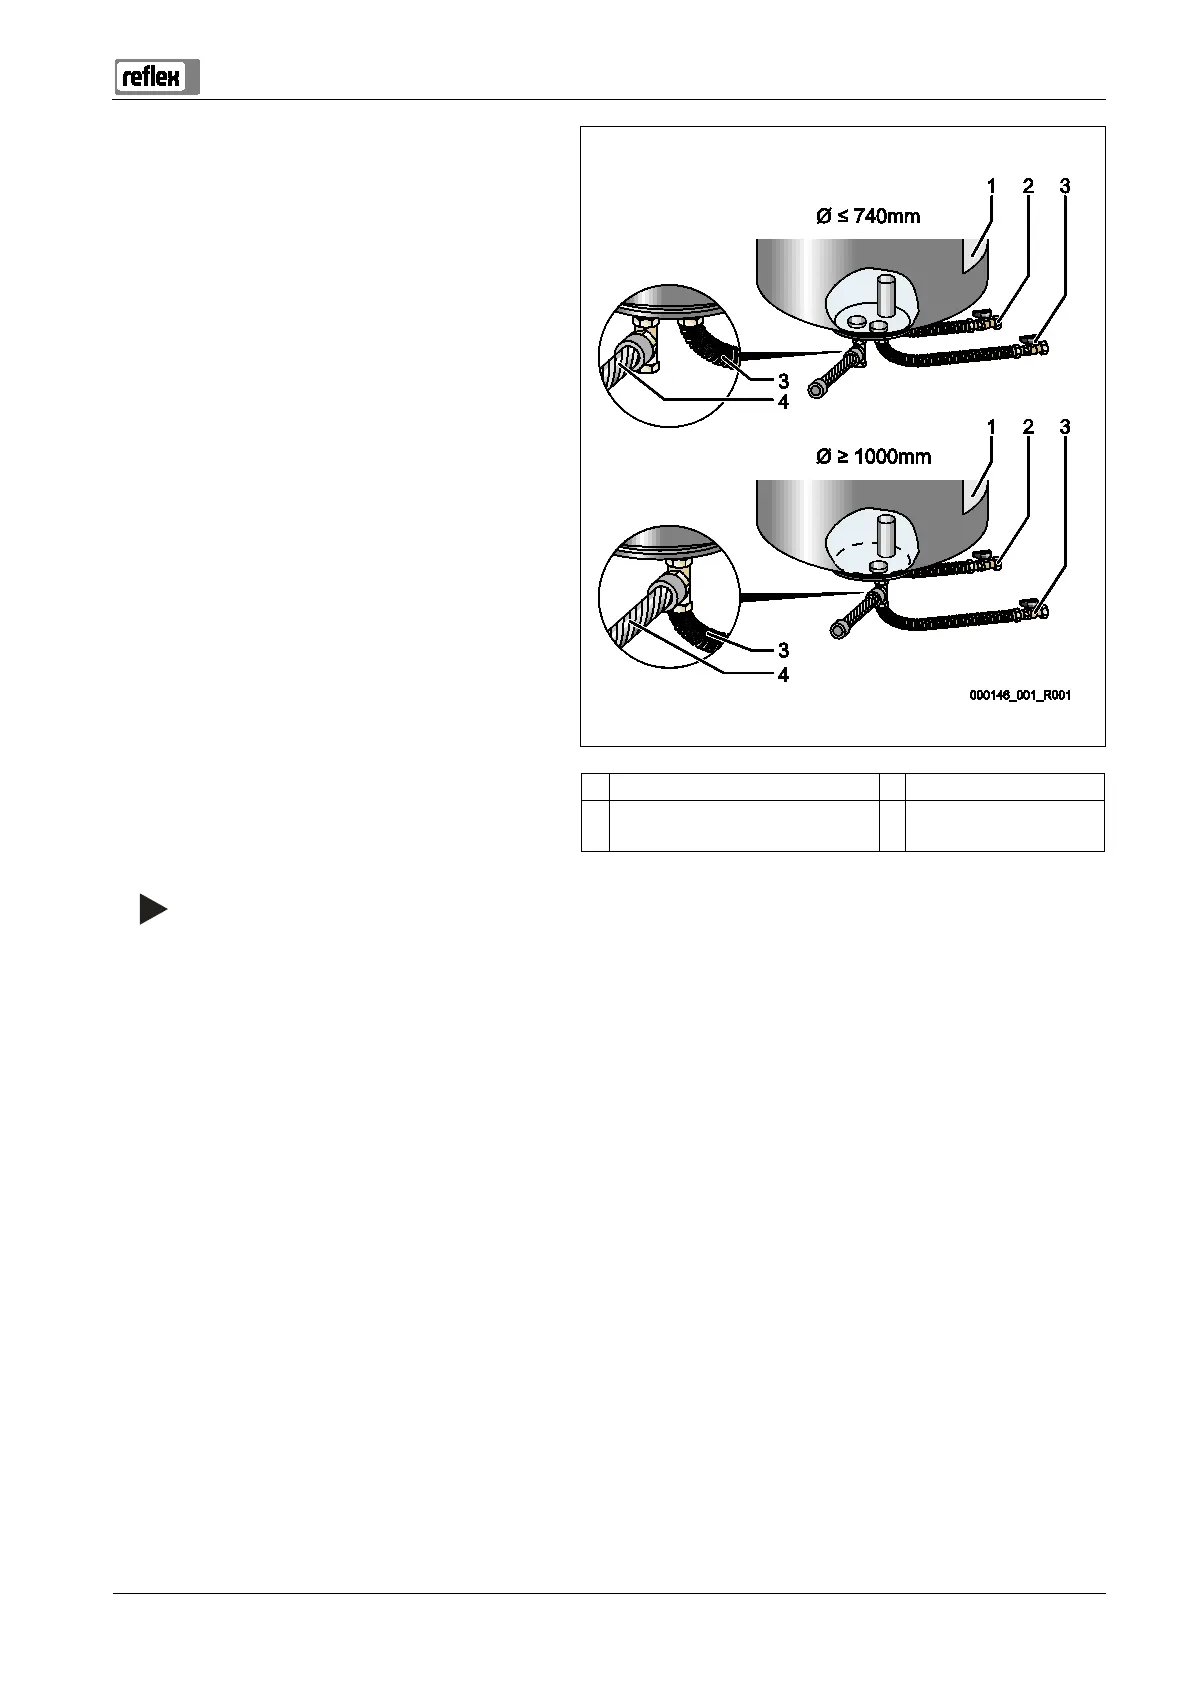
– For tanks up to 740 mm Ø:
• Connect the connection set (2) and (3) to the
two free 1-inch barrel nipples at the tank
flange.
• Connect the connection set (4) of the secondary
tank to the T-joint at the outlet of the tank
flange.
– For tanks from 1000 mm Ø:
• Connect the connection set (2) to the 1-inch
barrel nipple of the tank flange.
• Connect the connection sets (3) and (4) to the
T-joint at the 1-inch barrel nipple of the tank
flange.
1 Adhesive label 3 "Pump" connection set
2 "Overflow collector" connection
set
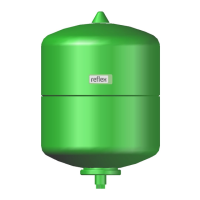
4 Secondary tank
connection set
Note!
If necessary, install the supplied connection set (4) at the optional secondary tank. Connect the connection set (4) with a
user
-supplied flexible pipeline to the primary tank.