24 REFUsol 40K / 46K-MV REFU Elektronik GmbH
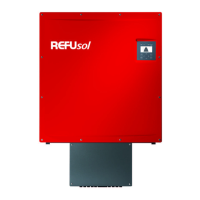
Fig. 6: Handles on the inverter
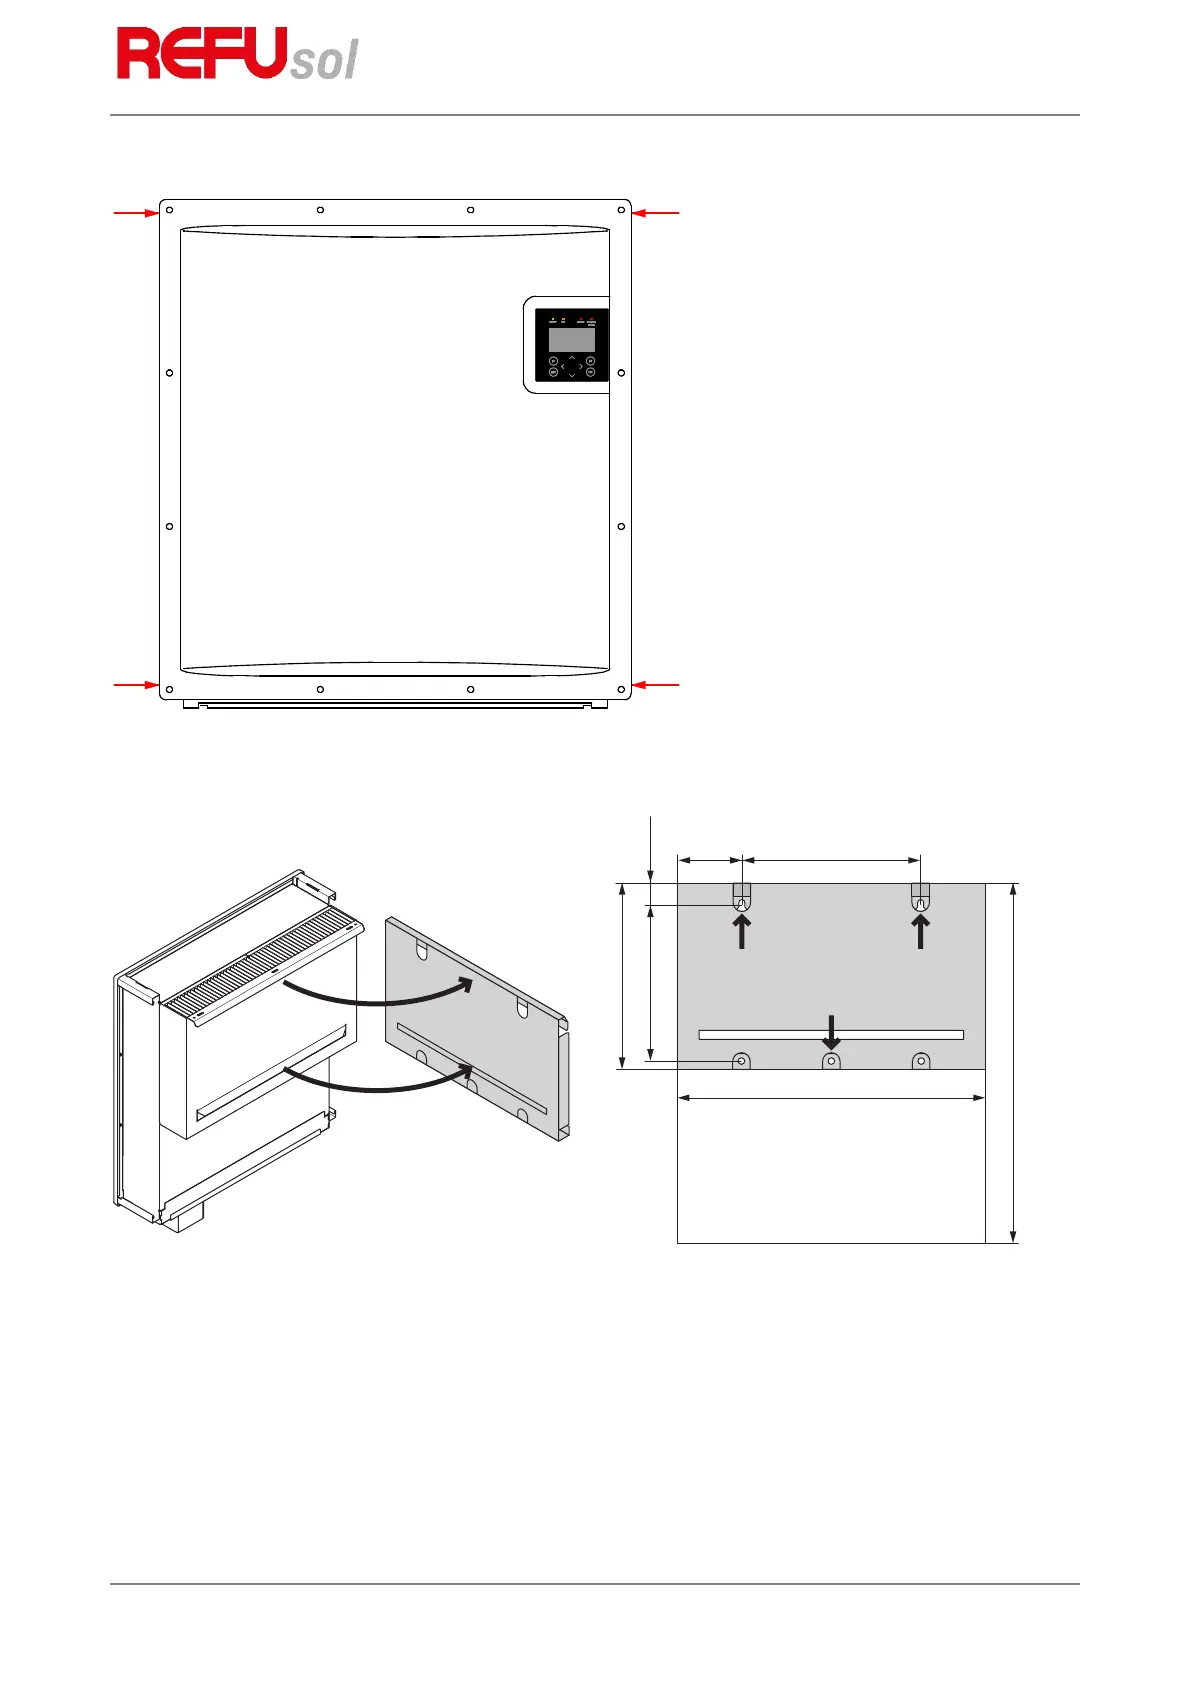
The inverter is mounted using the wall-mounting plate which is included in the scope of delivery.
406 mm147 mm
700 mm
360 mm 45 mm
425 mm
775 mm
Fig. 7: Mounting the inverter
1. Use the wall bracket to mark the positions of the holes to be drilled.
2. Attach the wall-mounting plate to the wall using maximal 5 screws. The screws for attachment to the
wall are not included. Screws with a diameter of 10 mm (3/8″) must be used.
3. Attach the lower clip into the slit of the wall mounting-bracket and apply the upper clip.
4. Attach the inverter with the 3 screws included (M5x20) at the top of the wall-mounting bracket (red
arrows).