17
V
essel Operation
ANCHORING
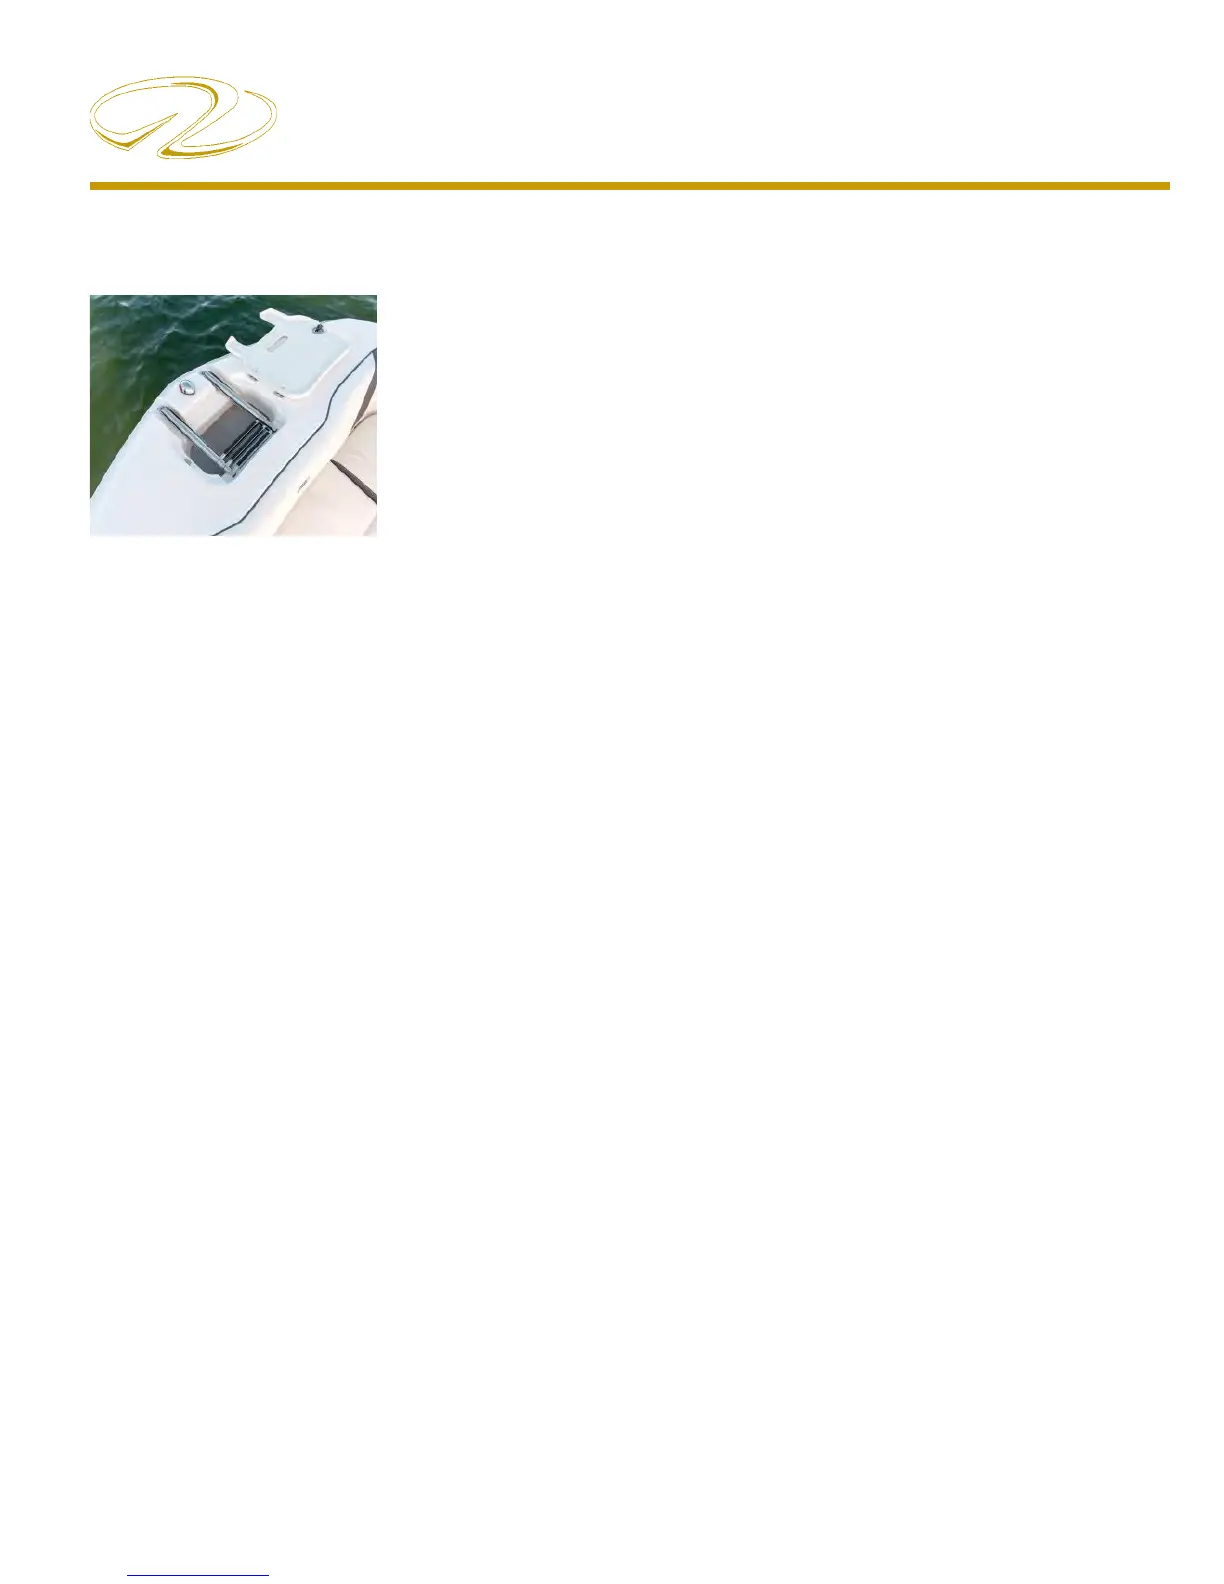
An anchor locker is
standard equipment
which features a tie
off ring. A stainless
steel plow type anchor
would ba a great choice
for your vessel. Look for
a 20 pounder which is
adequate for a 26’ boat
under most conditions.
e anchor will set quickly in a variety of bottoms because
of its unique shank pro le and ballasted tip. It is a high
holding type anchor. Anchoring is easier with another
person on board. First be certain that the line for the
anchor is properly attached, to avoid losing the anchor
and anchor line overboard.
For more e ciency, a length of galvanized chain can be
added to the rode length. e chain will stand up to the
abrasion of sand, rock, or mud on the bottom much better
than a nylon line. Being galvanized the chain will resist
corrosion. Approximately 175’ of 3 strand nylon line is
recommended to ensure an adequate scope in di erent
depths and weather situations. e nylon will stretch
under a heavy strain cushioning the impact of waves or
wind on both the boat and the anchor.
To anchor, select an area preferably with a at bottom.
Mud, sandy clay and rm stand a ord the best bottoms
for anchoring. Grassy bottoms o en resist the anchor
taking hold and end up pulling out grass and roots.
Contrary to modern belief, you do not anchor while the
boat is making headway, or moving forward. In fact, the
bow of the boat should be brought slowly backward, while
releasing the anchor until it hits the bottom. To “snub
the line” means to stop its outward “pay” or movement.
Usually the length of anchor line used should be 5 to
10 times the depth of the water depending on weather
conditions. is ratio is called the “scope”; the minimum
scope under average conditions is 7 or 8:1. If the scope is
too short the anchor’s e ciency is diminished. A longer
scope cushions the shock load on the entire system.
Once a scope is determined sometimes it is di cult to
know how much line to let out to reach the desired scope
especially at night. One way to mark an anchor line
that will identify the amount of line is to paint wide and
narrow bands from about 50’ to 150’ in 10’ intervals. e
wide bands equal 50’ and each narrow band would equal
10’. Distinguish each 50’ band with a di erent color paint.
is can be done with “see in the dark” paint. Simply tape
each length for the appropriate band before painting it.
After you have anchored, check your position with
landmarks if possible. You need to continue to monitor
these landmarks to make sure you are not drifting.
Since anchoring can also be an emergency procedure,
the anchor and line should be readily accessible. Check
anchor locker to ensure an untangled anchor line.
Once anchored the anchor line must be secured to a
strong
tie such as a cleat.
Do not rely on the windlass brake to carry the anchor
rode load.
Use a series of full turns and half-hitches around the
cleat horn to prevent any line slippage or jamming. is
is important as the scope may need to be adjusted over
a period of time and you need swi access to the line.
For increased holding power in windy conditions, two
anchors are sometimes set. If your primary anchor drags,
you can run out your secondary anchor without picking
up the primary one. e important thing is to lay them
out at an angle. When setting two anchors, make sure
they are fastened to separate strong ties such as cleats.
is is done in case you need to adjust one later so the
line must be accessible.
Note: In times of high waves a buoy on the rode works as
a shock absorber and allows the vessel’s bow to ride the
wave crests without large strains being transmitted to the
set anchor. ese plastic foam buoys can be purchased
at boating retail outlets.
 Loading...