10A-48
ENGINE AND CYLINDER BLOCK ASSEMBLY
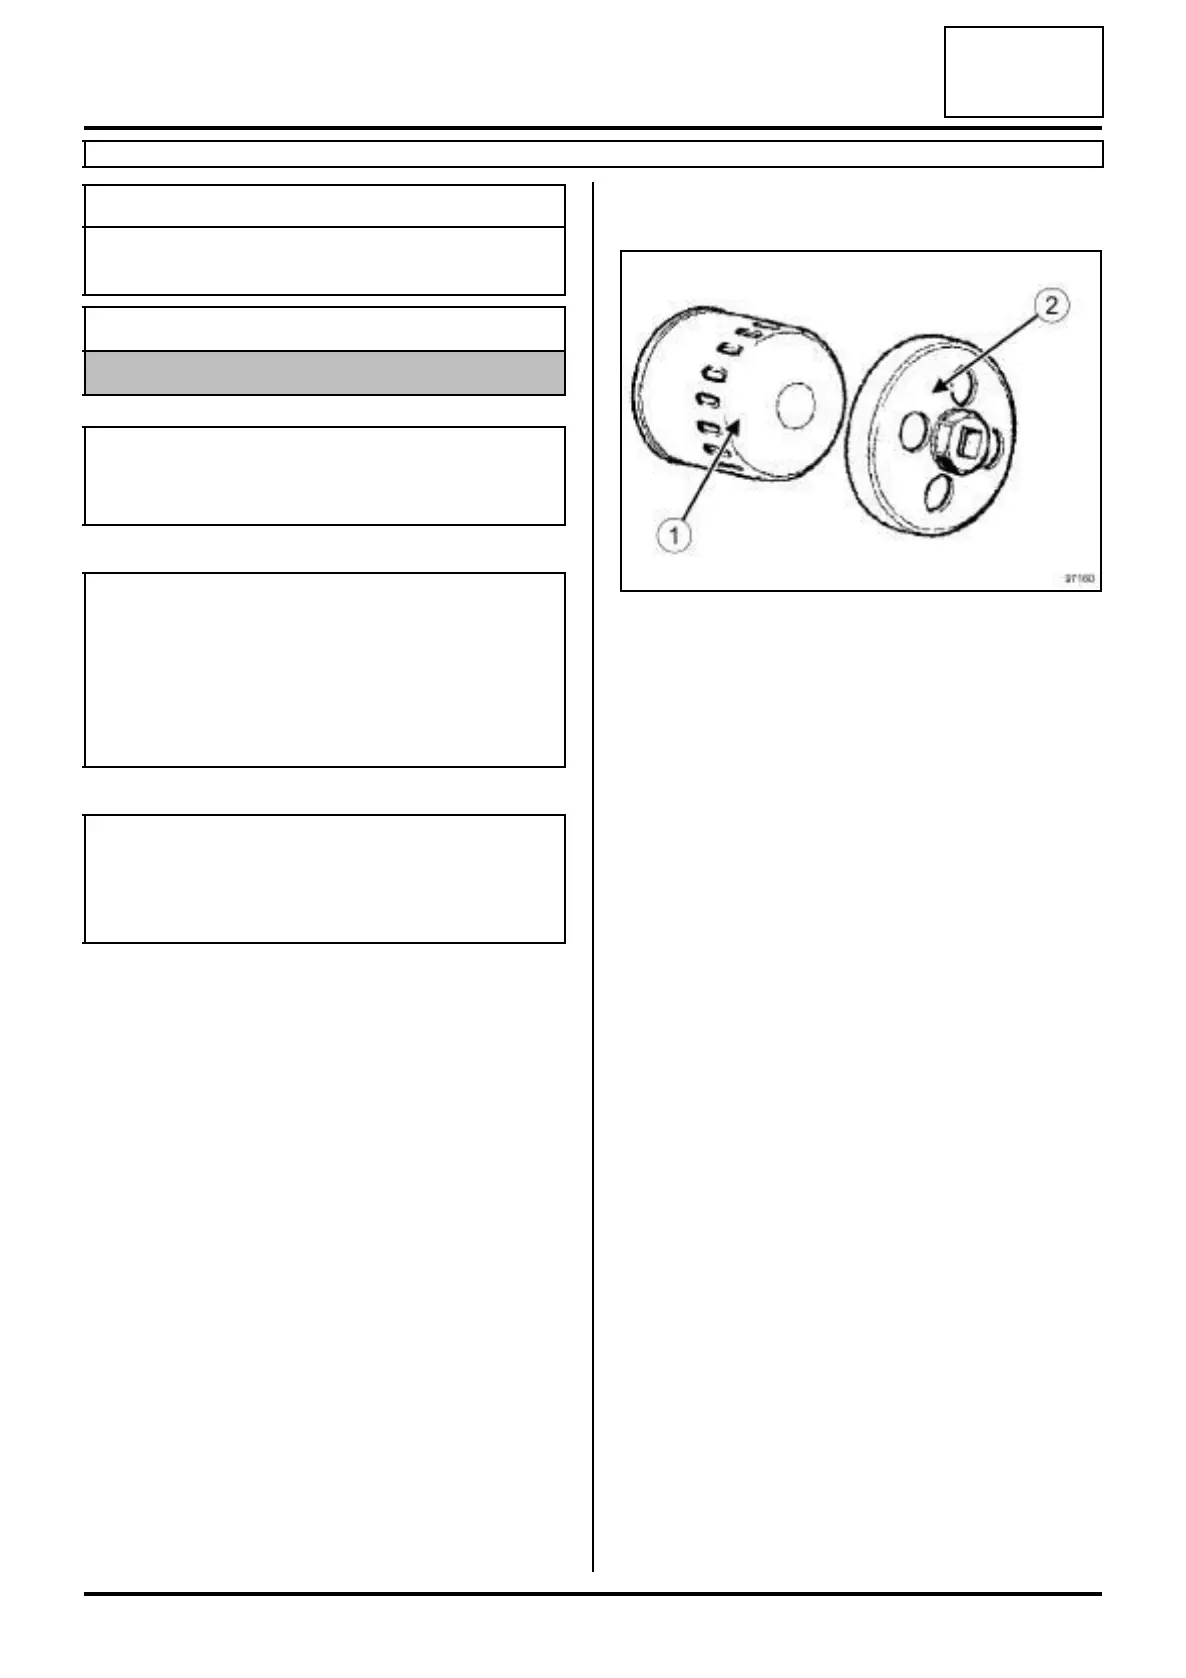
Oil filter: Removal - Refitting
K9K
10A
REMOVAL
I - REMOVAL PREPARATION OPERATION
a Position the vehicle on a two-post lift (see Vehicle:
Towing and lifting) (02A, Lifting equipment).
a Remove:
-the engine undertray bolts,
-the engine undertray.
a Place a oil recovery container underneath the en-
gine.
II - OPERATION FOR REMOVAL OF PART
CONCERNED
a Remove the oil filter (1) using the tool (Mot. 1329)
(2)
REFITTING
I - REFITTING PREPARATION OPERATION
a parts always to be replaced: Oil filter (10,05,05,
03).
a Lubricate the new oil filter seal with new engine oil.
II - REFITTING OPERATION FOR PART
CONCERNED
a Refit a new oil filter by hand until the oil filter seal co-
mes into contact with the oil filter support.
a Tighten the new oil filter 3/4 of a turn by hand or
using the (Mot. 1329).
III - FINAL OPERATION
a Wipe any oil run-off with a cloth.
a Top up the oil level in the engine using oil recom-
mended by the manufacturer (see Engine oil: Spe-
cifications) (Technical Note 6013A, 04A,
Lubricants).
a Start the engine and leave it running for approxima-
tely 30 seconds.
a Check there are no leaks from the oil filter.
a Remove the oil recovery container.
a Refit:
- the engine undertray,
- the engine undertray bolts.
a Wait at least 10 minutes.
Essential special tooling
Mot. 1329 Oil filter removing tool (76
mm diameter).
Essential equipment
oil recovery container
IMPORTANT
Wear leaktight gloves (Nitrile type) for this opera-
tion.
WARNING
Always check the oil level using the dipstick.
Do not exceed the maximum level on the dipstick
(could destroy the engine).
Correct the engine oil level if necessary before deli-
vering the vehicle to the customer.
Note:
When topping up the engine oil, always leave at
least 10 minutes before checking the level with a
dipstick.
97160