Renesas RA Family Getting Started with Low Power Applications for RA6 and
RA4 Groups
R11AN0471EU0104 Rev.1.04 Page 26 of 40
Oct.1.21
6. Importing and Building the Project
To bring the applications into the e
2
studio ISDE, follow these steps:
1. Launch e
2
studio ISDE.
2. In the workspace launcher, browse to the workspace location of your choice.
3. Close the Welcome window.
4. In the ISDE go to File > Import.
5. In the Import dialog box pick Existing Projects into Workspace.
6. Select the Root directory of your workspace (where you placed the project).
7. Select the project you wish to import and click Finish.
8. Click on Generate Project Content on the FSP configurator window.
9. Now build the project.
7. Running Applications
To connect and run the code, follow the steps in the following sections.
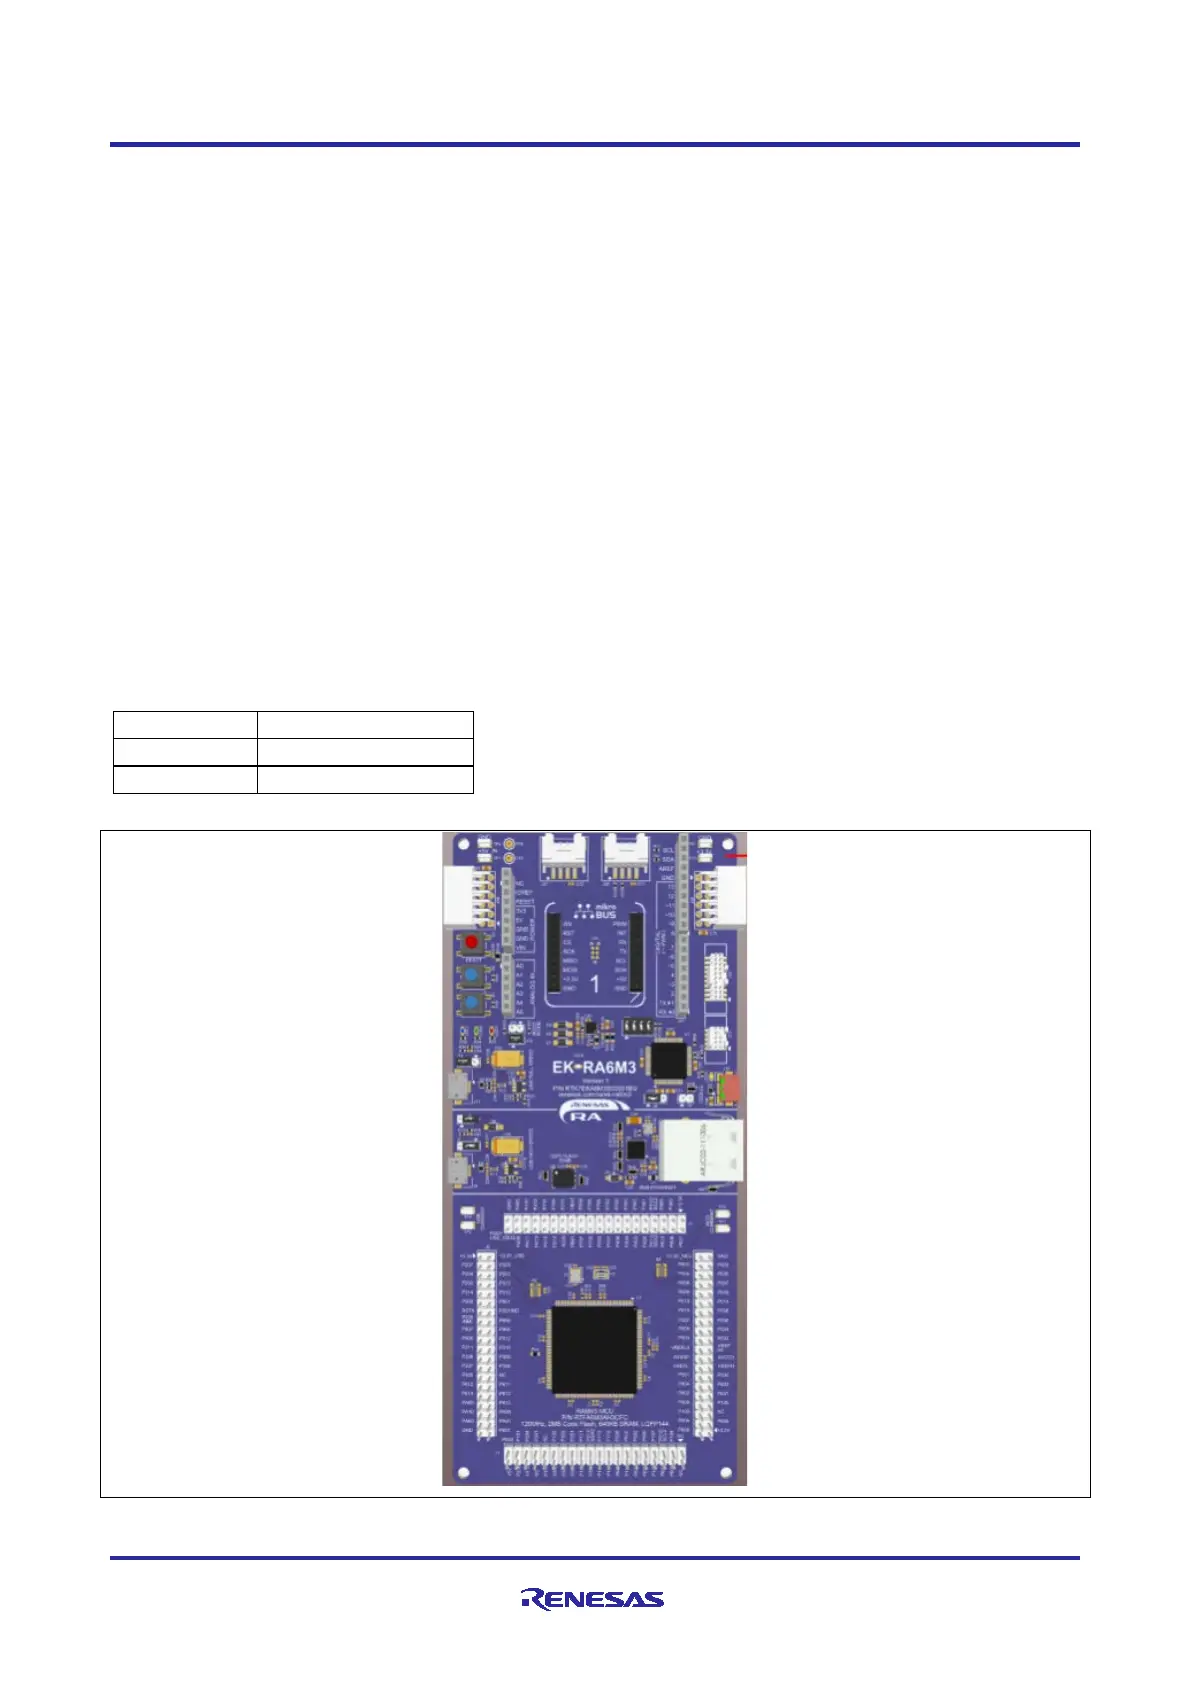
7.1 Board Setups
The EK-RA6M3 kit contains a few switch settings which must be configured prior to running the application
associated with this application note. In addition to these switch settings, it has a USB debug port and
connectors to access the J-Link
®
programming interface.
Table 7. Switch settings for EK-RA6M3
Figure 28. EK-RA6M3 Kit

 Loading...