Renesas RA Family Getting Started with Low Power Applications for RA6 and
RA4 Groups
R11AN0471EU0104 Rev.1.04 Page 8 of 40
Oct.1.21
2. LPM HAL Module
The LPM HAL module in FSP provides a method to include the LPM driver into the application and to
configure them for different modes. It also allows configuring different trigger/cancel signals as required for
LPM activation/cancellation. FSP also provides essential APIs to configure and place the MCU in Low Power
Modes. It supports the following Low Power Modes:
• Deep Software Standby mode (on supported MCUs)
• Software Standby mode
• Sleep mode
• Snooze mode
It also supports reducing power consumption when in Deep Software Standby mode through internal power
supply control and by resetting the states of I/O ports.
3. FSP Configuration
When developing an FSP application in e
2
studio, first configure the FSP using the RA Configurator. To
properly configure the FSP, you must have detailed knowledge of both the software design that you will be
implementing, along with the specific hardware it will be running on. For the hardware, this includes the types
of peripherals to be used on the hardware, and the pins they are mapped to, internal or external to the MCU.
From the software perspective, you need to add the HAL modules for the peripherals you use and decide
how many threads will be used, and what additional software objects like semaphores, queues, and so on
that each thread will require. Once you have this information, you will be ready to successfully configure the
FSP for your specific application needs.
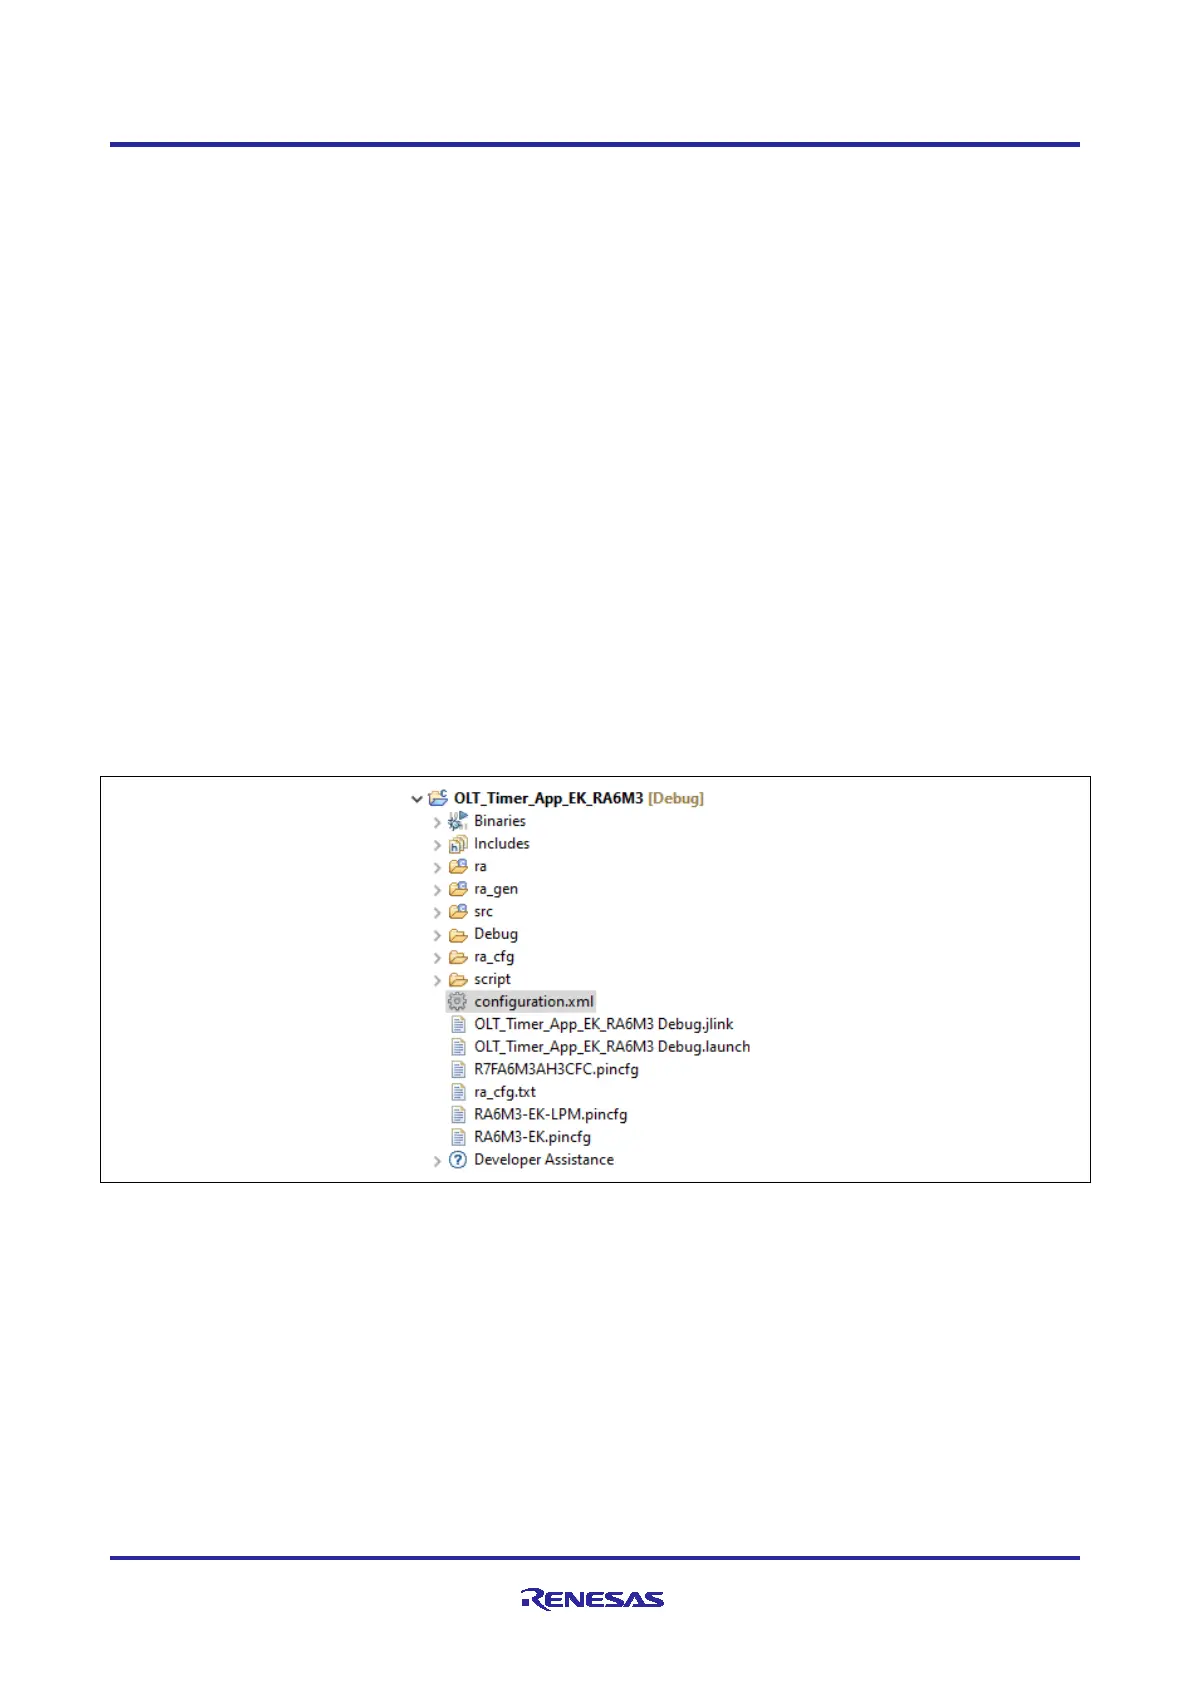
In an application using FSP, the FSP configuration is stored in a file named configuration.xml. Double
clicking on this file brings up the RA Configuration tab for the project.
Figure 3. configuration.xml on the Project Plane
When a project is built from scratch, this configuration tab is where you will perform the initial configuration of
the FSP. As shown in Figure 4, the RA Configuration pane contains a Summary screen highlighting the
items you may configure, along with a scrolling window that lists all the software components currently
selected for this project. Below this scrolling window are tabs that allow you to tailor the FSP to the needs of
your specific application. More details on the use of the FSP configurator can be found in the FSP user’s
manual.
For the purposes of this application note, we will highlight a few of the details of the FSP properties such as
the r_lpm driver, r_rtc driver, and r_agt driver modules as they are key components operated in the use
cases provided in the application.
When you have configured the project appropriately, click the Generate Project Content, the green arrow
button above the summary screen, to build all the auto-generated files necessary to implement the
components you defined.

 Loading...