EasyManuals Logo

ReSound LINX 3D User Manual

ReSound LINX 3D
68 pages
To Next Page IconTo Next Page
To Previous Page IconTo Previous Page
Page #19 background imageLoading...
Page #19 background image
19
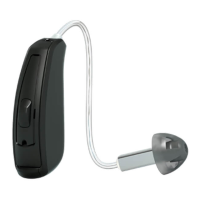
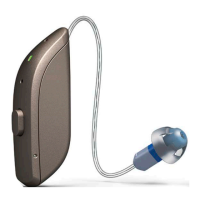
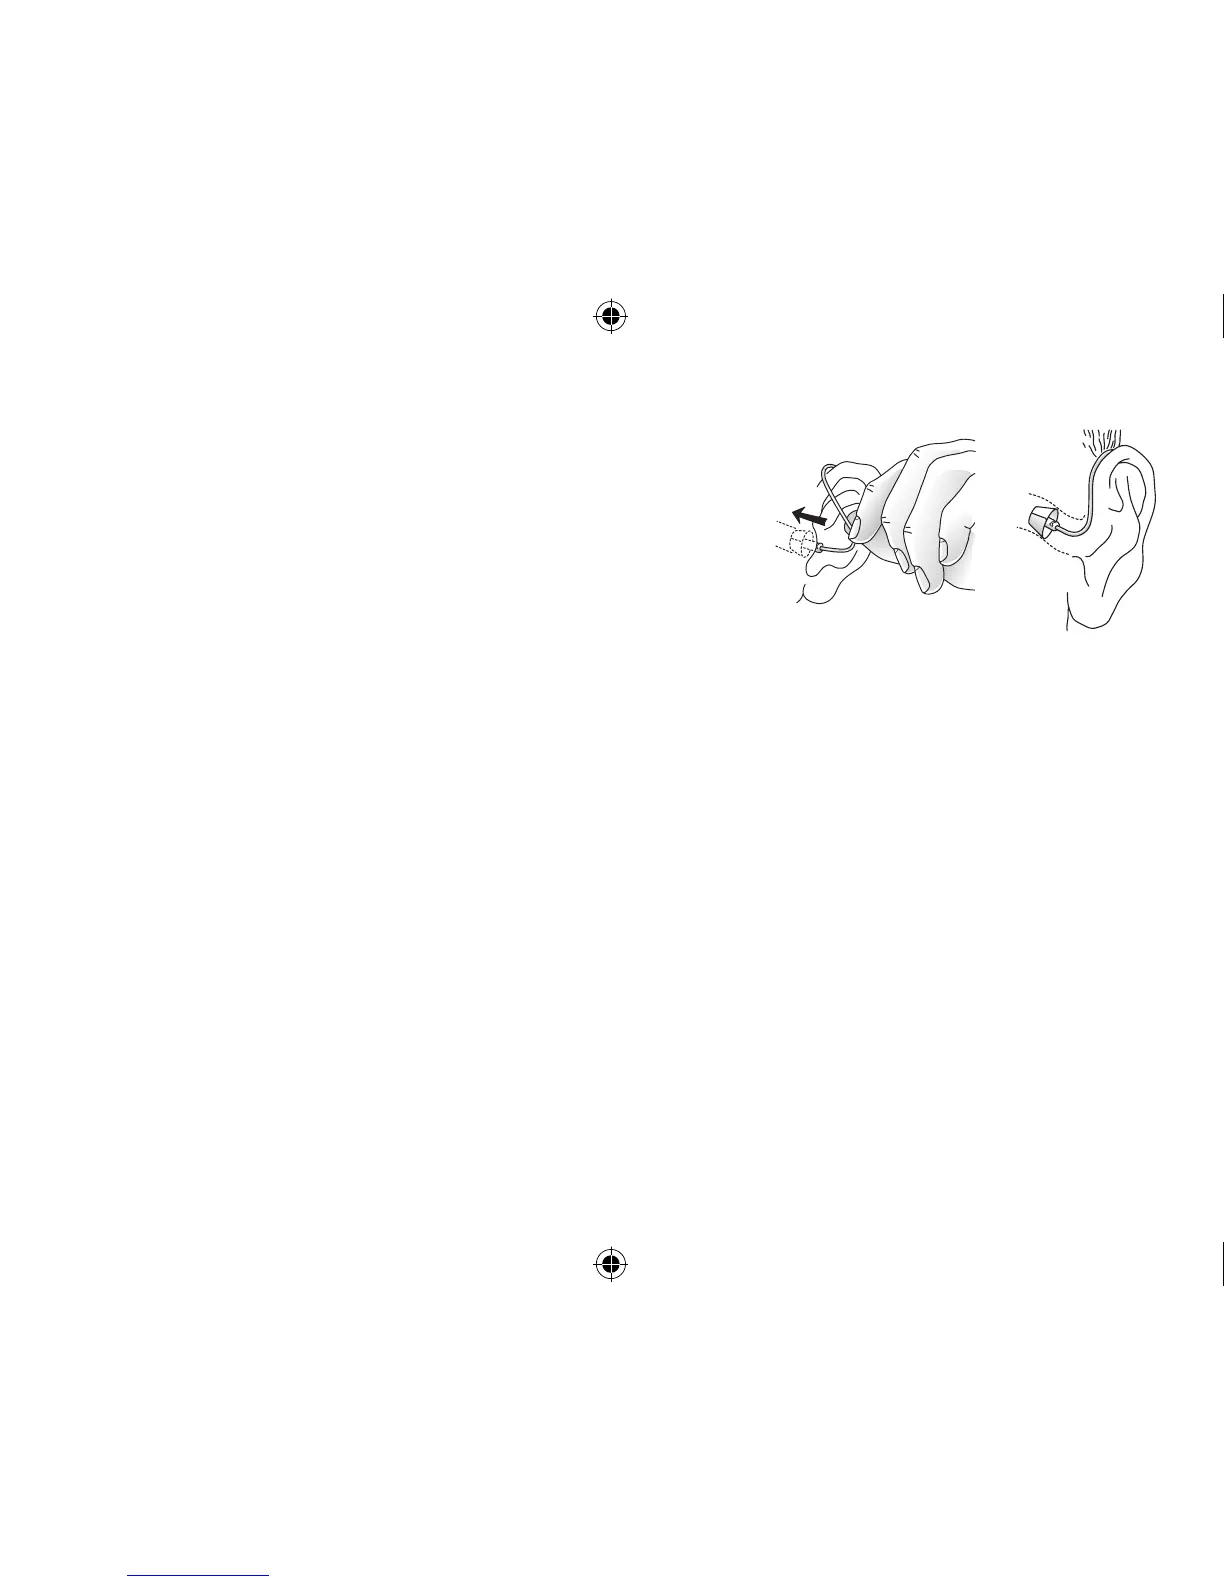
7.4.3 Insert thin tube with dome
1. Hang the hearing aid over the top of the ear.
2. Hold the thin tube where it bends and gently place/push
the dome into the ear canal. Push the dome far enough
into the ear canal so that the thin tube lies flush with the
head (check with a mirror).
i
NOTE: To avoid whistling, it is important that the tube
and the dome fit correctly into your ear. For other possible reasons, check with the Troubleshoot-
ing guide.
i
CAUTION: Never attempt to modify the shape of the hearing aid, earmolds, or tubing yourself.
7.4.4 Remove thin tube with dome
1. Hold the thin tube with your thumb and forefinger and remove the tube.
2. For thin tube custom earmolds, grasp the removal string and pull the earmold outward.
400618011US-17.01-Rev.A.indd 19 25-01-2017 09:59:12

Table of Contents

Other manuals for ReSound LINX 3D

Questions and Answers:

Question and Answer IconNeed help?

Do you have a question about the ReSound LINX 3D and is the answer not in the manual?

ReSound LINX 3D Specifications

General IconGeneral
ModelLINX 3D
Wireless ConnectivityYes
BluetoothYes
App CompatibilityReSound Smart 3D app
Directional MicrophonesYes
Noise ReductionYes
Feedback CancellationYes
Fitting RangeMild to severe hearing loss
TechnologyDigital
Channels17
GainUp to 70 dB
Battery TypeRechargeable (selected models)
StyleBehind-the-Ear (BTE)
Frequency Range100 Hz - 8 kHz
Battery LifeVaries by model and usage
FeaturesSpatial Sense
TypeBehind-the-Ear (BTE)
Water ResistanceIP68

Related product manuals