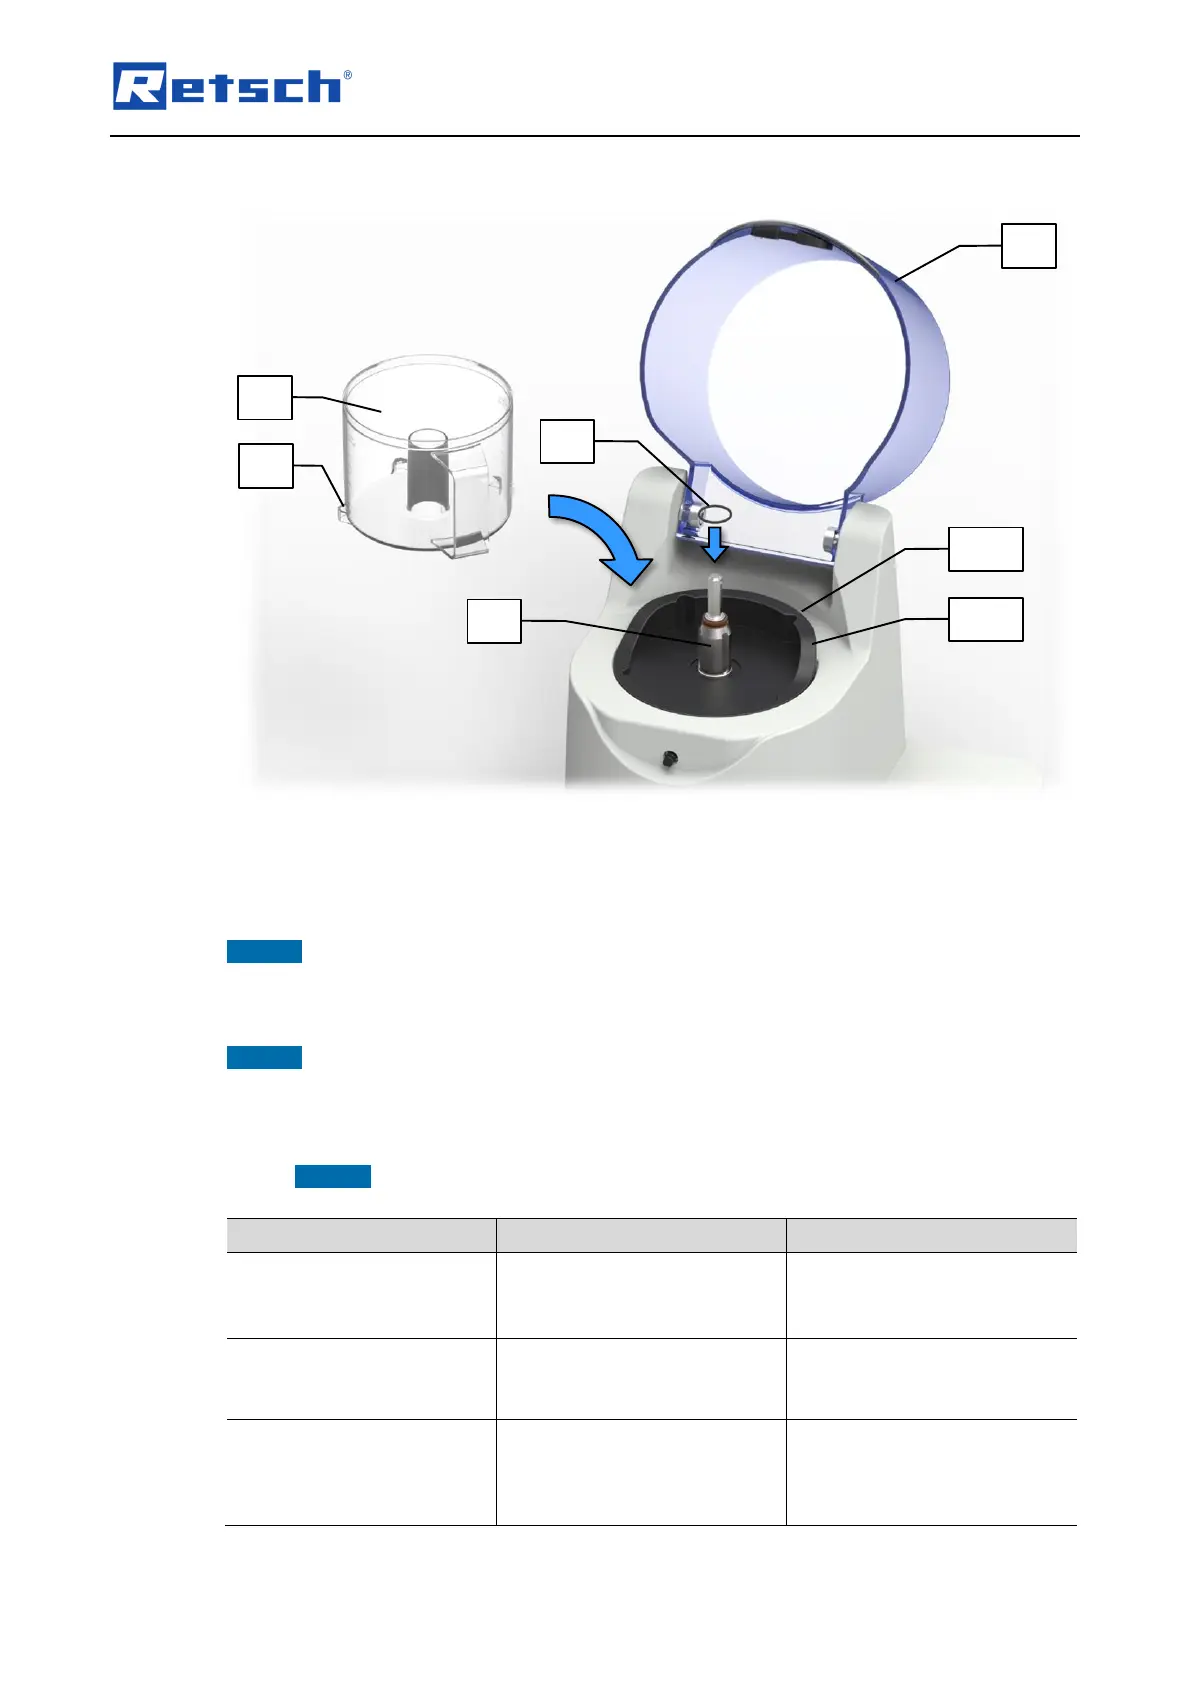
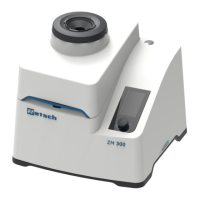
6.5 Inserting the Grinding Container
Fig. 4: Inserting the grinding container
Open the hood (F).
Insert the grinding container (MB).
NOTICE Depending on the design, the grinding container has one to three anti-rotation locks
(MB1) which fit into the grooves (MBA1) of the grinding container receptacle (MBA). On
insertion, pay attention to the correct orientation of the grinding container.
NOTICE An O-ring (OR) serves as a seal and fixation for the grinding container receptacle
(MBA). When inserting the grinding container, ensure the correct seating of the O-ring in the
groove of the motor shaft (MW).
Grinding containers made of different materials are available for the GM 200 from Retsch
GmbH. NOTICE Not all grinding containers are suitable for the grinding of all sample materials!
Please note the following table when selecting the grinding container:
Type of grinding container
soft, medium hard, elastic,
aqueous, greasy and oily
sample material
hard, hard-brittle sample
material due to increased
abrasion
soft, medium hard, elastic,
aqueous, greasy and oily
sample material
hard, hard-brittle sample
material due to risk of fracture
Stainless steel container
soft, medium hard, elastic,
aqueous, greasy, oily, hard
and hard-brittle sample
material