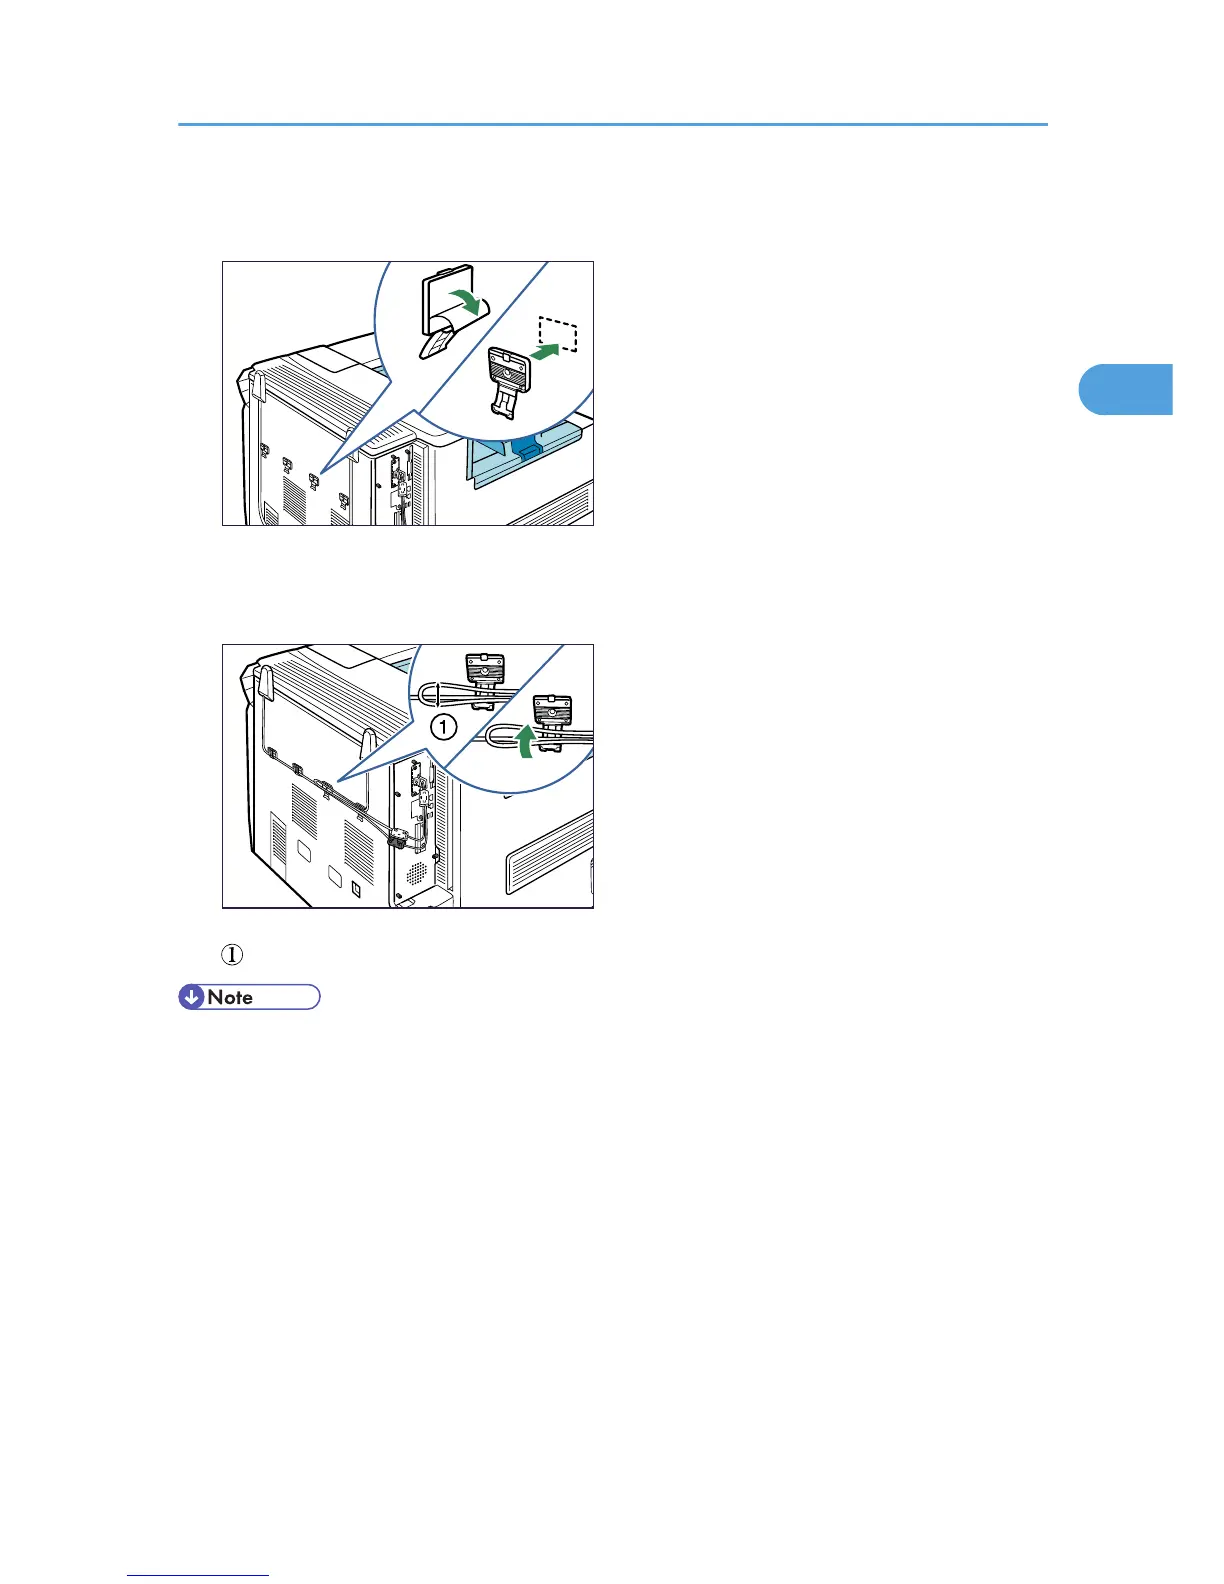
8. Remove protective paper from four hooks, and then attach the hooks evenly above the
ventilators on the printer rear.
Extra hooks are spare accessories.
9. Secure the cables using the four hooks. Loop the cable for the antenna on the right as shown.
: The loop must have a diameter of at least 1 cm (0.4 inches).
• Confirm that the board was correctly installed by printing the configuration page. If it is correctly
installed, "Wireless LAN" will appear for "Device Connection" on the configuration page.
• If the board was not installed properly, repeat the procedure from the beginning. If it cannot be
installed correctly even after reattempting installation, contact your sales or service representative.
• For information on printing the configuration page, see "List/Test Print Menu", Software Guide.
• If you need to open the hook, hold the tab of the hook, raise it slightly upward, and then pull it open.
Installing the Interface Units
61

 Loading...


