Performing Scan Operation
135
6
Performing Scan Operation
Starting a Scan Operation
To start with originals in the ADF
A
AA
A
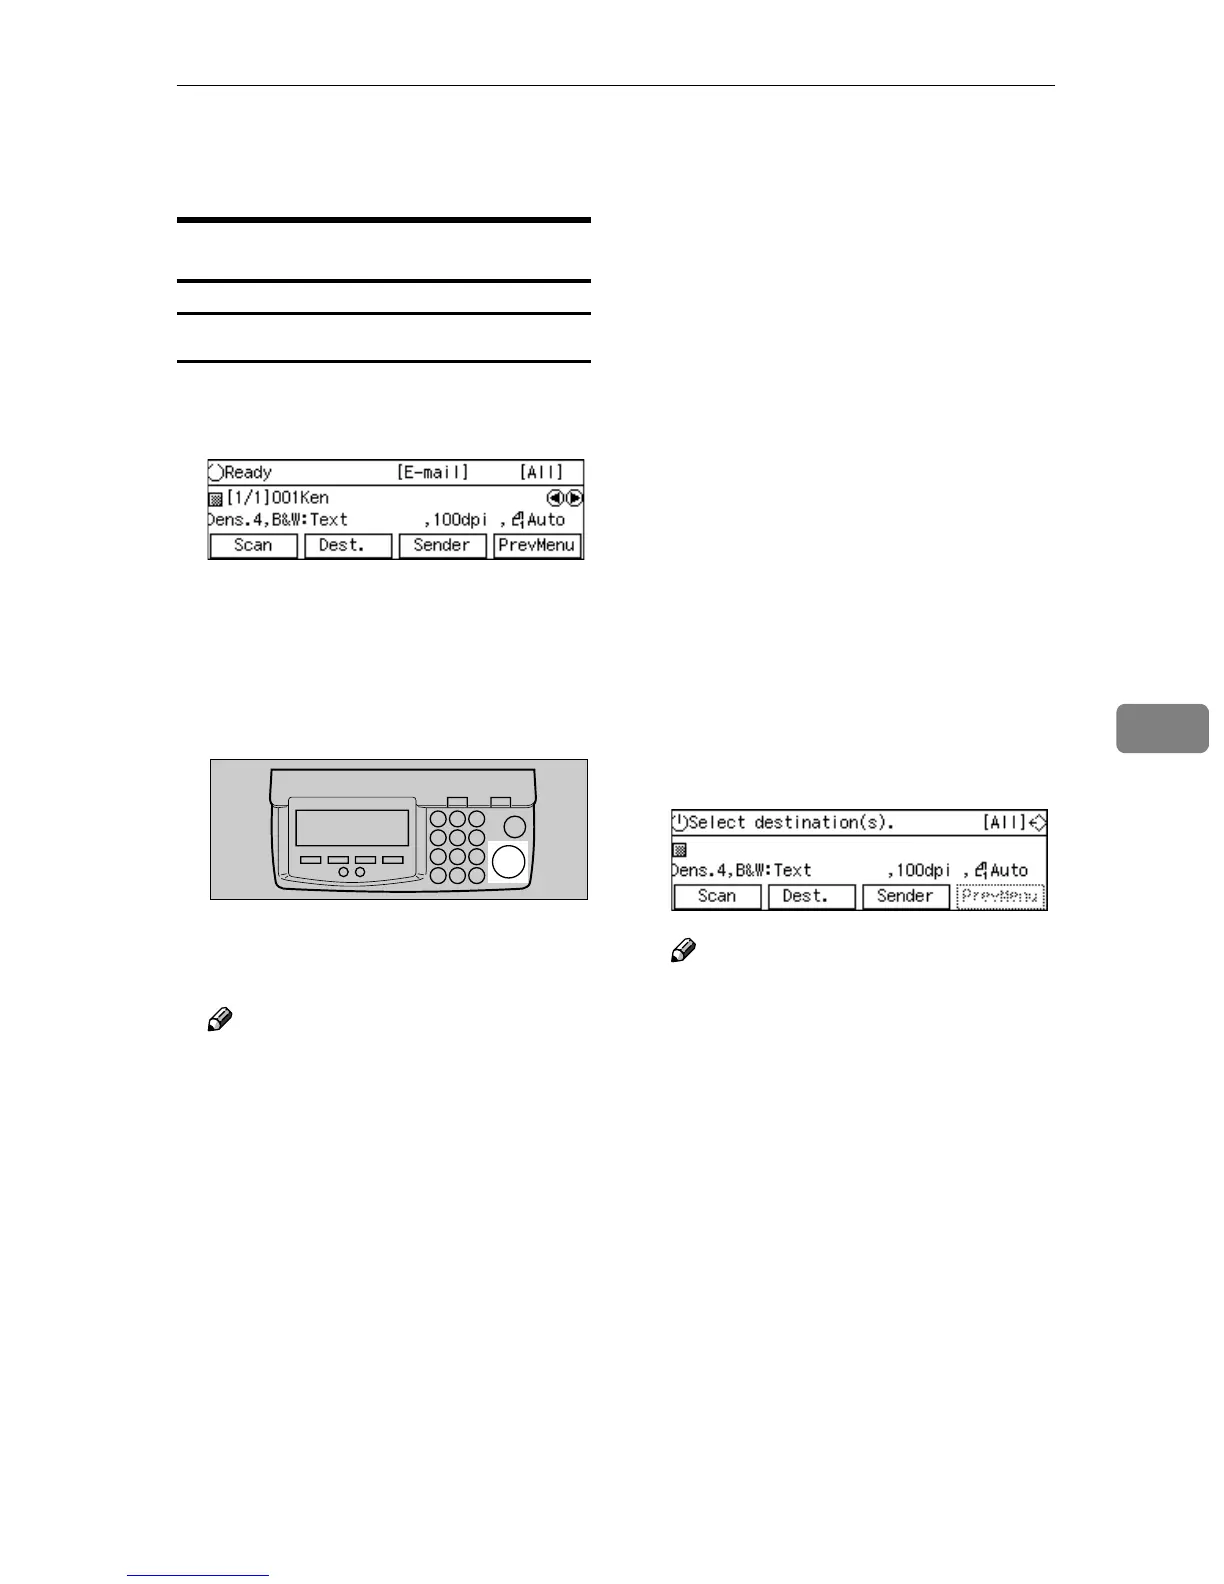
Confirm that the E-mail standby
screen is displayed.
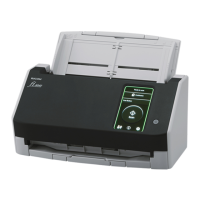
When “
Select destination(s).
” is displayed, no destination is se-
lected. Select a destination to dis-
play “
Ready
” on the screen.
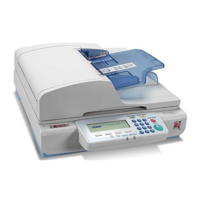
B
BB
B
Press the {
{{
{Start}
}}
} key.
Scanning originals in the ADF
starts.
Note
❒ To interrupt scanning, press the
{
{{
{Clear/Stop}
}}
} key.
❒ When “
Show Options after
Each Scan Job
” is selected for
[End of Scan Option] under
[2.Send Scan Settings], a screen
for selecting the next operation
appears after scanning of all the
originals in the ADF is complet-
ed.
• Press [Add] to continue scan-
ning to add scanned data to
the current image file.
• Press [New Job] to finish the
current scanning job and
send the scanned data. You
can start a new job with the
current settings after the
scanned data is sent.
• Press [OK] to finish the cur-
rent scanning job, send the
scanned data, and then re-
turn to the initial screen
when the power is turned on.
If you do not press any key,
this machine acts as [OK] is
pressed, after the specified
period.
When scanning finishes properly,
the e-mail is sent to the e-mail
(SMTP) server. m appears at the
upper right corner of the screen
while the e-mail is sent.
Note
❒ You cannot perform any opera-
tions while m is displayed on
the screen.
❒ Do not turn the power of this
machine off while m is dis-
played on the screen.
m disappears when the e-mail has
been sent to the e-mail (SMTP)
server, and the E-mail standby
screen appears.
ABK007S