Using [Enter Custom Send File] to Send a Scanned File to an Unregistered Shared Folder
143
7
Using [Enter Custom Send File] to Send a
Scanned File to an Unregistered Shared
Folder
By using the [Enter Custom Send File] function on the Web Status Monitor, you can
send a scanned file to any of Windows shared folders that you have an access
right.
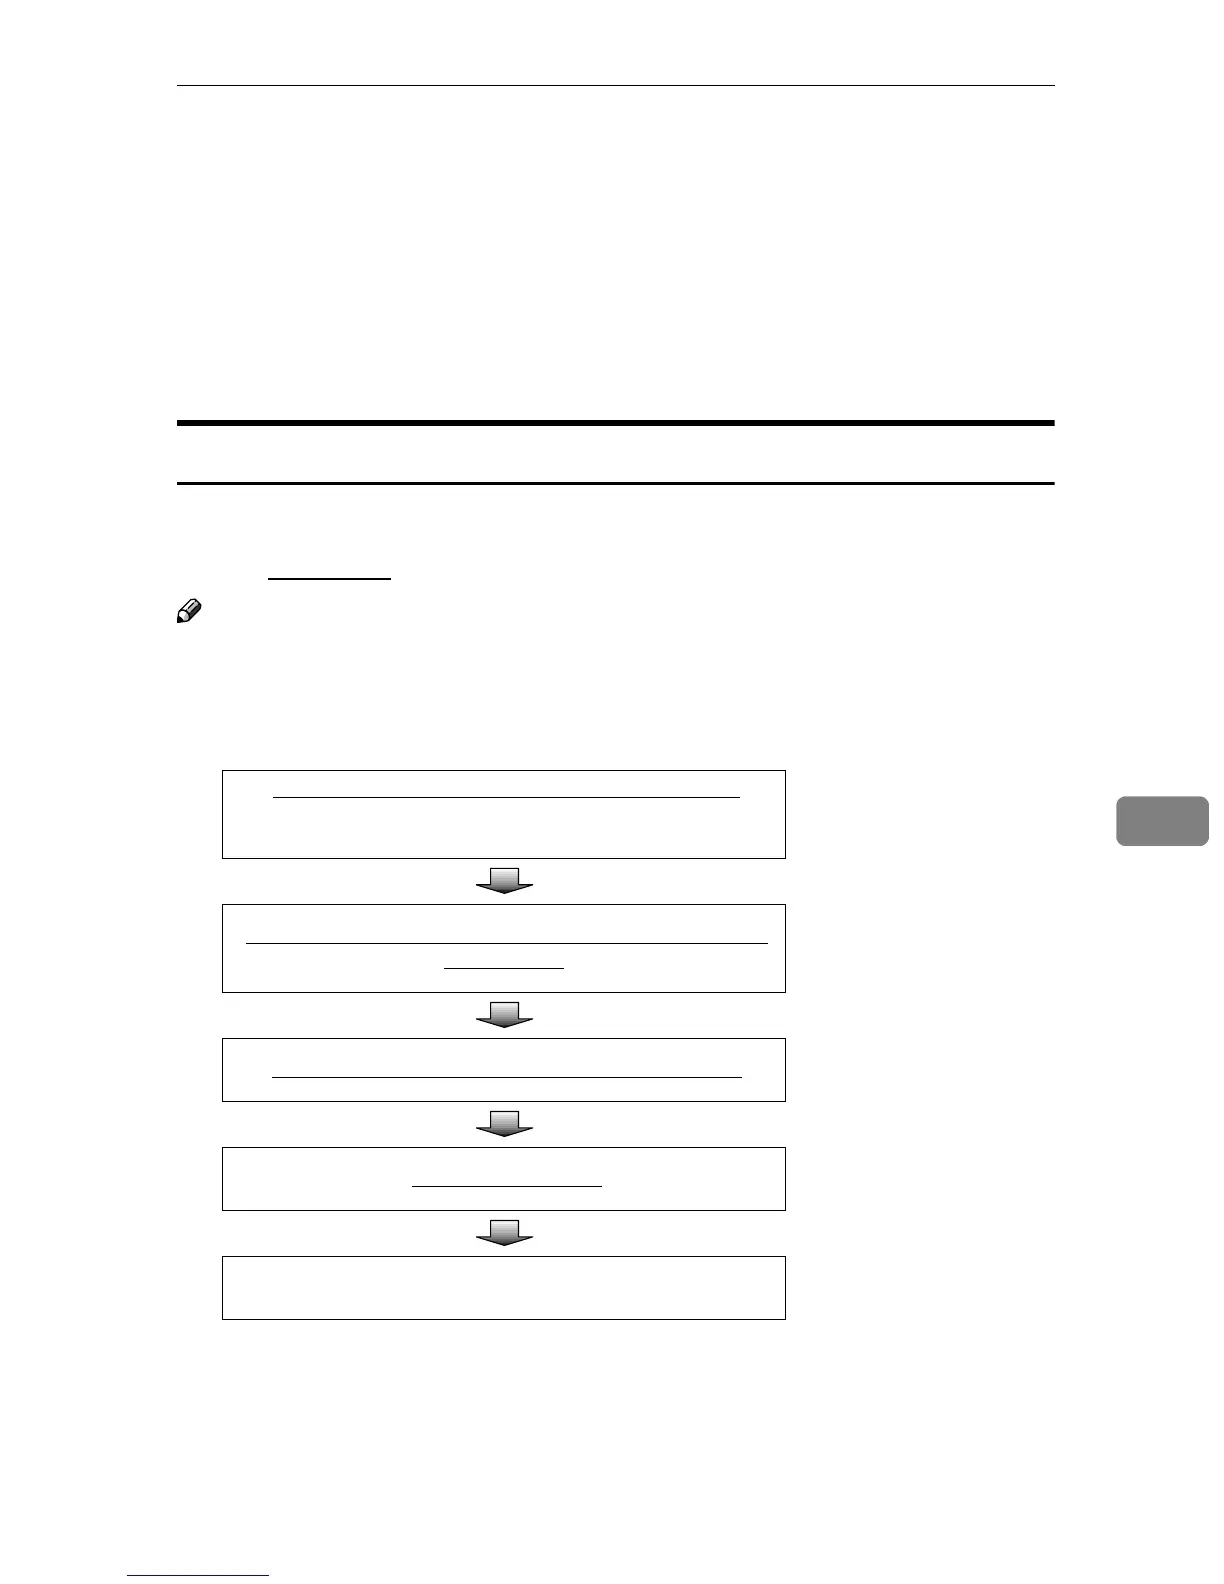
Procedure Breakdown
The following overview diagram shows the flow of the steps for sending a
scanned file to a Windows shared folder using the Web Status Monitor. Note
that the underlined
steps are essential.
Note
❒ Some of the steps such as making scan settings are identical to those ex-
plained under “Sending Scan Files by E-mail”. See the relevant pages shown
to the right of the following overview diagram.
Display the Web Status Monitor on a web browser. ⇒ p.85 “To access this
machine from a web
browser”
Display the
[
Enter Custom Send File
]
page and make neces-
sary settings.
⇒ p.144 “Using the
Enter Custom Send
File Function”
Place originals in the ADF or on the exposure glass.
⇒ p.126 “Before
Sending Scan Data”
Press the
{
{{
{
Start
}
}}
}
key.
⇒ p.135 “Performing
Scan Operation”
Confirm the transmission results by using the Web Status
Monitor.
⇒ p.137 “Checking
Transmission Results”

 Loading...