Common Procedures
J012/J013/J014 3-28 SM
6. After the upload has finished, close the Device Setting Utility and cycle the machine
off/on.
7. Use the Web Browser to print a list of all dial settings to confirm that all the settings have
been restored.
3.2.15 REAR COVER
Preparation
Remove platen or ADF. ( 3.2.4, 3.2.5)
Raise the scanner unit to full upright. ( 3.2.7)
Remove: (1) duplex unit, (2) paper cassette, (3) paper output tray, (4) right cover, (5) left
cover, (6) scanner unit ( 3.2.2, 3.2.8, 3.2.10, 3.2.12, 3.2.14)
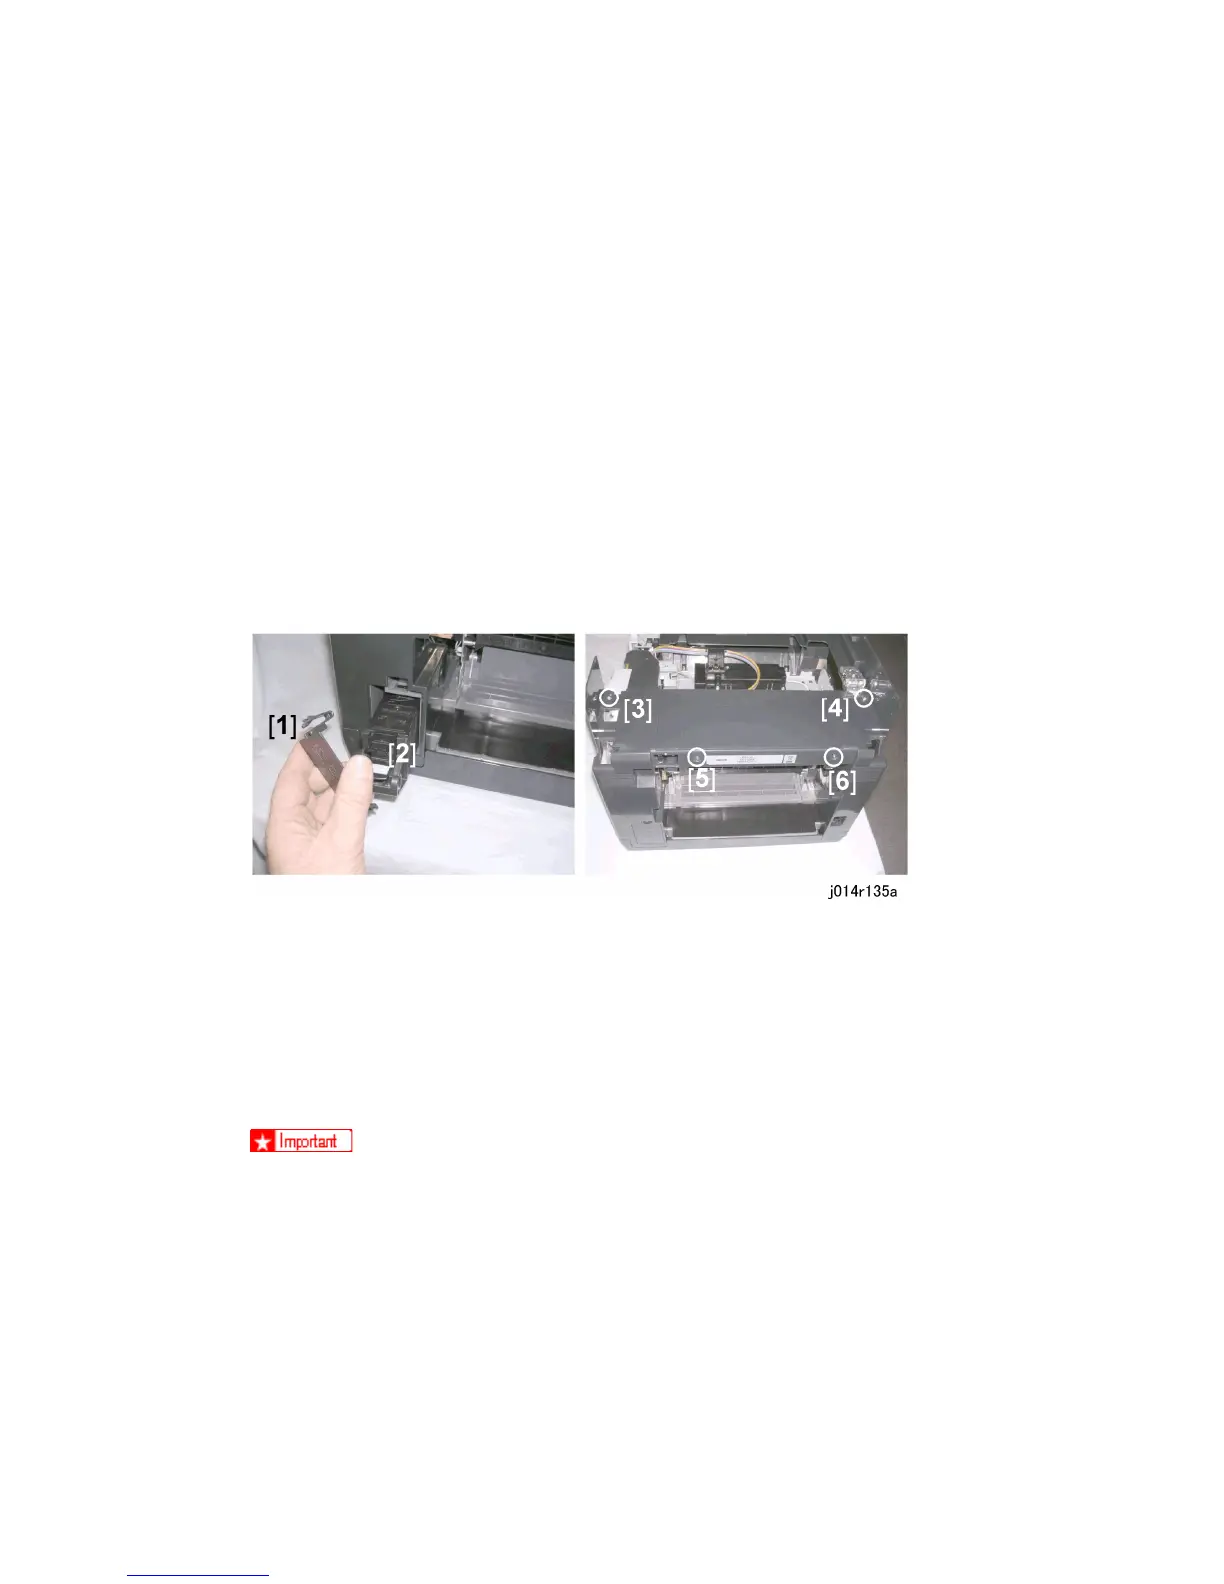
1. Remove the ink collector unit cover [1] and pull the ink collector unit [2] out of the
machine.
2. On top of the rear cover remove silver screws [3] and [4] (x2)
3. On the back of the machine, remove blue screws [5] and [6] (x2).
4. Position on a table so its rear edge overhangs the edge of the table so you can see the
tab locks.
To prevent ink spillage from the print head tanks, do not turn the machine on its
side or on its front edge.