2. Right-click the icon of the printer model you want to modify, and then click [Printer
properties].
3. Click the [Advanced] tab.
4. Click [New Driver...], and then click [Next].
5. Click [Have Disk...].
6. Click [Browse...], and then select the printer driver location.
7. Click [OK], and then specify the printer model.
8. Click [Next].
9. Click [Finish].
10. Click [OK] to close the printer properties window.
11. Restart the computer.
Deleting the printer driver
1. On the [Start] menu, click [Devices and Printers].
• Windows XP, Windows Server 2003/2003 R2:
On the [Start] menu, select [Printers and Faxes].
• Windows Vista, Windows Server 2008:
On the [Start] menu, select [Control Panel], and then click [Printers] in [Hardware and Sound]
category.
• Windows 8, Windows Server 2012:
Click [Search] on the Charm Bar, and then click [Control Panel]. When the [Control Panel]
window appears, click [View devices and printers].
2. Right-click the icon of the printer you want to delete, and then click [Remove device].
• Windows XP/Vista, Windows Server 2003/2003 R2/2008
Right-click the icon of the machine you want to delete, and then click [Delete].
3. Click [Yes].
4. Click any printer icon, and then click [Print server properties].
5. Click the [Drivers] tab.
6. Click the [Change Driver Settings] button if it is displayed.
7. Click [Remove...].
8. Select [Remove driver and driver package.], and then click [OK].
9. Click [Yes].
10. Click [Delete].
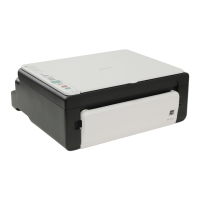
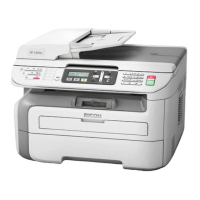
1. Guide to the Machine
20
 Loading...