2. Press the [ ] or [ ] key to select [Address Book], and then press the [OK] key.
3. Press the [ ] or [ ] key to select [Fax Speed Dial Dest.], and then press the [OK] key.
4. Press the [ ] or [ ] key to select the Speed Dial number, and then press the [OK] key.
5. Modify the fax number using the [ ], [ ], and number keys, and then press the [OK] key.
To delete the fax destination, use the [ ] key to delete all numbers, and then press the [OK] key.
Proceed to Step 7.
6. Modify the fax name using the [ ], [ ], and number keys, and then press the [OK] key.
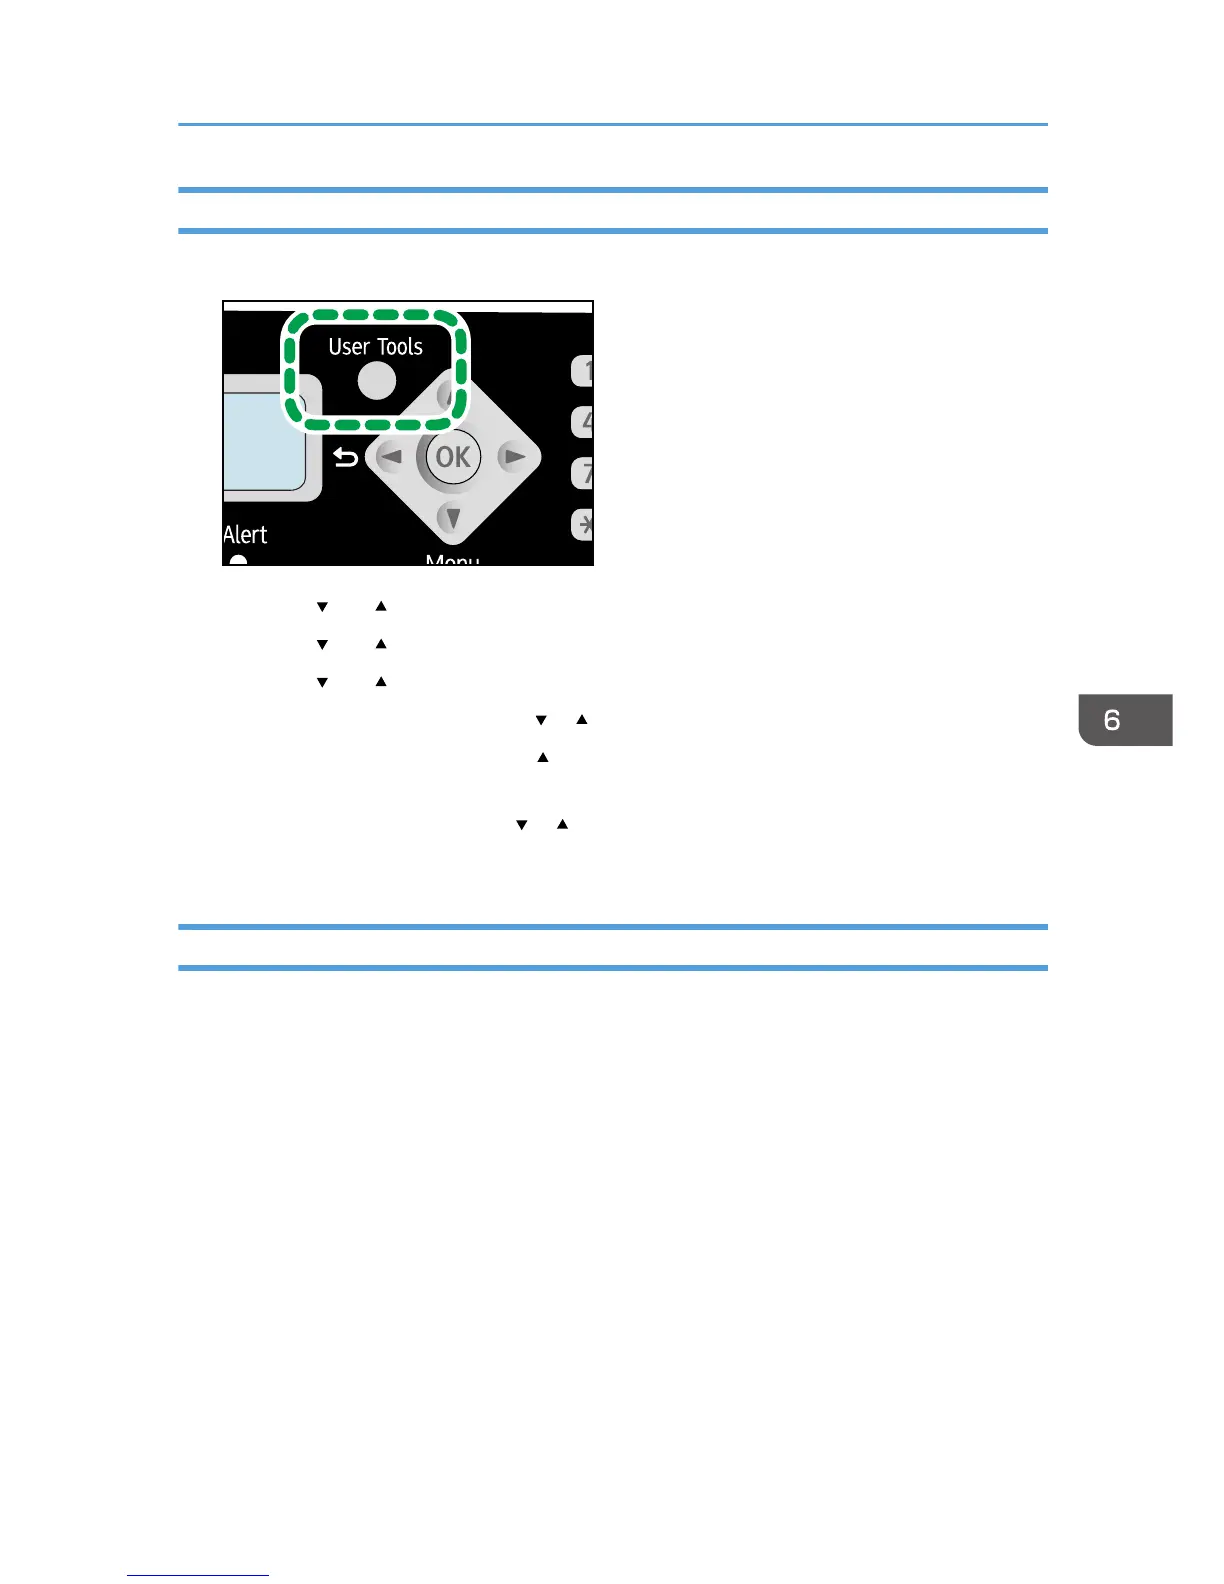
7. Press the [User Tools] key to return to the initial screen.
Configuring Fax Destinations Using Smart Organizing Monitor
1. On the [Start] menu, click [All Programs].
2. Click [Smart Organizing Monitor for SP xxx Series].
3. Click [Smart Organizing Monitor for SP xxx Series Status].
4. If the machine you are using is not selected, click [Select Device...], and then select the
machine's model.
5. Click [OK].
6. On the [User Tool] tab, click [Printer Configuration].
7. Click the [Fax] tab.
8. To add a fax destination, specify [No.: (00 to 99)], [Destination:], and [Fax Number:],
and then click [Apply] in the [Speed Dial] area.
9. To modify a fax destination, select the destination in [Speed Dial Destination List:], and
then modify [Destination:] or [Fax Number:]. To apply the changes, click [Apply] in the
[Speed Dial] area.
Registering Fax Destinations
73
 Loading...