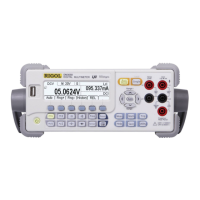
3. Choose a proper Voltage range according to the measured circuit.
Table 2-1 Measurement Characteristics of DC Voltage
Ranges* 200mV, 2V, 20V, 200V, 1000V
Input Protection 1000V on all ranges (HI terminal)
Parameters
Range, DC input impedance, REL
NOTE*: All the ranges enable to obtain 20% value higher than original except 1000V.
Besides, both Manual and Auto are available for setting every range. When inputting range
is higher than 1000V at 1000V Level, “OVER LOAD” will be shown on the screen. 1000V
input protection exists in every range.
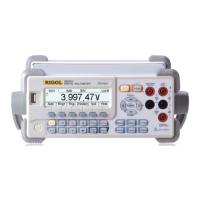
4. Set the DC input impedance
Press Res to set the DC resistance as “10 MΩ (default value)” or “>10
GΩ”. Users can execute DC voltage measurement directly without modifying
this parameter which has been setup before leaving factory.
5. Set relative value (Optional)
Press REL to open or close Relative math function. When it is open, “REL” is
shown over the screen and the reading displayed is a relative value which
comes from the result of actual measurement value subtracts the value that
has been set. (For the details about how to set, please refer to “
Math
Functions” in Chapter 2.)
6. Read measurement result
Select required measurement (reading) rate by using Left or Right direction
keys and read the measurement result.
7. View history data
Press History to enter into the following interface and check the data getting
from this measurement and saved.
Figure 2-6 View interface of history data
w ww. . com
information@itm.com1.800.561.8187