EasyManua.ls Logo

ring Wired Plus User Manual

ring Wired Plus
7 pages
To Next Page IconTo Next Page
Page #1 background imageLoading...
Page #1 background image
Support centre
How to Use
How can we help?
Floodlight Cam Wired Plus Installation Guide
Before you begin
WARNING: Electrical shock hazard. Disconnect power to the installation area at your circuit breaker
or fuse box before beginning installation. Always use caution when handling electrical wiring.
Installation by a qualified electrician may be required in your area. Refer to your local laws and
building codes before performing electrical work; permits plus professional installation may be
required by law.
Turn off power at the fuse box before installing.
Verify that the supply voltage is correct. Connect fixture to a 100~240 VAC 50/60 Hz power
source.
The earth wire must be connected to the light fixture. DO NOT INSTALL if a working earth
connection is not available.
Do not connect this light fixture to a dimmer switch or timer.
CAUTION: Risk of fire.
Do not install near combustible or flammable surfaces. Floodlight Cam Wired Plus must be installed
on a wall or eve.
Installation Steps
To install your Floodlight Cam Wired Plus device, follow these steps:
1. Open the Ring app and select Set Up a Device. Then follow the in-app instructions.
2. Scan the QR code found on the front of the manual, or on the back of the camera. This identifies
your Ring device to make setup fast and easy.
Question and Answer IconNeed help?

Do you have a question about the ring Wired Plus and is the answer not in the manual?

ring Wired Plus Specifications

General IconGeneral
Video Resolution1080p HD
Works with AlexaYes
SirenYes
Field of View155°
Power SourceWired
ConnectivityWi-Fi
Night VisionYes
Two-Way AudioYes
Motion DetectionYes
Operating Temperature-20°C to 48.5°C (-4°F to 119°F)
Weather ResistanceYes

Summary

Floodlight Cam Wired Plus Installation Guide

Before You Begin

Essential safety warnings and pre-installation checks covering electrical hazards and fire risks.

Step 1: Set Up in App

Open the Ring app and select Set Up a Device, then follow the in-app instructions.

Step 2: Scan QR Code

Scan the QR code to identify your Ring device, making setup fast and easy.

Installation Steps - Electrical Wiring

Step 3: Turn off Power

Disconnect power at the fuse box before proceeding with electrical wiring.

Step 4: Prepare Floodlight Cam

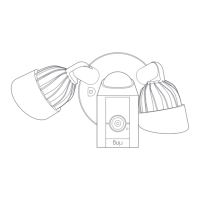
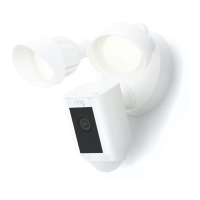
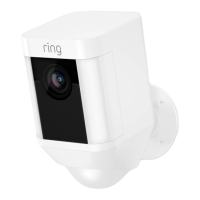
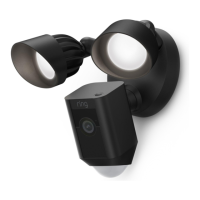
Rotate the light fixture and camera into the desired position for mounting.

Step 5: Remove Existing Fixture

Safely remove the old floodlight and disconnect its wiring.

Step 6: Install Anchors

Drill holes and insert anchors if mounting on stucco, brick, or concrete.

Step 7: Install Mounting Plate

Run wires through the mounting plate and secure it to the wall or eave.

Step 8: Release Pressing Plate

Loosen the pressing plate screw to make space for the power cable channel.

Step 9: Secure Wires to Terminals

Connect the power wires to the appropriate terminals on the mounting plate.

Step 10: Replace Pressing Plate

Reattach the pressing plate over the power cable and tighten securely.

Step 11: Hang Fixture

Loop the nylon strap and buckle over the mounting plate hook to hang the fixture.

Step 12: Connect Light Fixture Wires

Connect the wires from the light fixture to the terminal block on the mounting plate.

Step 13: Mount Light Fixture

Align the fixture with the mounting plate posts and secure it with hex cap nuts.

Final Setup and Power Restoration

Step 14: Restore Power

Turn power back on at the fuse box after the Floodlight Cam Wired Plus is installed.

Step 15: Complete App Setup

Follow in-app instructions to finalize the setup once the device powers on.

Related product manuals