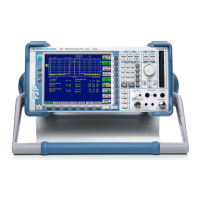
Module Replacement R&S FSP
1164.4556.82 3.40 E-1
Replacing Diplexer A162; R&S FSP7
(See chapter 5, spare parts list, item 2030, and drawing 1130.2544.)
The diplexer is installed on the 8 GHz converter unit (1130.2544)..
Removing Diplexer on MW Converter 1130.2544
Remove 8 GHz converter unit (130).
Note: See description "Replacing 8 GHz Converter Unit A160"
Disconnect cable W1 from diplexer (2030).
Undo 4 screws with washers (2035) from the bottom of the PCB.
Remove diplexer (2006) perpendicularly to the PCB.
Note: The diplexer is still connected to the PCB with contact pins.
Installing Diplexer on MW Converter 1130.2544
Plug in new diplexer (2030) perpendicularly to the PCB.
Note: The diplexer is connected to the PCB with contact pins.
Refasten 4 screws with washers (2035) to the bottom of the PCB.
Fit cable W1 to diplexer (2030).
Completing the Instrument and Frequency Response Correction
Insert 8 GHz converter unit (130) back into the instrument.
Note: See description "Replacing MW Converter Unit A160".
Execute frequency response correction software R&S FSP-FRQ.EXE.
The software is located on the Gloris server.
- Test setup according to menu item "Schematic" (connect external reference).
- Check IEC/IEEE addresses and configuration of instruments.
- Press Autoselect button and perform the measurement with Run.
- The frequency correction of the YIG filter is performed under item YIG.
- After calibration, the frequency response is corrected over the entire frequency range.

 Loading...
