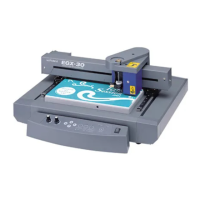
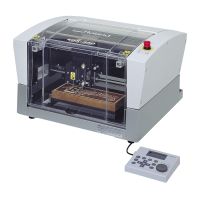
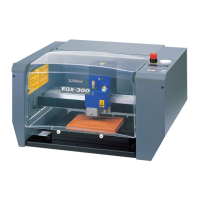
Press the SET SURFACE key to raise the cutter.
Use the spanner to turn the depth regulator nose in the direction of the arrow to extend the blade depth
to the desired engraving depth.
Important Notes When Using the Depth Regurator Nose
Care is needed when performing ll engraving (at-drag cutting inside the contour lines of characters and shapes) over a
wide surface area. With ll engraving that is broader than the diameter of tip of the depth regurator nose, the depth regura-
tor nose may track the surface that has already been cut and cut the surface further
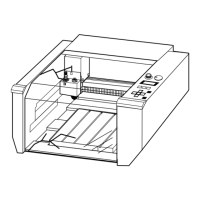
How to Remove the Cutter for Engraving
Turning the nose by an
amount equal to the length
of one side causes the tool
to be extended by 0.125 mm
(0.005 in.).
(One turn corresponds to
0.75 mm (0.03 in.) )
Spanner
When engraving an acrylic panel, the depth that can be engraved at one time is
about 0.25 mm (0.01 in.). To engrave to a greater depth, repeat the same engrav-
ing several times, increasing the amount of blade extension with each pass until the
desired engraving depth is reached.
Example: Engraving to a depth of 1 mm (0.04 in.)
[Number of engraving passes] : 4
[Amount of blade extension]
1st pass: 0.25 mm (0.01 in.) -> 2nd pass: 0.5 mm (0.02 in.) ->
3rd pass: 0.75 mm (0.03 in.) -> 4th pass: 1 mm (0.04 in.)
Rotate in the direction of
the arrow and remove.
Use the spanner to tighten
and secure in place.
Engraving-tool holder
 Loading...