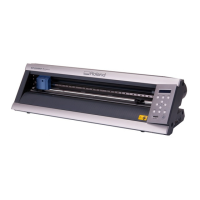
4-1 Practicing Cutting Using the Test-use Material
Chapter 4: Performing Cutting
39
➍
Make sure that material feed was per-
formed correctly, then press
.
Make sure the values for the items are dis-
played as shown in the figure. For detailed
information about the values displayed, refer
to the "GX-24 Reference Guide" (electronic-
format manual).
This completes the procedure for loading the material. Go on to "Step 2: Install the Blade."
☞
p 40 "Step 2: Install the Blade"
If the material comes loose
If the material comes loose from the pinch rollers, take action as described below, then redo the procedure from
the beginning of Step 1.
☞ p 36 "Step 1: Load Material"
➊
Hold down the power button for one second or longer.
The power is switched off. If this does not switch off the power, then disconnect the AC adapter from the ma-
chine.
➋
Lower the loading lever and remove the material.
If You're Using Lengthy Flat Material
Material such as the test-use material that is pre-cut to a certain length is called "flat material." When you're using
ordinary flat material, choosing [PIECE] displays the width and length. However, if the length exceeds 1.6 meters,
the length is not displayed when [PIECE] is chosen. If you're using flat material whose length is more than 1.6
meters, choose [ROLL], then make sure the material does not come loose.
For more information, refer to the page indicated below.
☞ p 53 "Using Roll Material or Lengthy Flat Material"
Cutting force
20 cm/s
50 gf 0.250 mm A
Cutting speed
Blade offset
Cutting direction
 Loading...
