45
4-1 Practicing Cutting Using the Test-use Material
Chapter 4: Performing Cutting
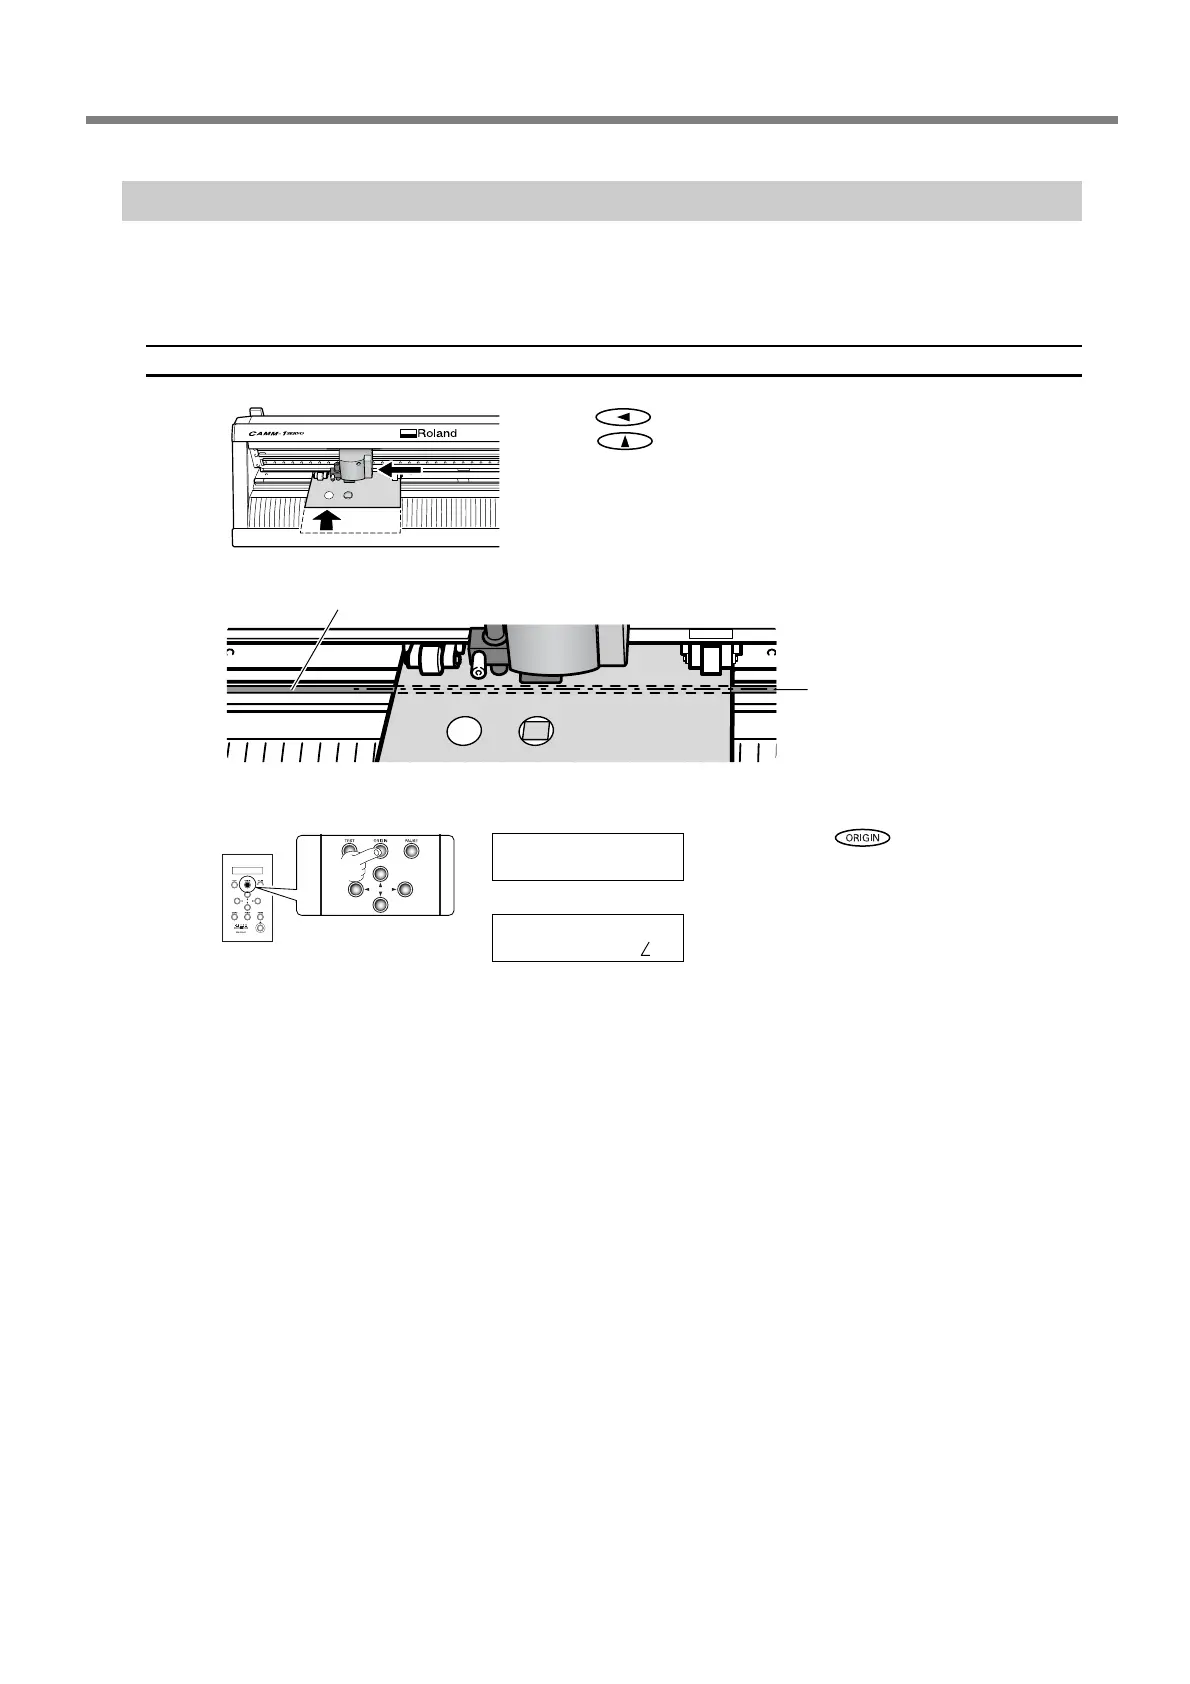
Step 4: Set the Origin Point
Set the origin point for determining the cutting position. If you have performed a cutting test, then move the cutting
carriage to a location where it does not overlap with the test area. Doing this lets you use the material with minimal
waste.
Procedure
➊
Use to move the cutting carriage to the left edge.
Use
to move the material to the rear, positioning
the traces from the cutting test toward the front of the
blade protector.
➋
Hold down for one second or
longer.
First, Screen 1 flashes, then when the settings
are completed Screen 2 appears.
This completes all the preparations for cutting. Go on to "Step 5: Create Cutting Data."
☞
p 46 "Step 5: Create Cutting Data"
Blade protector
The blade moves over this line.
Setting the origin point makes the
area behind this line the cutting
range.
ORIGIN SET
Screen 1
Screen 2
20 cm/s
50 gf 0.250 mm A
 Loading...
