36
Step3) The 12 coloured and white wires need to be soldered into the holes left
by the removal of the R135 & R140 resistors. It is important that these
are put in the correct way around. In all DCO1 voices (R140, R240 etc)
the coloured wire goes on the right side of the resistor holes (facing
toward the rear of the synth) as is shown in the photo. For all the DCO2
voices (R135,R235 etc) the coloured wire goes on the left side of the
resistor holes. The wires are prefitted into the Kiwi-Pulse board in this
order ready to be soldered into the JX-3P main board. Note the photo is
an older version of the board but the voice wires are in the same order.
Step 4) The longer white wire needs to be
soldered to the TP10 DAC Output
on the Main Board (see photo).
Step 5) The power wires need to be soldered to the GND test point next to IC103 and to the ±15v on IC103. The Orange wire needs to be soldered to IC103 Pin 8 (+15v)
and the Blue wire needs to be soldered to IC103 Pin 4 (-15v)(see photo). Be careful not to bridge the legs of IC103 with too much solder. Also work quickly and don't
get the IC too hot.
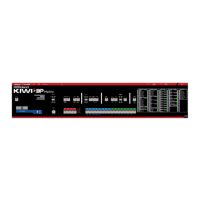
Step 6) The ribbon cable needs to be inserted into the socket on the Kiwi-3P Matrix cpu board
www.kiwitechnics.com 3P Matrix Upgrade User Manual v1.2
 Loading...