7
Rosco Maximizer 3B Asphalt Distributor 7-9
Maintenance
Discharge Screen
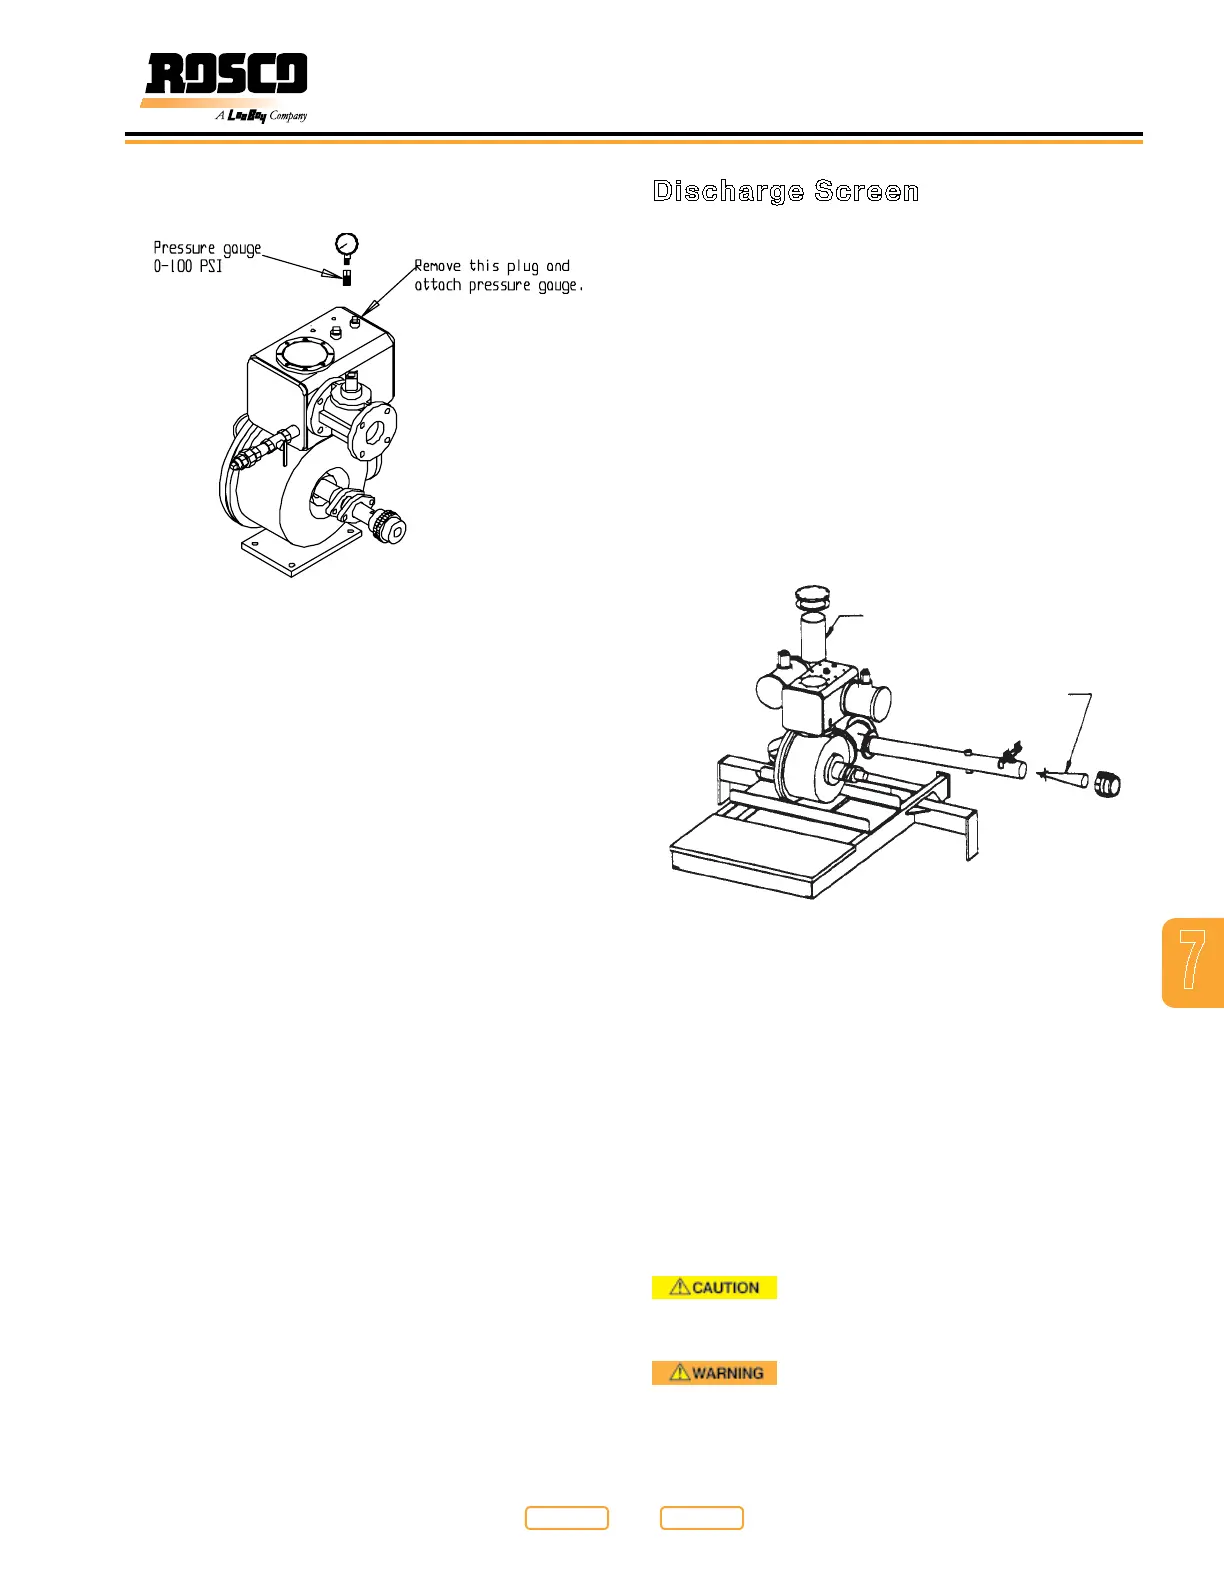
The discharge screen (Figure 7-5) prevents large
contaminants from reaching the nozzles. It is located
on the outlet side of the pump manifold weldment box.
Clean the screen monthly during the working season.
To clean the screen, follow this procedure:
1. Stop the engine, place all controls in neutral, set the
park brake and remove ignition key.
2. Be sure the tank is empty and the circuit is washed
out.
3. Allow machine to cool to the touch.
4. Remove bolts holding access cover to pump
weldment. Remove the access cover from the
pump weldment box.
LOAD SCREEN
DISCHARGE SCREEN
Discharge Screen & Load Screen
Figure 7-5
5. Remove any trash or debris that has become
caught in the screen.
6. If the screen is damaged in any way, replace it using
genuine Rosco parts.
7. Use a screwdriver or putty knife to remove the old
gasket on the cover and housing.
8. Use Rosco high temperature gasket sealant (part
#33384) under this cover to prevent leakage.
9. Install the cover and tighten the mounting bolts to
their specied torque (28 Ft/Lbs).
Always wear protective clothing,
gloves and a face shield. Contact with hot asphalt
can cause severe burns.
DO NOT SMOKE around the machine.
Fuel, asphalt material and the fumes from either
can explode when exposed to ame or heat from
smoking or other sources.
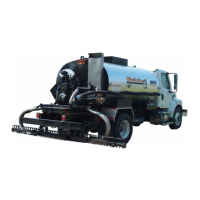
8. Remove the valve cap that covers the adjusting
screw.
Test gauge placement
Pressure Gauge
Figure 7-4
9. Slowly turn the adjusting screw in to increase the
relief pressure and turn it out to decrease pressure.
The screw height should extend 9/16 inch (14 mm)
out of the bonnet casting for the needed pressure.
10. If proper pressure cannot be achieved, valve may
need to be cleaned or replaced.
11. To clean the relief valve, disconnect the dump line
from the asphalt pump housing. Remove the relief
valve from the asphalt pump housing.
12. Use cleaning solvent or release agent to thoroughly
clean the valve. Dispose of cleaning material
according to local, state and federal regulations.
13. Be sure nothing is stuck under the poppet. Check
that the spring moves the poppet easily and seats it
rmly in the base.
14. If any components are damaged or broken, replace
the valve.
15. Set the adjusting screw to extend 9/16 inch out of
the bonnet casting.
16. Attach to the pump housing and connect the dump
line using new gaskets.
Return to
Last Viewed
Return to
Thumb Index
 Loading...