January 2017
12
Quick Start Guide
Verifying configuration with LOI
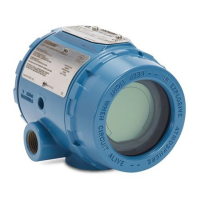
The optional LOI can be used for commissioning the device. The LOI is a
two-button design with internal and external buttons. The internal buttons are
located on the display of the transmitter, while the external buttons are located
underneath the top metal tag. To activate the LOI, push any button. LOI button
functionality is shown on the bottom corners of the display. See Table 4 and
Figure 9 for button operation and menu information.
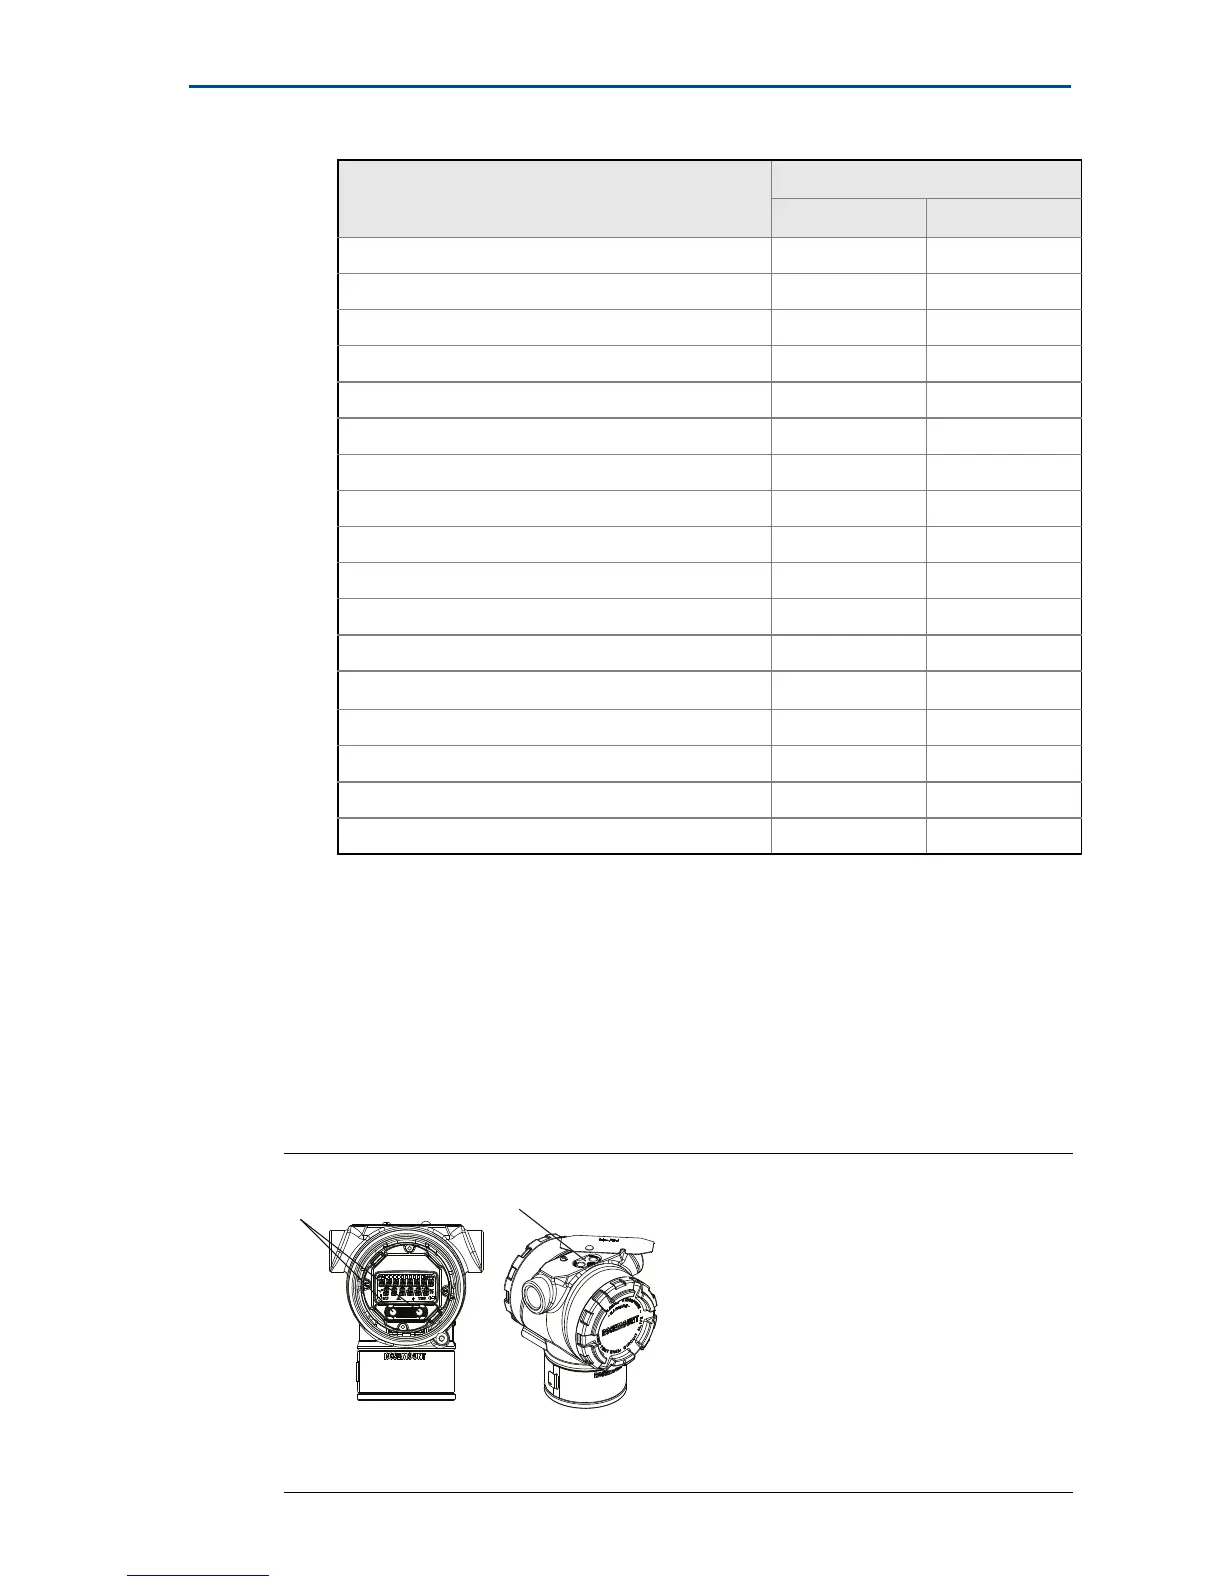
Figure 8. Internal and External LOI Buttons
A. Internal buttons
B. External buttons
Descriptor 2, 2, 7, 1, 5 2, 2, 7, 1, 4
Digital to Analog Trim (4–20 mA Output) 3, 4, 2 3, 4, 2
Disable Configuration Buttons 2, 2, 6, 3 2, 2, 6, 3
Rerange with Keypad 2, 2, 2, 1 2, 2, 2, 1
Loop Test 3, 5, 1 3, 5, 1
Lower Sensor Trim 3, 4, 1, 2 3, 4, 1, 2
Message 2, 2, 7, 1, 6 2, 2, 7, 1, 5
Scaled D/A Trim (4–20 mA Output) 3, 4, 2 3, 4, 2
Sensor Temperature/Trend (3051S) 3, 3, 3 3, 3, 3
Upper Sensor Trim 3, 4, 1, 1 3, 4, 1, 1
Digital Zero Trim 3, 4, 1, 3 3, 4, 1, 3
Password 2, 2, 6, 5 2, 2, 6, 4
Scaled Variable 3, 2, 2 3, 2, 2
HART Revision 5 to HART Revision 7 switch 2, 2, 5, 2, 3 2, 2, 5, 2, 3
Long Tag
(1)
2, 2, 7, 1, 2 N/A
Find Device
(1)
3, 4, 5 N/A
Simulate Digital Signal
(1)
3, 4, 5 N/A
1. Only available in HART Revision 7 mode.
Table 3. Device Revision 9 and 10 (HART 7), DD Revision 1 Fast Key Sequence
Function
Fast Key sequence
HART 7 HART 5